Custom Popup Trigger | Outgrow
You can use a button style from your website or link to launch a calculator or quiz as a pop up on your webpage.
1. Pick the launch code
Click on the "Configure" tab in the builder and go to the "Embed on a webpage" section on the left navigation. Configure your popup trigger and select the "Pop up" option.
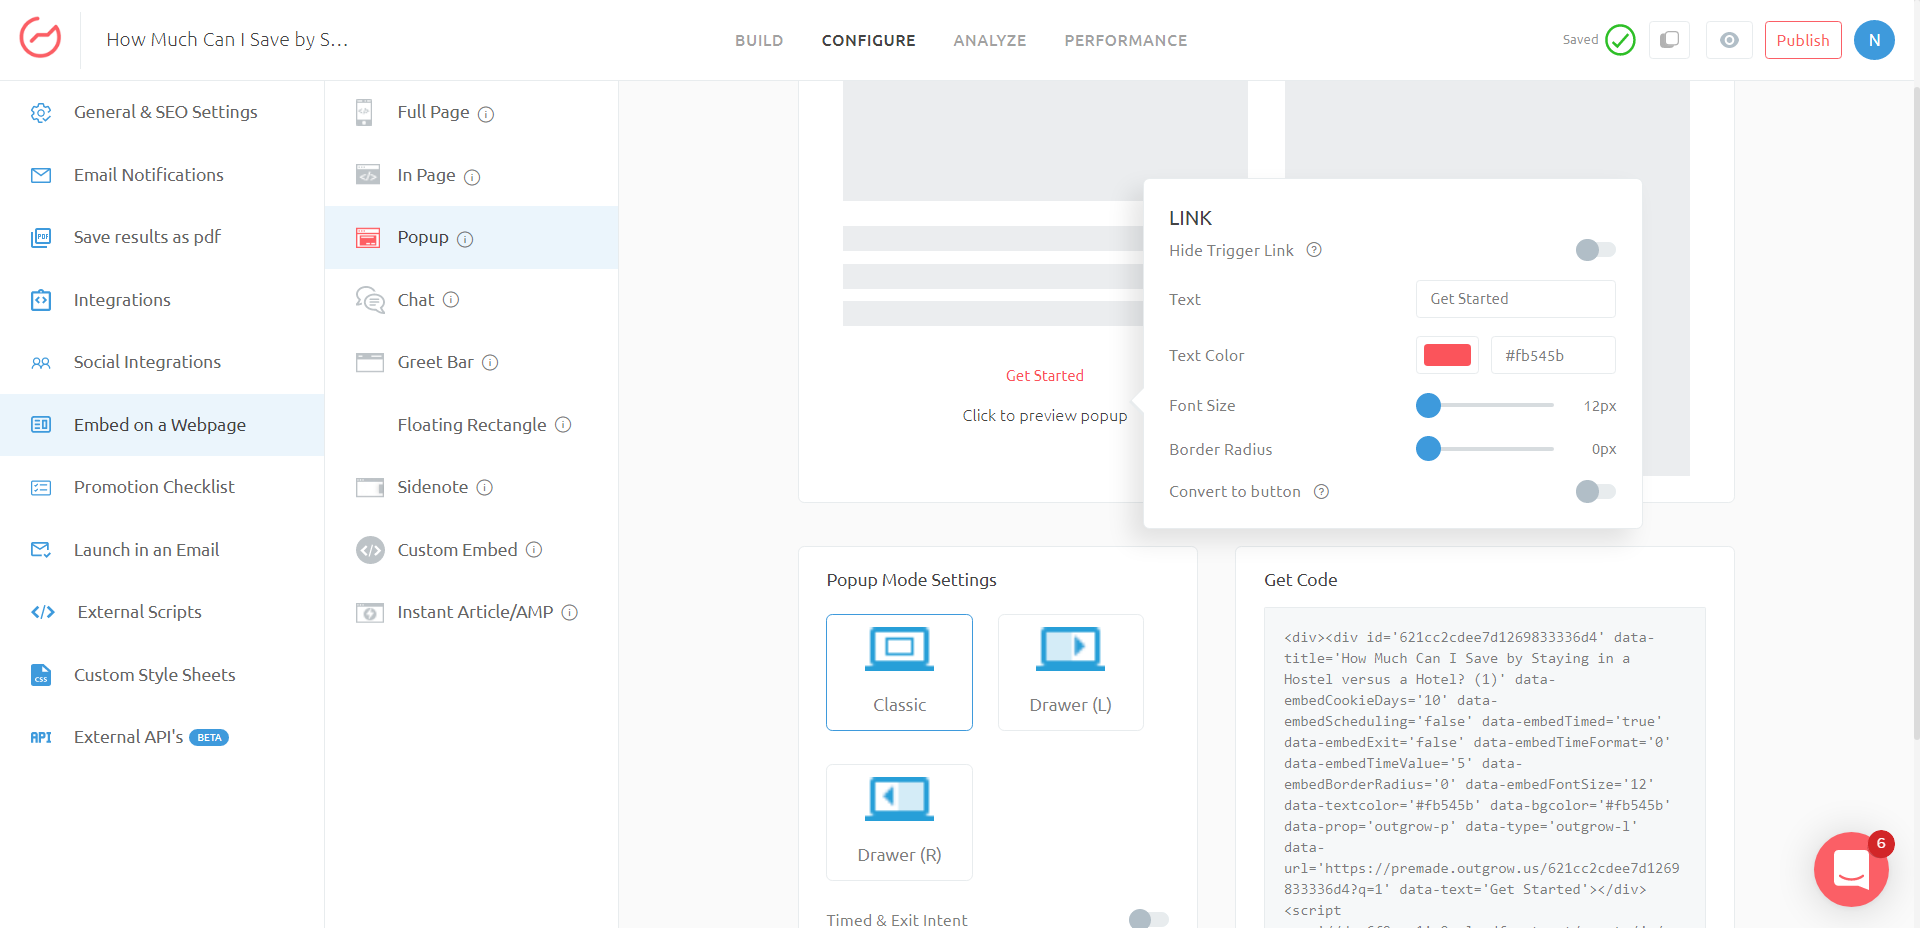
- Edit the code
Your code will look like this
<div style="display:none">
<div
id='5a24d0da31cfb06c1642030f'
data-prop='outgrow-p'
data-type='outgrow-b'
data-url='//democo.outgrow.us/5a24d0da31cfb06c1642030f'>
</div>
<script src='//outgrow.co/js/ploader.js'>
</script>
<script>initIframe('5a24d0da31cfb06c1642030f');</script>
</div>
Add style with a value of "display:none" to parent div, your code will look like this -
<div style="display:none">
  <div
       id='5a24d0da31cfb06c1642030f'
       data-isLDrawer='false'
       data-embedBorderRadius='0'
       data-embedFontSize='12'
       data-textcolor='#ffffff'
       data-bgcolor='#fb545b'
       data-prop='outgrow-d'
       data-type='outgrow-b'
       data-url='https://democo.outgrow.us/5a24d0da31cfb06c1642030f'
       data-text='Get Started'>
  </div>
  <script src='//dyv6f9ner1ir9.cloudfront.net/assets/js/ploader.js'></script>   <script>initIframe('5a24d0da31cfb06c1642030f');</script>
</div>
Now paste this code in your HTML/Wordpress site.
- If you are having a Wordpress site then you are probably adding a post or a page.
Look for Post or Page menu in left menu bar and click on Add New. Now paste the code you got from settings page in Outgrow in post/page editor.
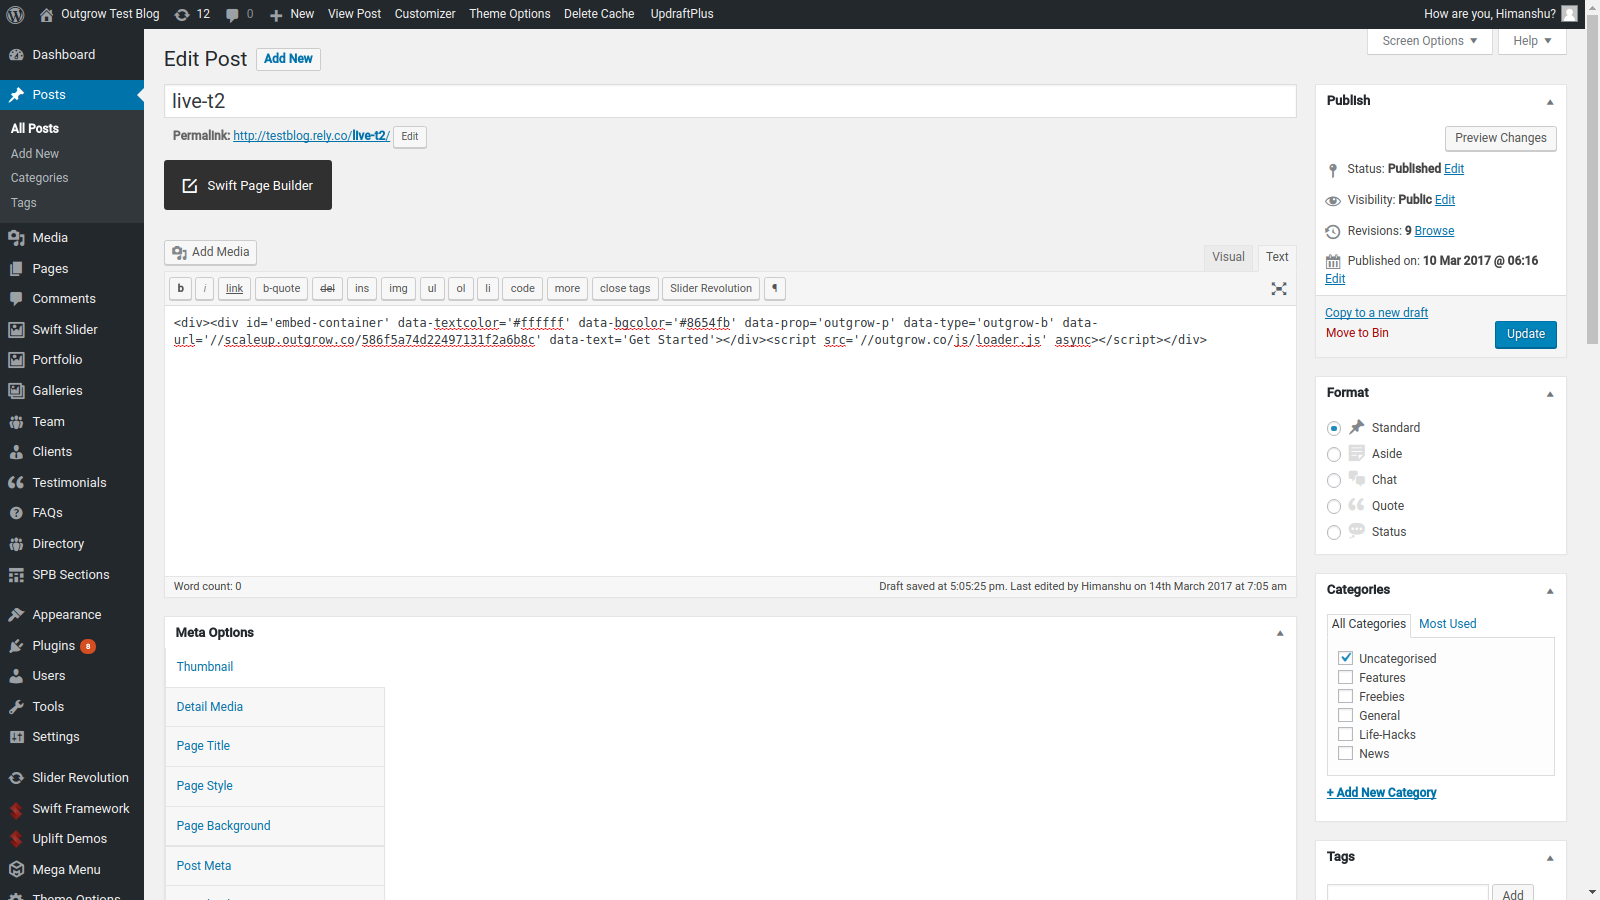
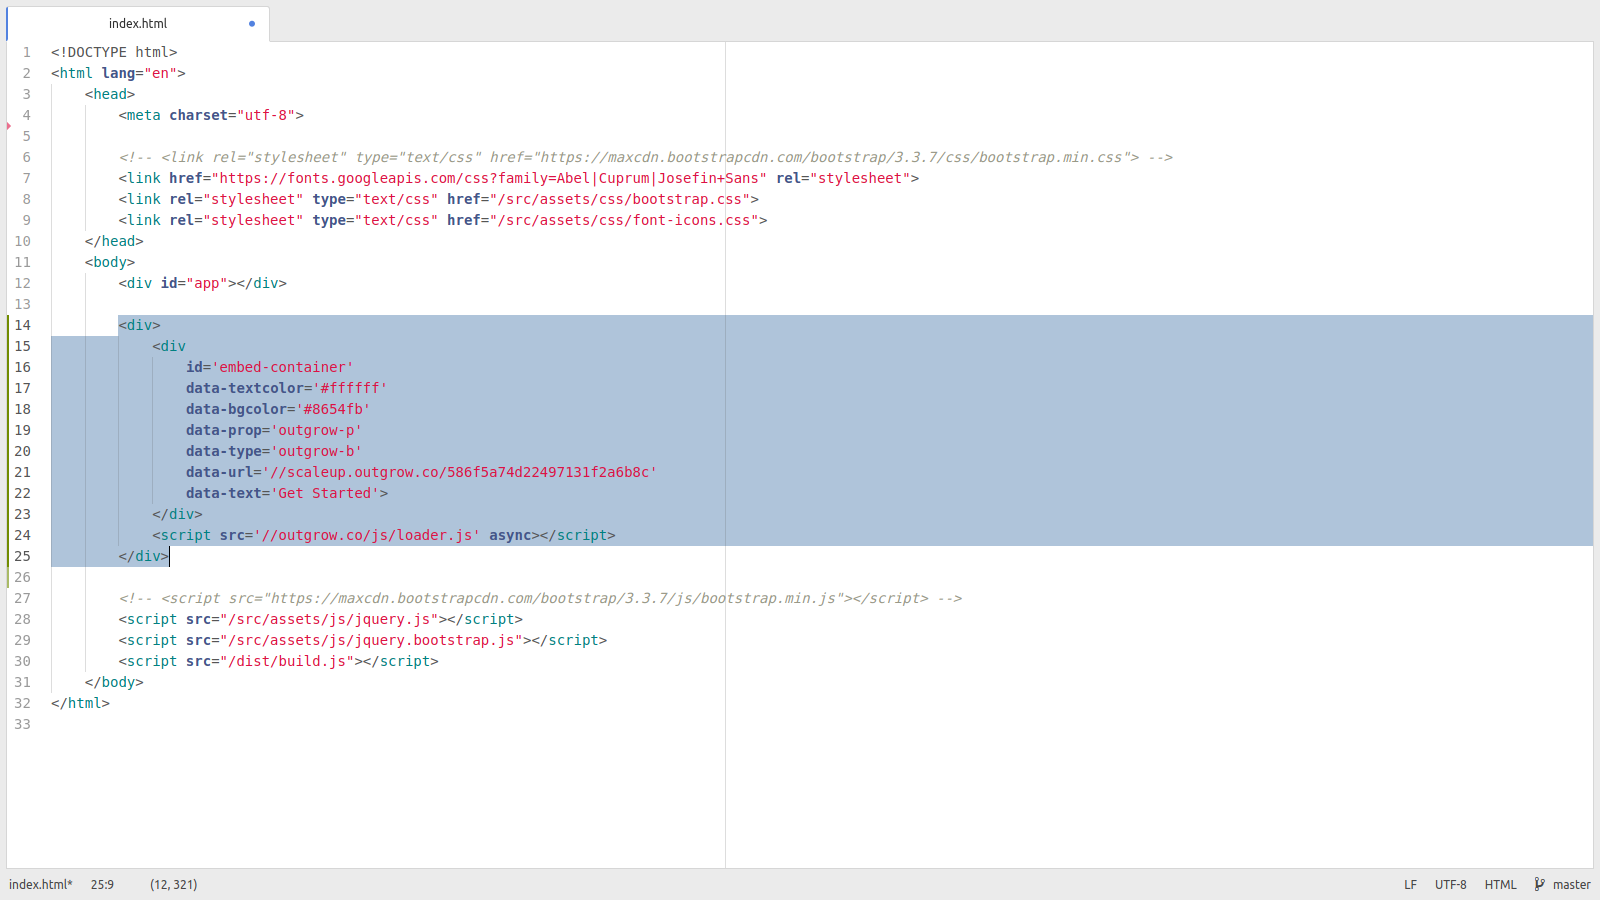
- If you have an HTML installation then just paste the code you got from the settings page on Outgrow inside body section of your HTML.
2. Figure out which button or 'a' tag you wish to use as popup trigger
You must have an anchor tag or button code on your website that you wish to use as a trigger for the Outgrow calculator or quiz you've created.
A typical anchor tag looks like this :
<a href="https://some-custom-link" class="some-custom-class">Some custom link text</a>
and a button code might look like this :
<button class="some-custom-class" onClick="someCustomAction()">Some custom text</button>
Depending on the type of trigger you chose 'a' - anchor tag or button - the next section is divided into two parts.
3. Add important properties to your custom tag
Anchor tag as Popup Trigger
- Change the href property of a tag from href="https://something" to href="javascript:void(0);"
- Add custom-outgrow-l as class in 'a' tag.
- Add onClick property to 'a' tag with value = togglePopup('your calculator id').
Your final result should look like :
<a href="javascript:void(0);" class="custom-outgrow-l some-custom-class" onClick="togglePopup('5a19a4f5a016b4b504c45613')">Some custom link text</a>
In case you want the pop up to be triggered by an image instead of a link, please use this code.
<a href="javascript:void(0);" class=" custom-outgrow-b some-custom-class" onClick="togglePopup('5a19a4f5a016b4b504c45613')"><img src="https://yourimagelink.com"></a>
Button tag as Popup Trigger
- Add custom-outgrow-b as class in 'a' tag.
- Add onClick property to 'a' tag with value = togglePopup('your calculator id').
<button class="outgrow-b custom-outgrow-b some-custom-class" onClick="togglePopup('5a19a4f5a016b4b504c45612')">Some custom link text</button>
Now paste the code generated right above the code you wrote in Step 1.
Your final output will look like this :
<div style="display:none">
<div
id='5a24d0da31cfb06c1642030f'
data-prop='outgrow-p'
data-type='outgrow-b'
data-url='//democo.outgrow.us/5a24d0da31cfb06c1642030f'>
</div>
<script src='//outgrow.co/js/ploader.js'>
</script>
<script>initIframe('5a24d0da31cfb06c1642030f');</script>
</div>
<a href="javascript:void(0);" class="custom-outgrow-b some-custom-class" onClick="togglePopup('5a24d0da31cfb06c1642030f')"><img src="http://www.sample.co/images/banner.jpg"></a>
<script>
jQuery(document).ready(function () {
jQuery('.custom-outgrow-b').on('click', function (e) {
e.preventDefault();
});
jQuery('.outgrow-b').each(function () {
if (!jQuery(this).hasClass('custom-outgrow-b')) {
jQuery(this).remove();
}
});
});
</script>
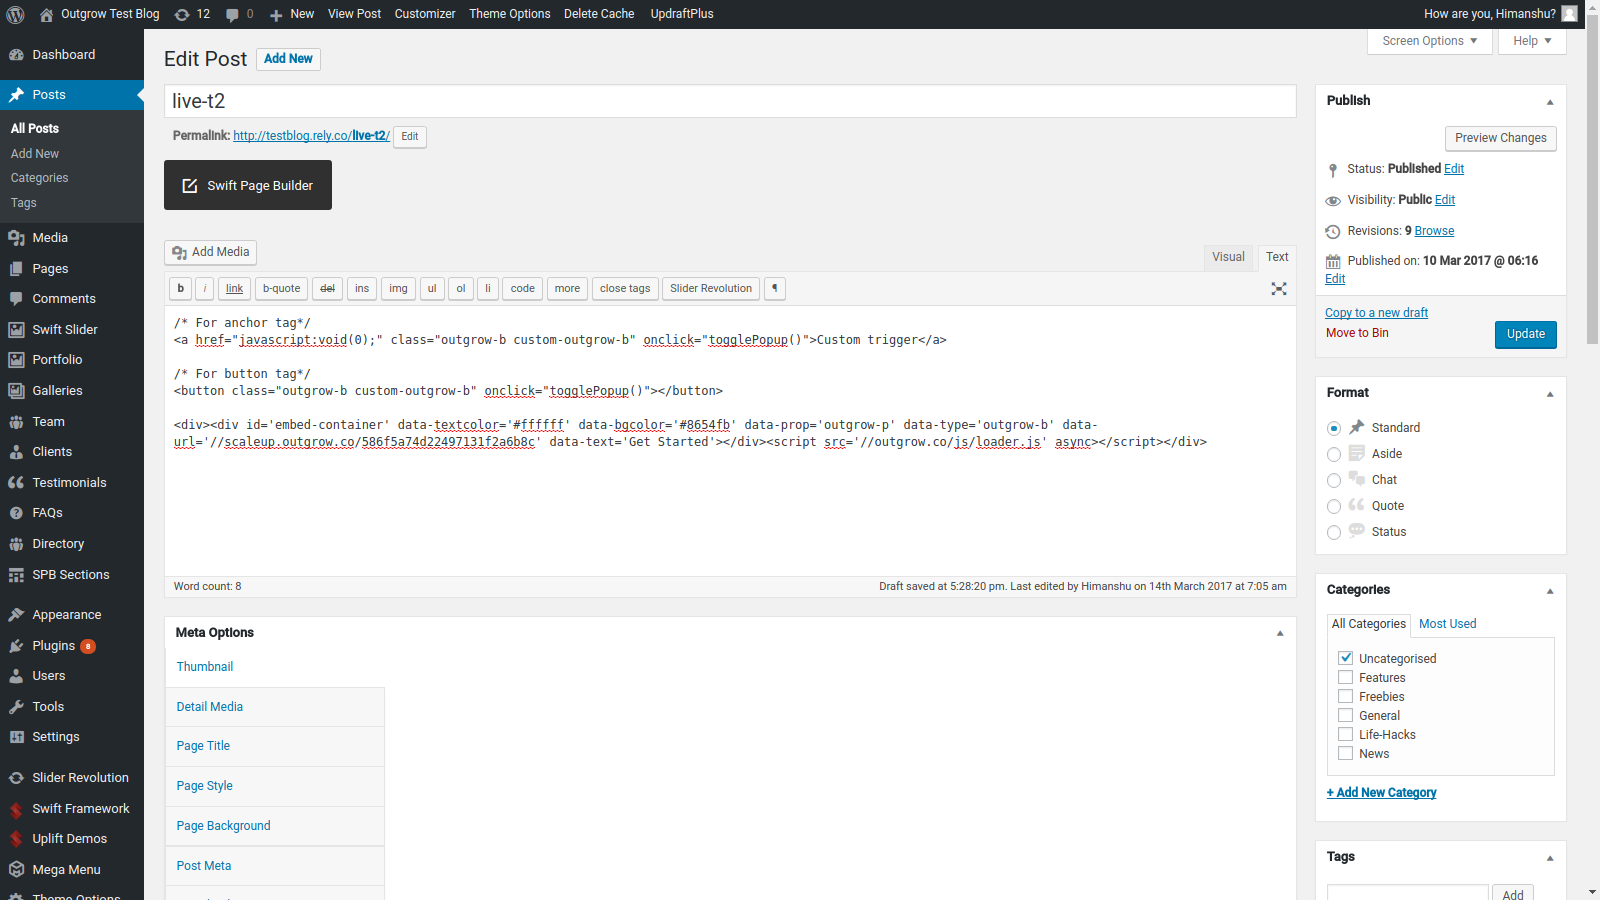
- In Wordpress :
- In custom HTML site :
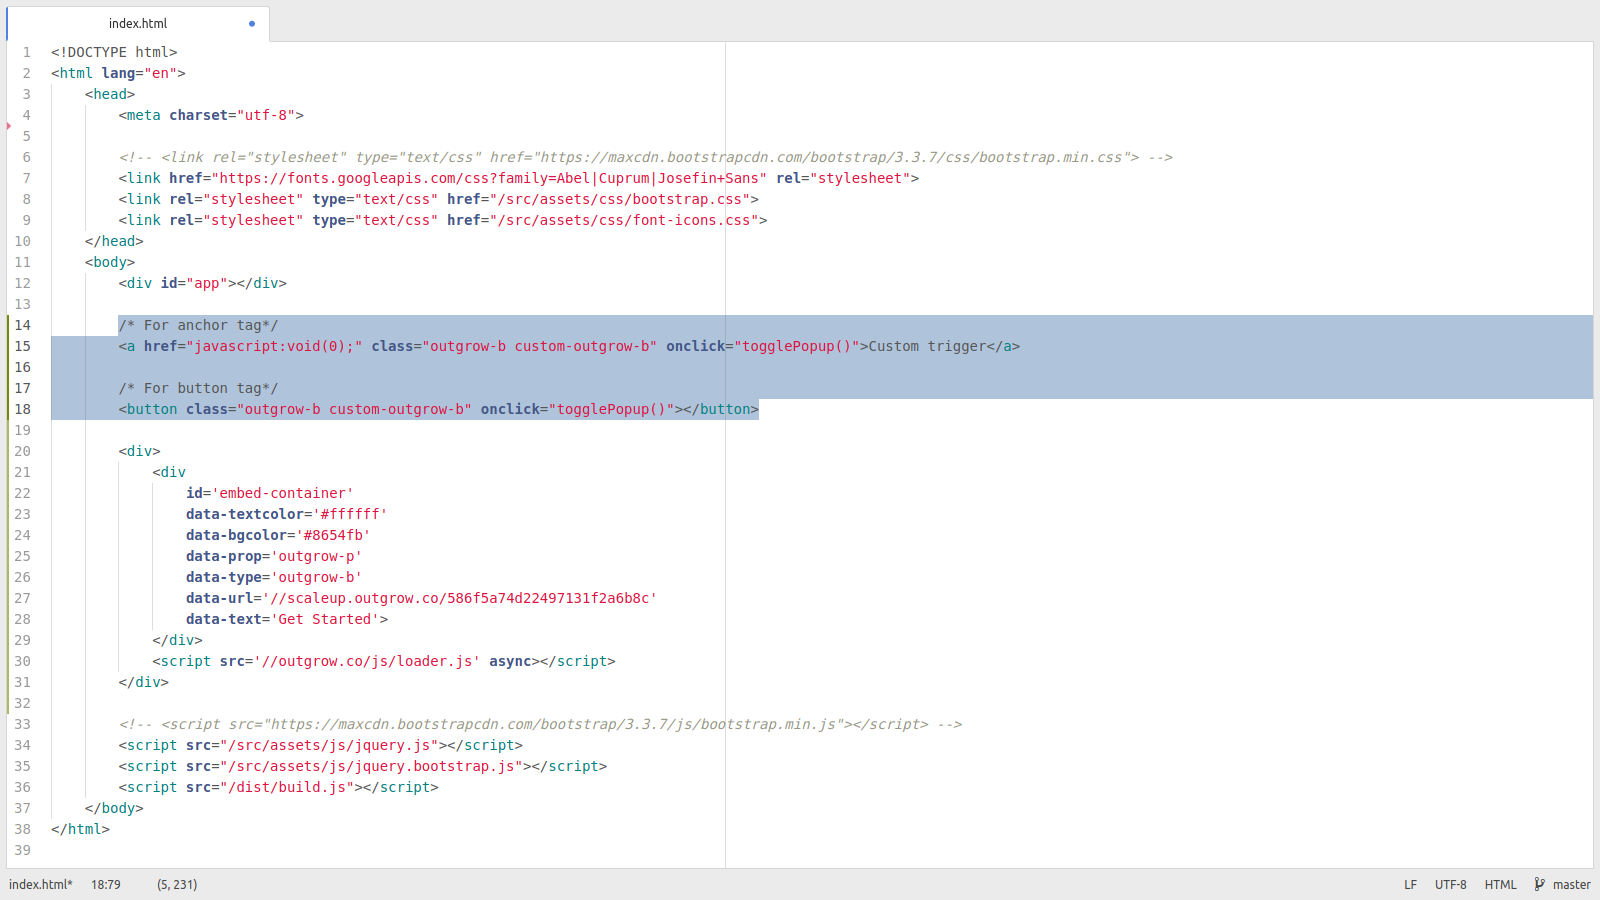
Next step depends on whether you have got a Wordpress website or Custom HTML.
In the last section, open close the script tag and write the following script :
jQuery(document).ready(function () {
	jQuery('.custom-outgrow-b').on('click', function (e) {
  	e.preventDefault();
  });

  jQuery('.outgrow-b').each(function () {
  	if (!jQuery(this).hasClass('custom-outgrow-b')) {
    	jQuery(this).remove();
    }
  });
});
Custom HTML Site
- Write the following code in the footer section of the page where you'd put the launch code.
<script>
jQuery(document).ready(function () {
	jQuery('.custom-outgrow-b').on('click', function (e) {
  	e.preventDefault();
  });

  jQuery('.outgrow-b').each(function () {
  	if (!jQuery(this).hasClass('custom-outgrow-b')) {
    	jQuery(this).remove();
    }
  });
});
</script>
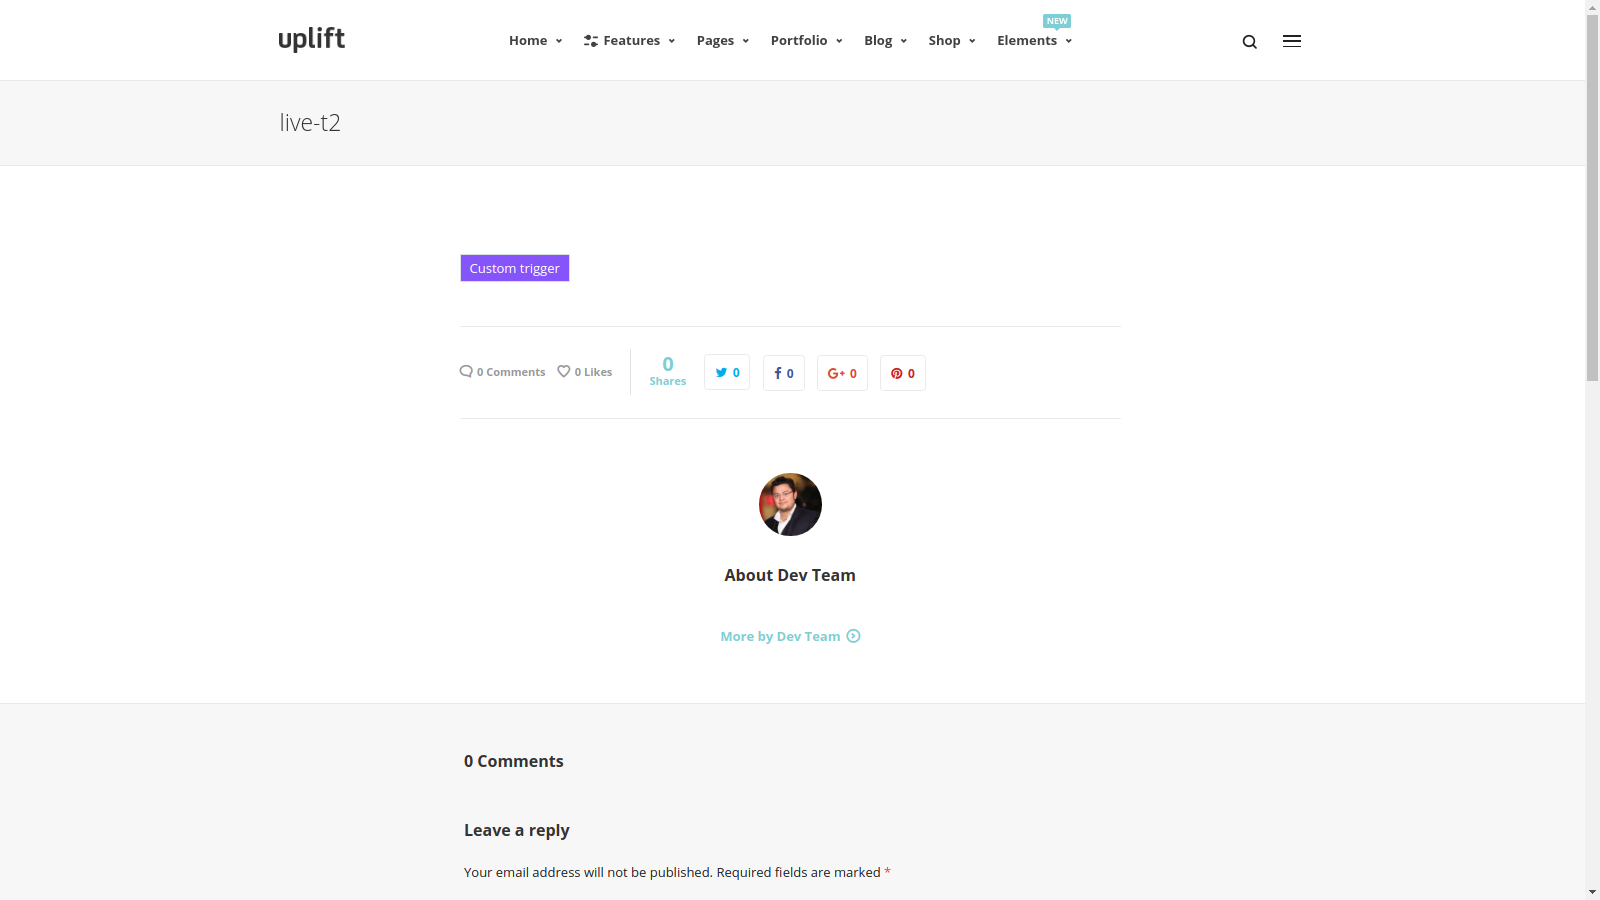
Save and preview it.
Align Popup Trigger
All the content on your website is center aligned and you want the button trigger for the calculator to appear in the center and not left-aligned. Now, you can tweak the pop-up code which you picked up from your Outgrow calculator to achieve this quickly.
Code you copied will look like this -:
Pop up code
Updated over 1 year ago