Routing Leads in HubSpot Collected Using Outgrow Interactive Content
In Outgrow you now have the option to set up a routing rule using which the leads that you collect is Outgrow can be assigned to a specific user in your account. You can also assign a Lifecycle Stage to the lead while setting up the routing rule.
How to configure Routing Rule in Outgrow
To configure a rule in Outgrow for routing leads in Hubspot, here are the steps that you need to follow:
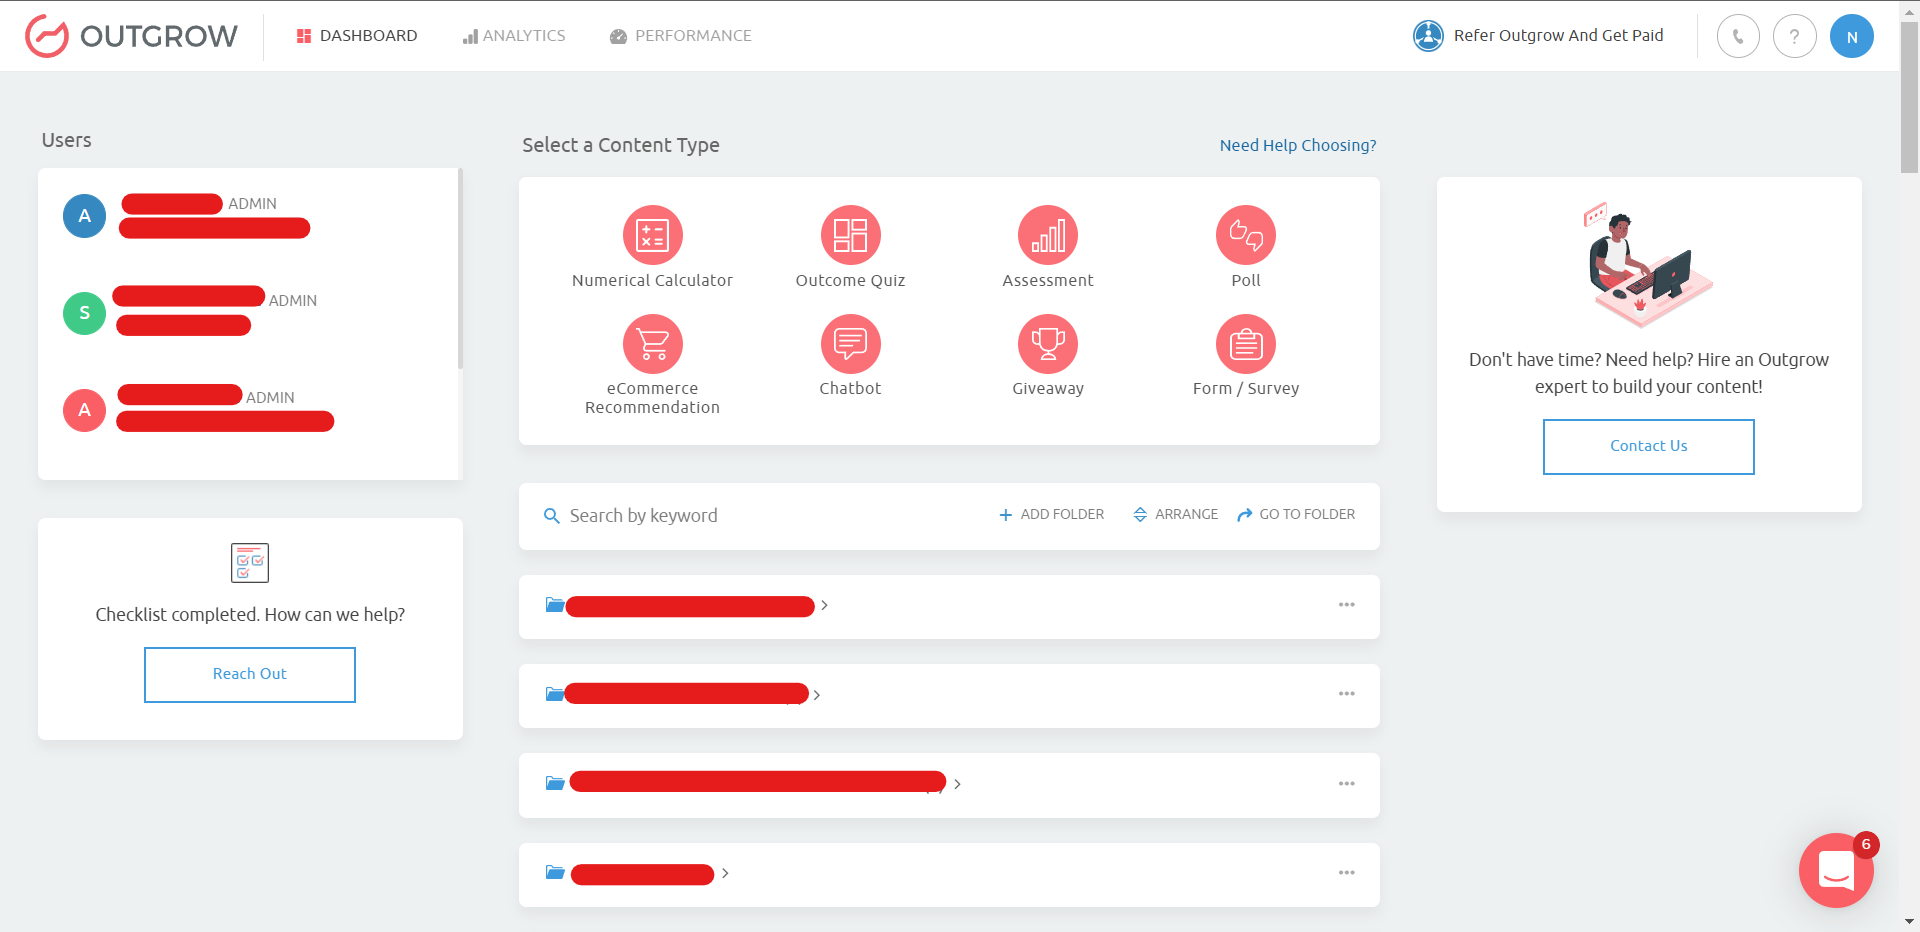
1. Login to your Outgrow account and once you are in the Outgrow dashboard, open the respective content piece in Edit mode.
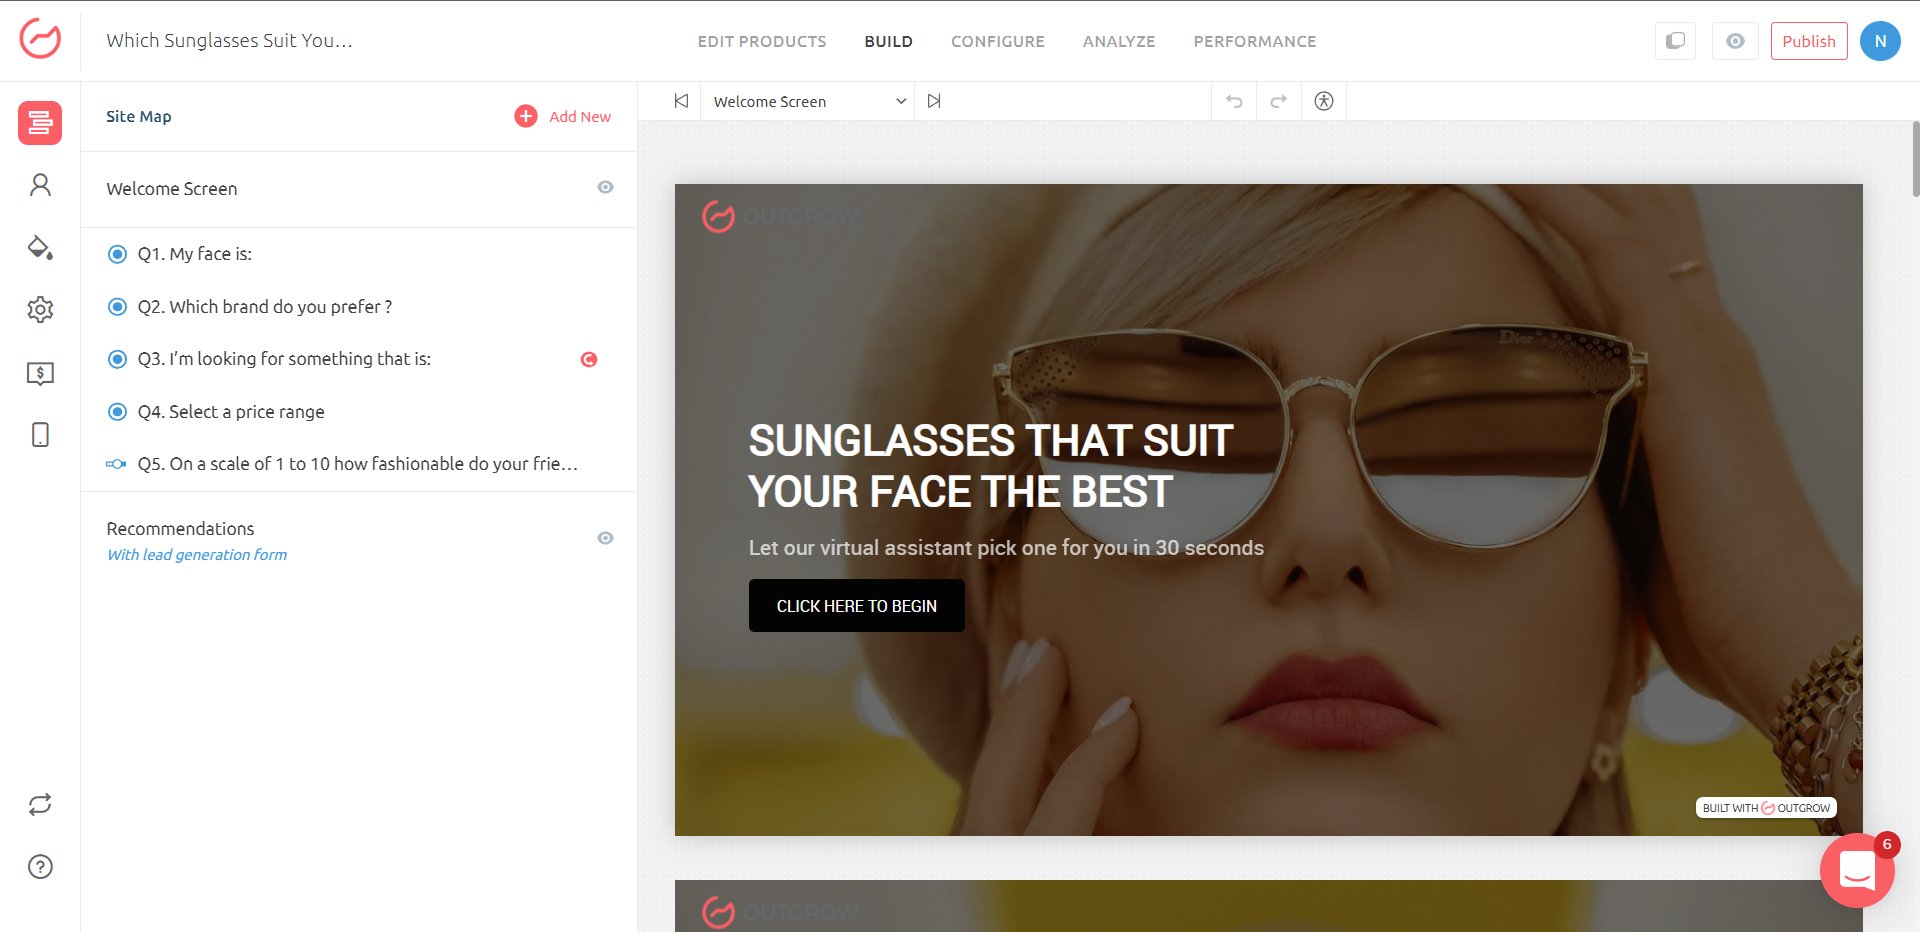
2. Once your calculator is open in builder mode, click on the Configure tab.
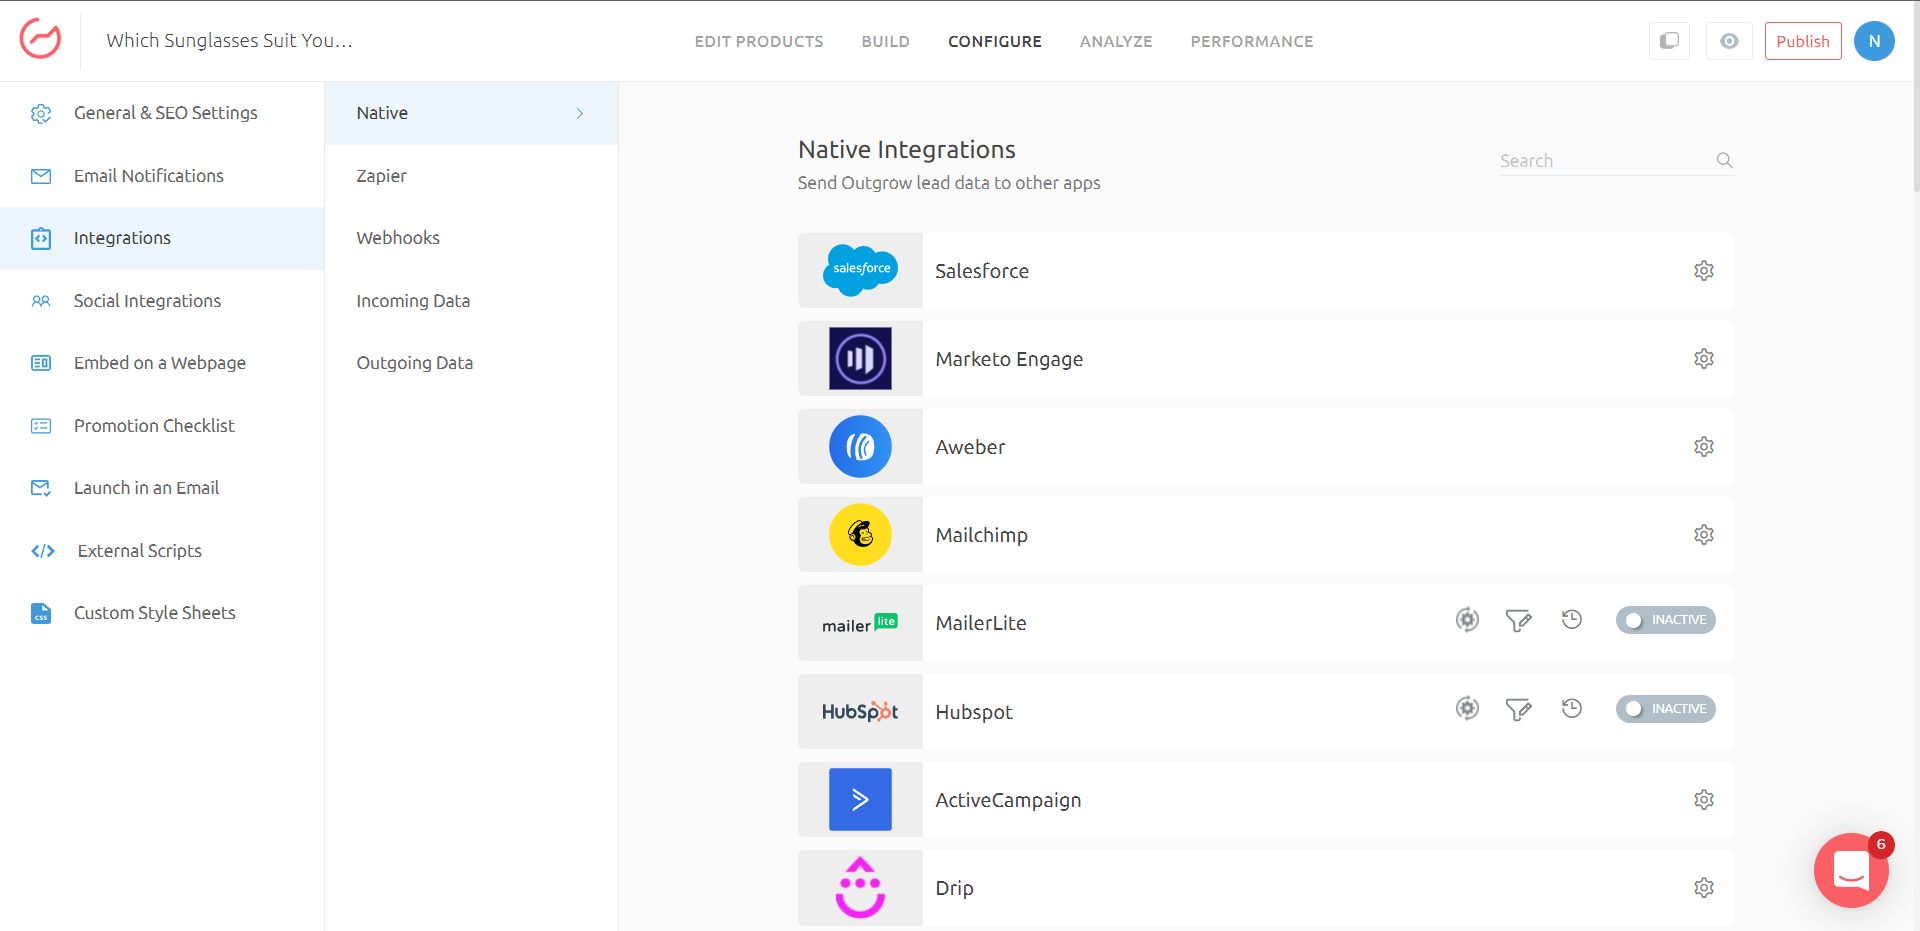
3. Under the Configure tab navigate to the Integrations sections and under the Native sub-tab click on Configure button for configuring HubSpot integration.
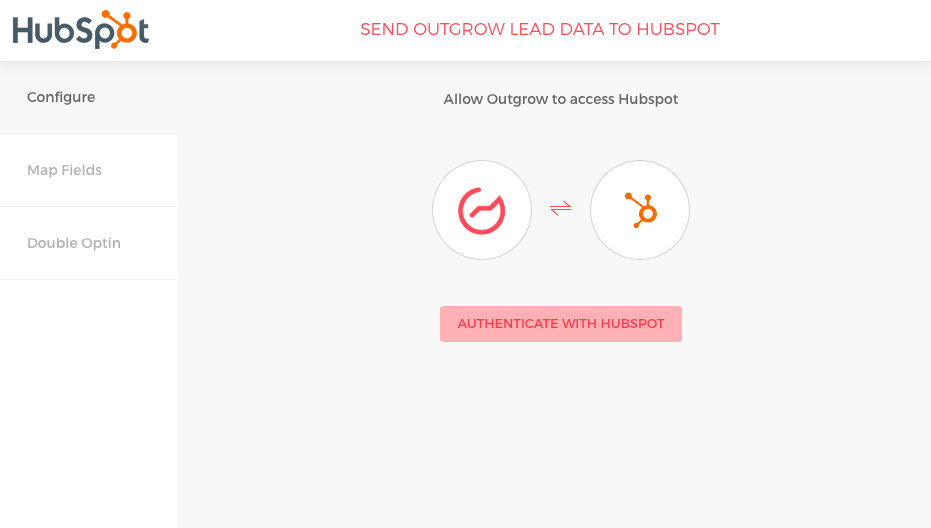
4. In the next step authenticate your HubSpot account by clicking on Authenticate With HubSpot.
5. Log in to your HubSpot account using your HubSpot credentials, and once you are logged in, you can choose to either Proceed With List or Proceed With Segment.
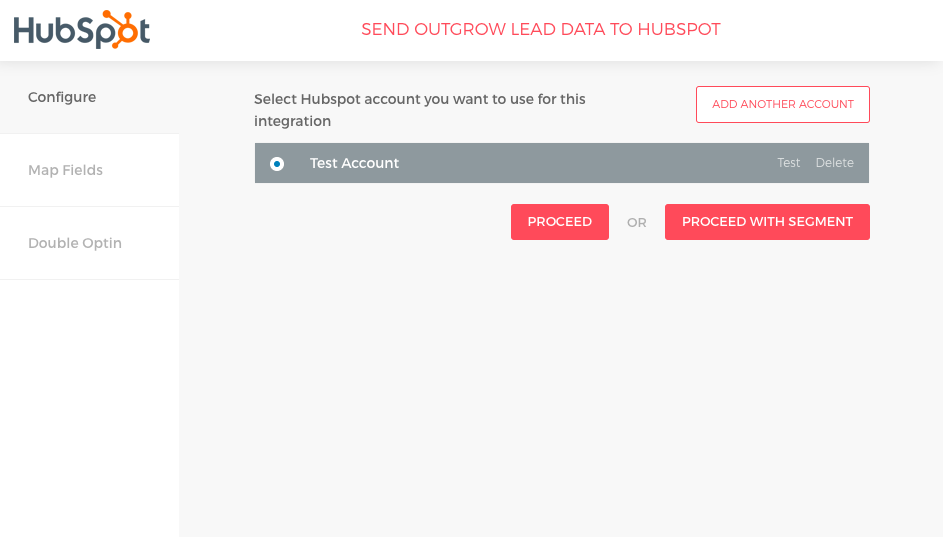
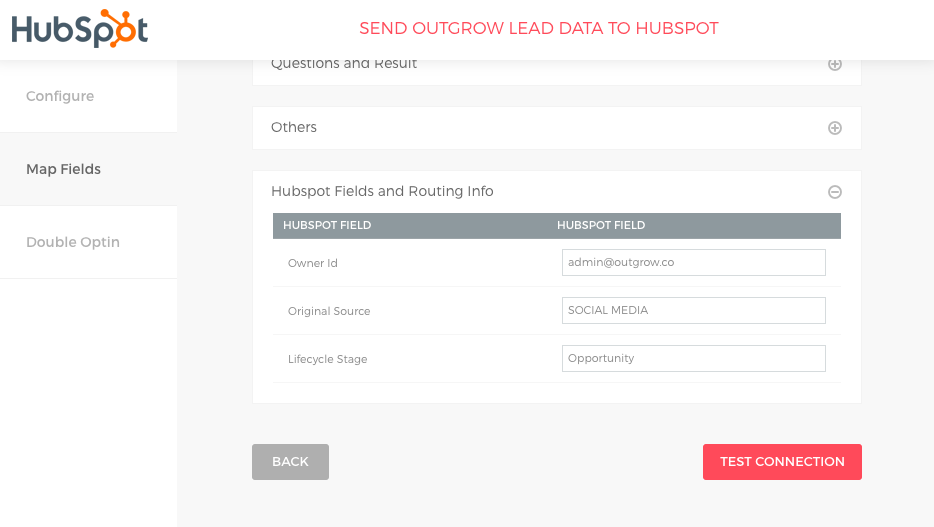
6. In this case, we will choose Proceed With List. In the next step, you can map Outgrow fields with HubSpot fields. Now, for setting up the routing rule in the mapping section, you can navigate to Routing Info section and click on the expand icon. Here you can specify the Owner ID, Original Source and Lifecycle Stage. Once you have added the information in these 3 fields click on Test Connection.
IMPORTANT NOTE
A. Owner ID - In this field, you can specify the name of the HubSpot user to whom the lead will be assigned.
B. Original Source - In this field, you can specify the source from where the lead was collected in Outgrow.
C. Lifecycle Stage - Using this field you can specify the Lifecycle stage for each lead while adding the lead in HubSpot. For each lead, you can specify whether the lead is in Subscriber, Lead, Sales Qualified Lead, Marketing Qualified Lead, Opportunity, Customer, Evangelist stage.
7. Once you save the configuration, your integration along with the routing rule will get activated.

NOTE - In case you have already configured the integration you can click on Reconfigure in Step 3 and then follow the steps mentioned in the document.

In case you have any questions or concerns, feel free to reach out to us at [email protected] and we will be happy to assist you further.
Updated over 1 year ago