Setting up a Native Integration between Outgrow and Snowflake
Snowflake offers data storage, processing, and analytic solutions that are faster, easier to use, and far more flexible than traditional offerings. Outgrow now offers seamless integration capabilities with Snowflake, allowing you to leverage the power of Outgrow's interactive content and sync data directly to Snowflake for further analysis and utilization.
To get started with configuring the integration, you will need the following access:
A. Access to an Outgrow account with an active subscription.
B. Access to a Snowflake account with the necessary permissions.
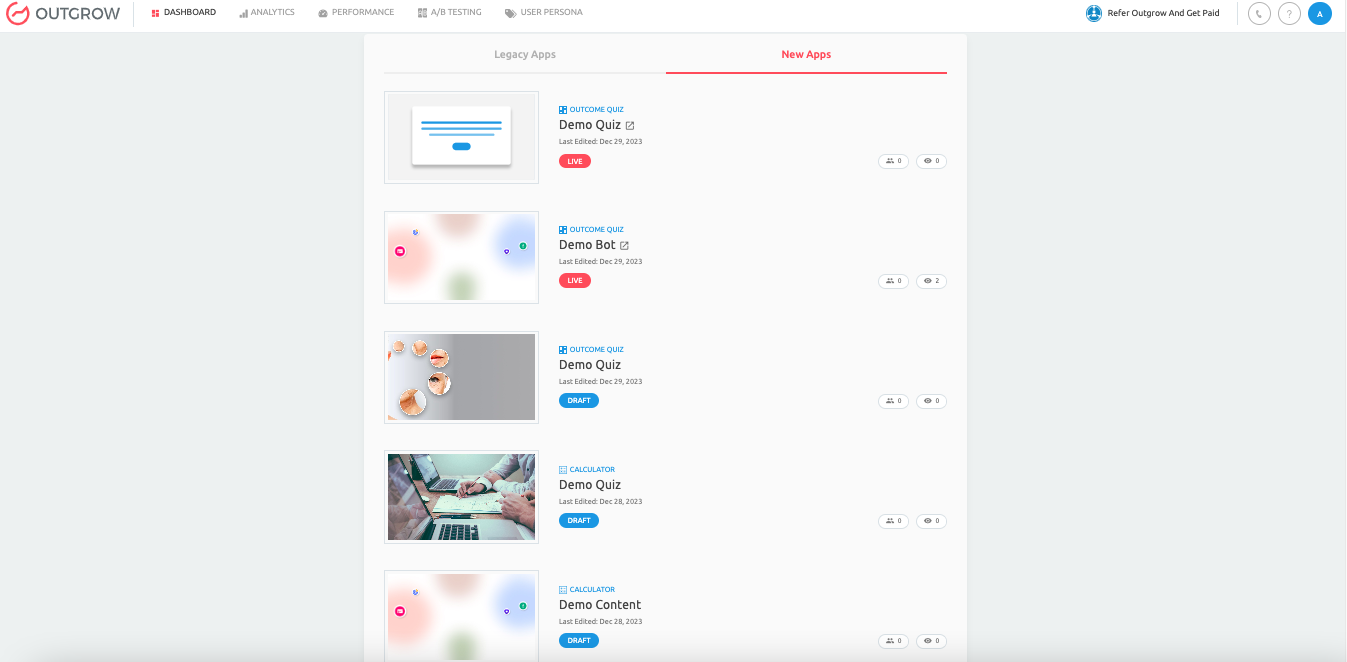
C. A live Outgrow content piece.
Locating Integration related Information in your Snowflake account
To connect your Outgrow & Snowflake accounts, you need to have access to create a Warehouse, Database, Scheme, and Table, and with this, you need access to view your Account Credentials, including Account Name (Account Identifier), Username, and Password. Here are the steps that you need to follow to locate the required information in your Snowflake account:
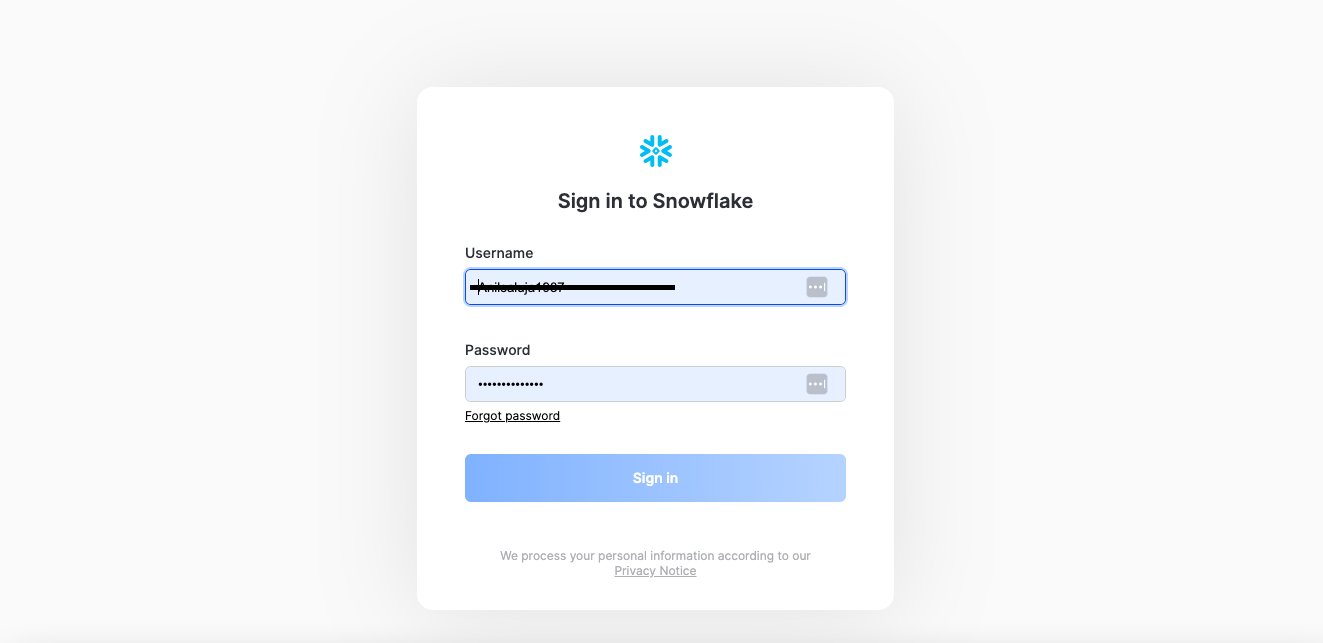
A. You can log in to your existing account, or can sign up for a new account by going to the Snowflake website.
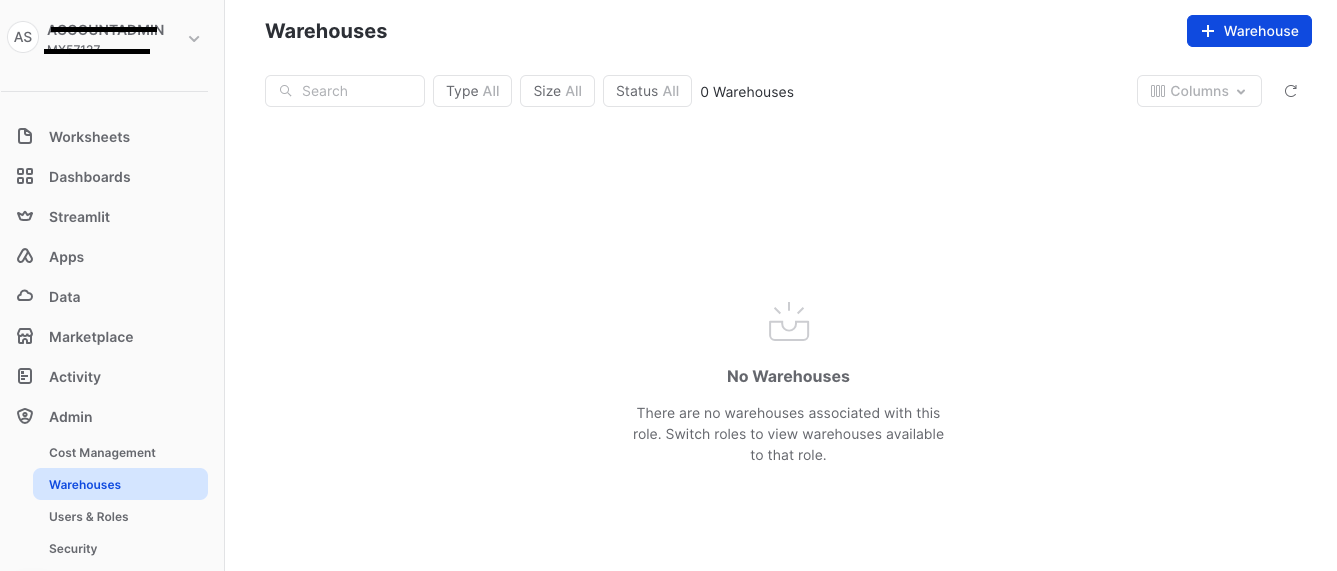
B. Once you log in, you first need to locate the Warehouse that you would like to use in Outgrow. If you have an existing warehouse you would like to use, you can copy the name of that warehouse. Otherwise, you can click on the Create Warehouse button to create a new warehouse.
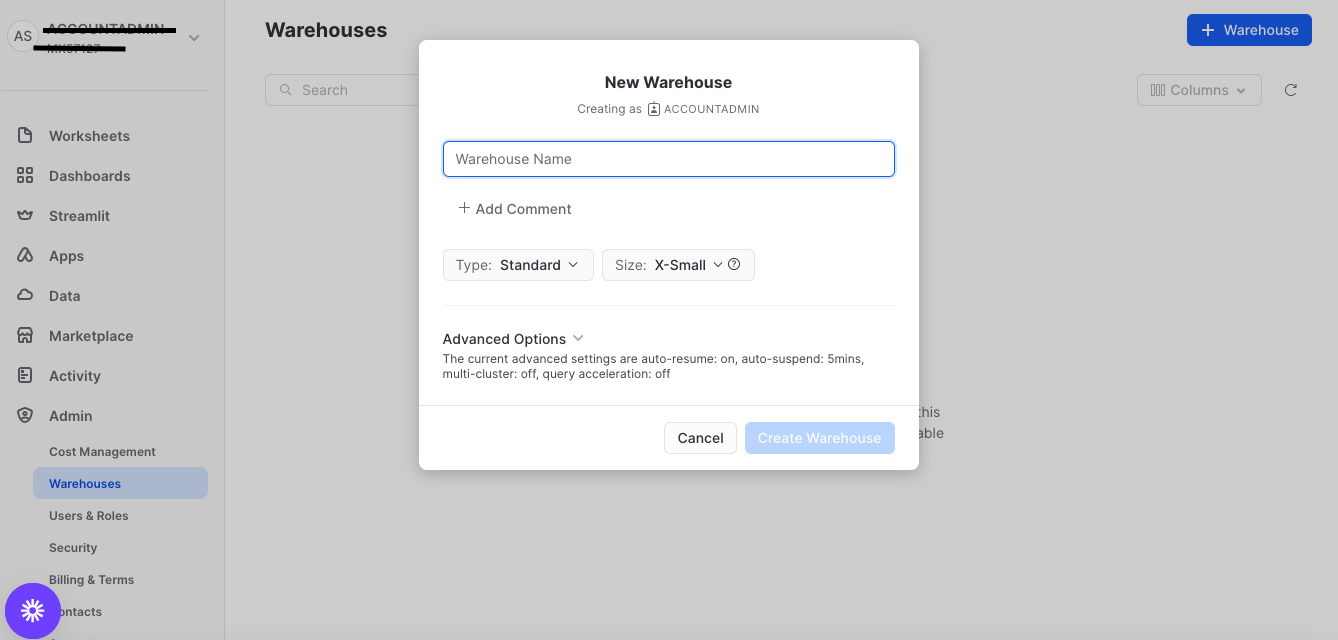
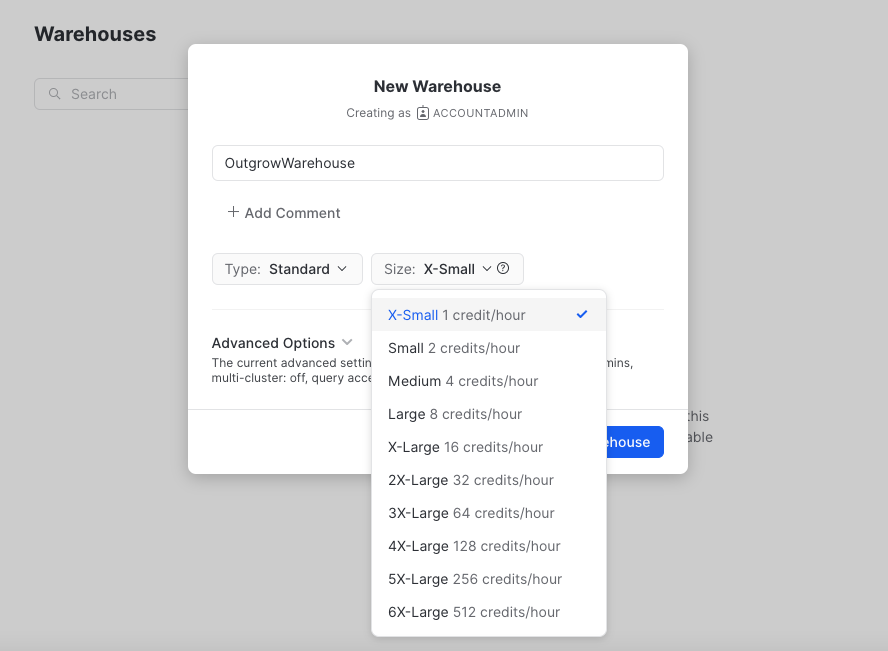
C. While creating a new warehouse, specify the Name, Size and Type of the warehouse.
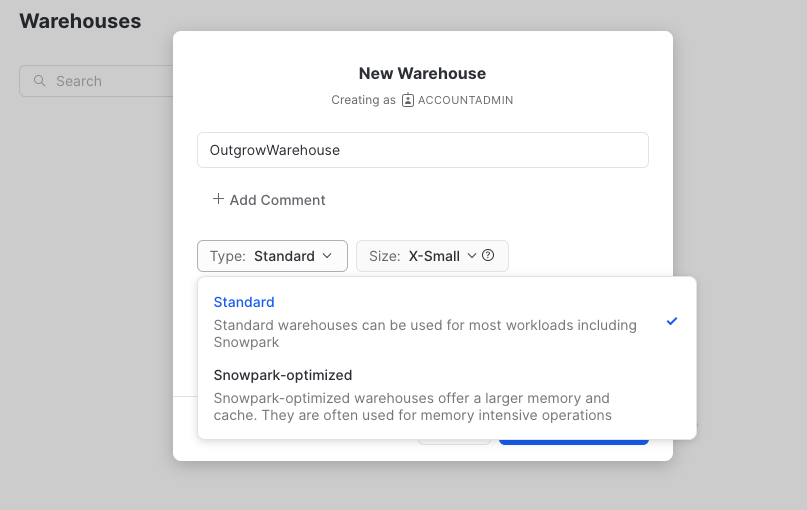
C.1. Depending on your workload requirement, you can choose between Standard & Snowpark-Optimized warehouse type.
C.2. You can also select the warehouse size you want using the dropdown. Click on Create Warehouse to save the new warehouse configuration.
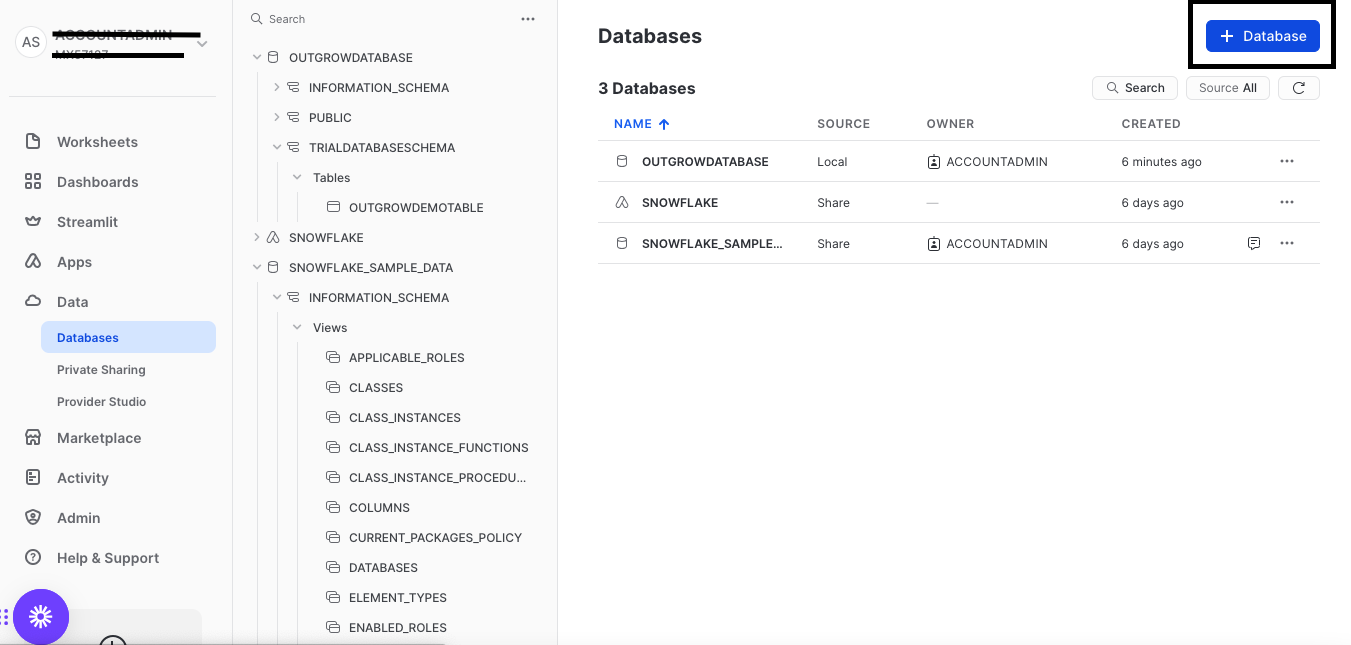
D. Post configuring your warehouse, you next must choose an existing or a new Database that you would like to connect with Outgrow. All the leads sent from Outgrow will be saved in this database.
D.1. You can navigate to the Data tab and then to the Databases sub-tab. You can choose to either use an existing database or click Create Database to create a new one.
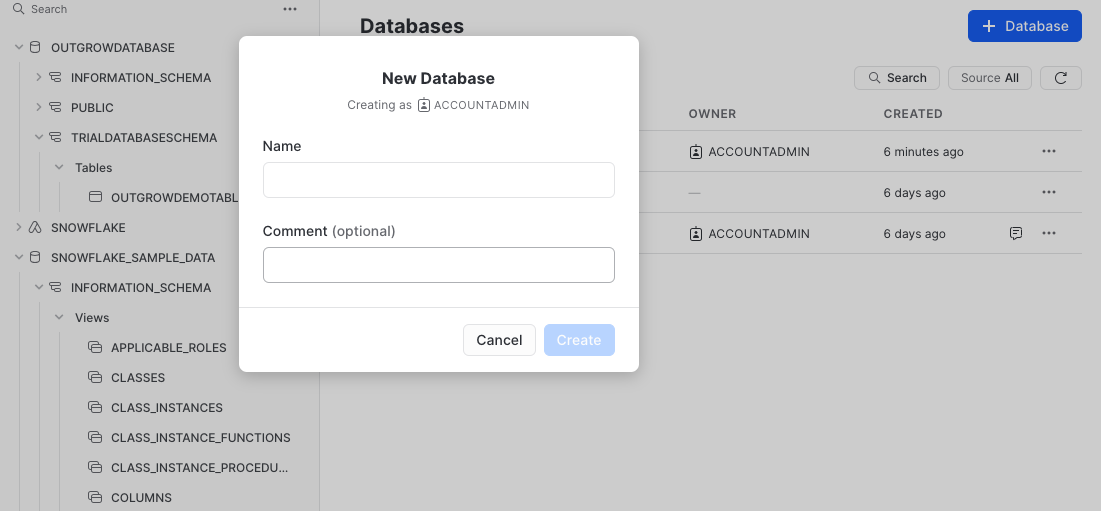
D.2. In case you opt to configure a new database, you can specify a name for the database, and then click on Create to set up the new database.
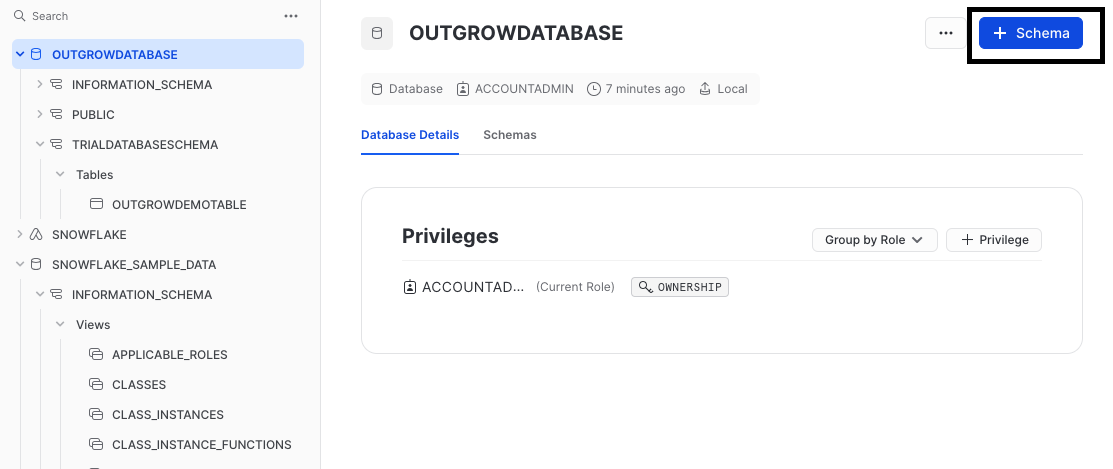
E. In the next step, select an existing or new Database Schema you would like to use. If you want to use a new schema, click on Create Schema and then specify the schema's name.
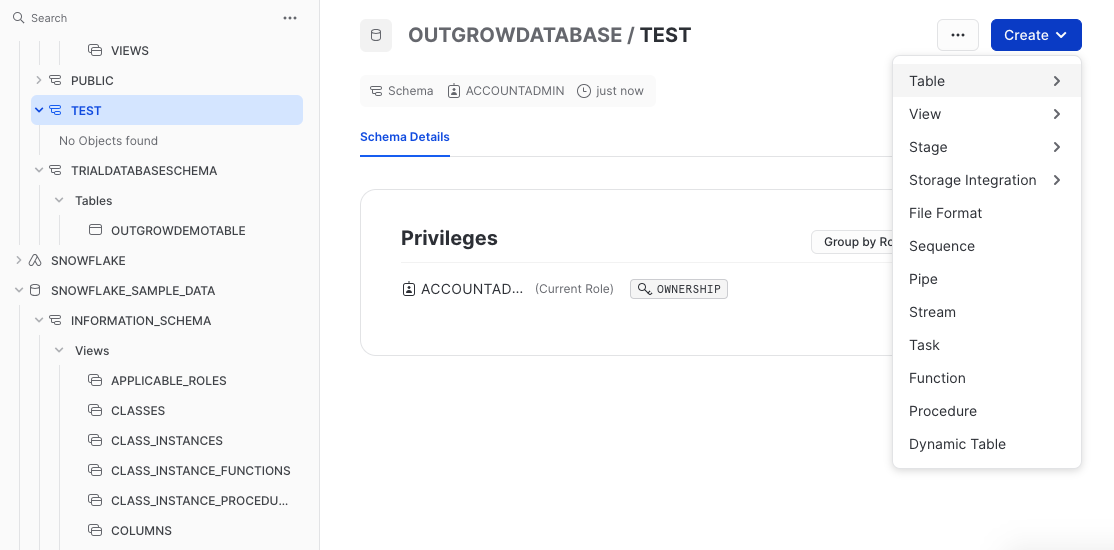
F. Within the selected schema, choose the Table where the Outgrow lead data will be saved. To set a new table, you can follow these steps:
F.1. Click Create and select Table from the drop-down list.
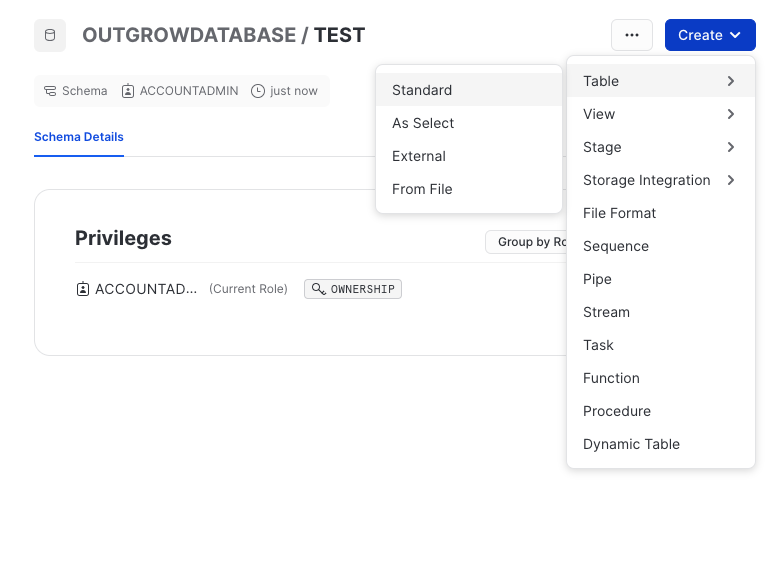
F.2. Choose the appropriate table type you want to use. NOTE: We recommend creating a Standard table in Snowflake.
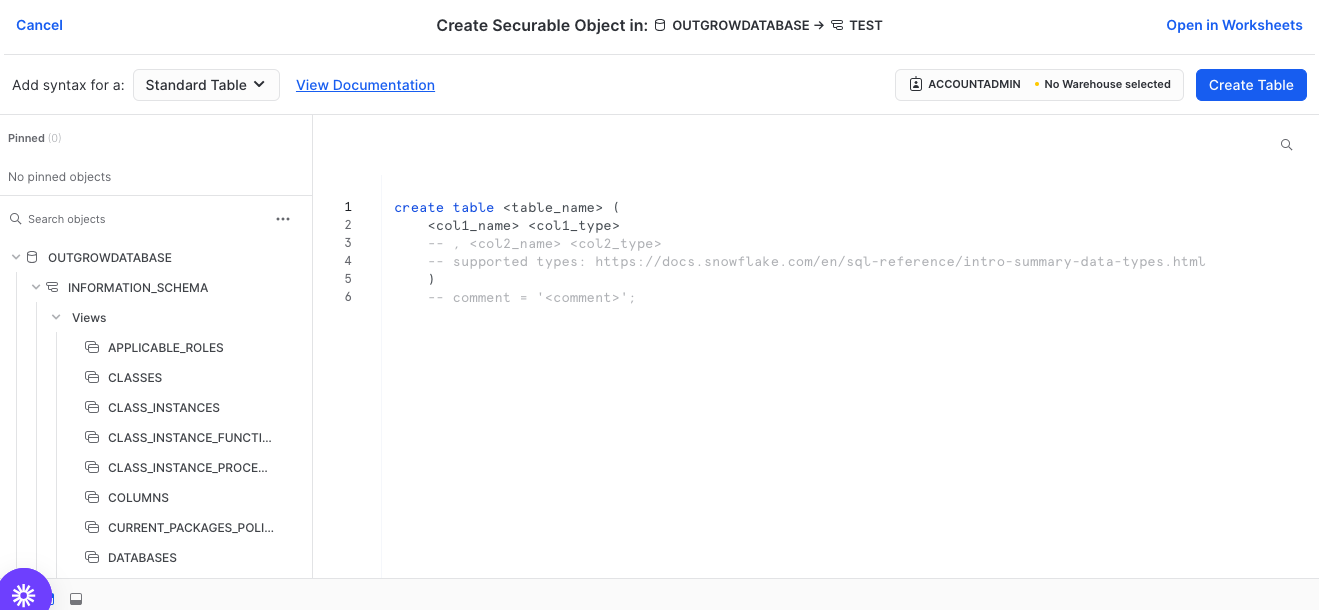
F.3. To create the table and columns, execute the Creation query in Snowflake. For example, in case you want to create a new table with the name Outgrow Demo, and 2 columns for storing Names and Email Addresses, you need to use the below-mentioned Creation query:
create table Outgrow_Demo {
Email String ,**Name String ,**
<col_name> <col_type> } ;
NOTE: For adding additional columns in the table, you can replace <col_name> & <col_type> with the respective field name and type. If you don't want to add additional columns, you can remove the <col_name> and <col_type> parameters present in the query code.
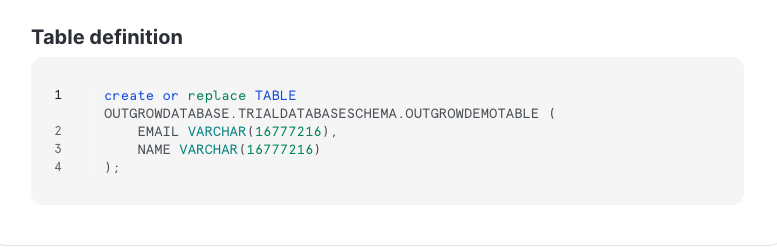
F.4. Once the table and columns are created, they will be defined using the syntax shown in the image.
G. Lastly, you need to locate the Account Name that you must specify in Outgrow. To locate the account name, you can navigate to the Admin tab and then go to the Accounts sub-tab. In case you are a part of multiple accounts, select the account you would like to use, and then click on the info icon next to Account ID and copy the Current Account URL. Account Name is the Snowflake Identifier present in the URL.
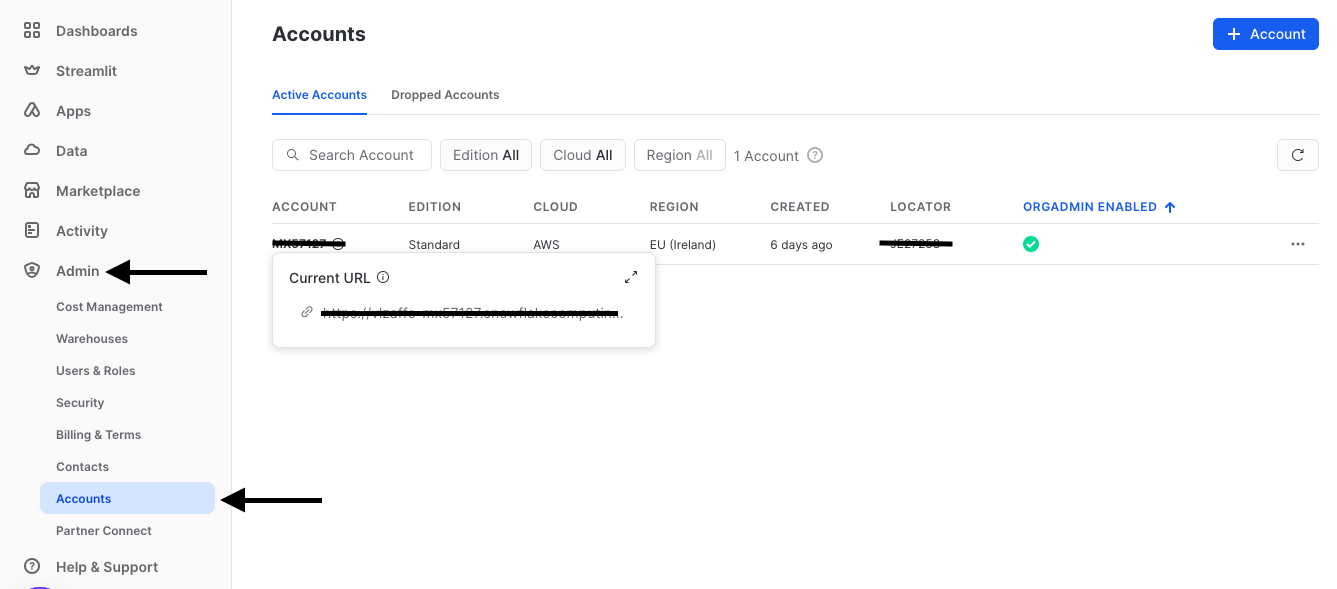
IMPORTANT NOTE
For example, if your Current URL is vlzmiio-mx33121.snowflakecomputing.com, then the Account Name is vlzmiio-mx33121.
Connecting your Snowflake & Outgrow account
A. Once you have access to all the required Snowflake information, log in to your Outgrow dashboard.
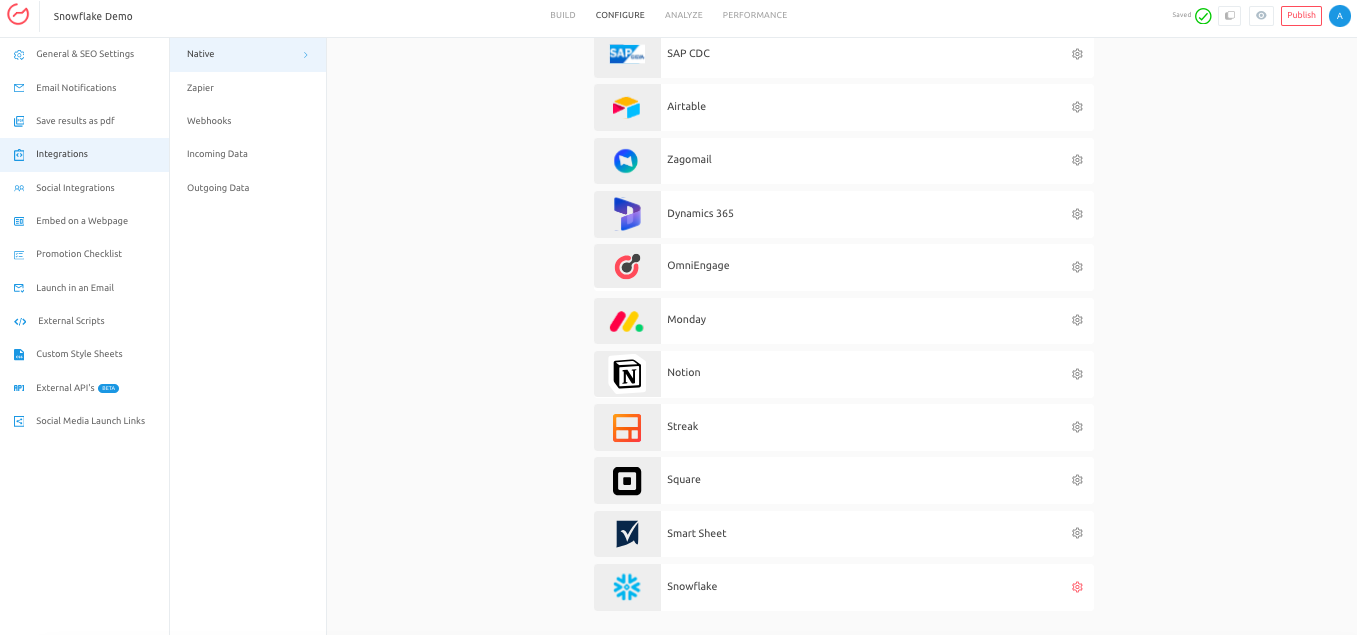
B. Open the respective content in Build mode, and then go to the Configure tab. Now, under Integrations, navigate to Native Integrations, and for Snowflake integration click on Configure (Gear Icon).
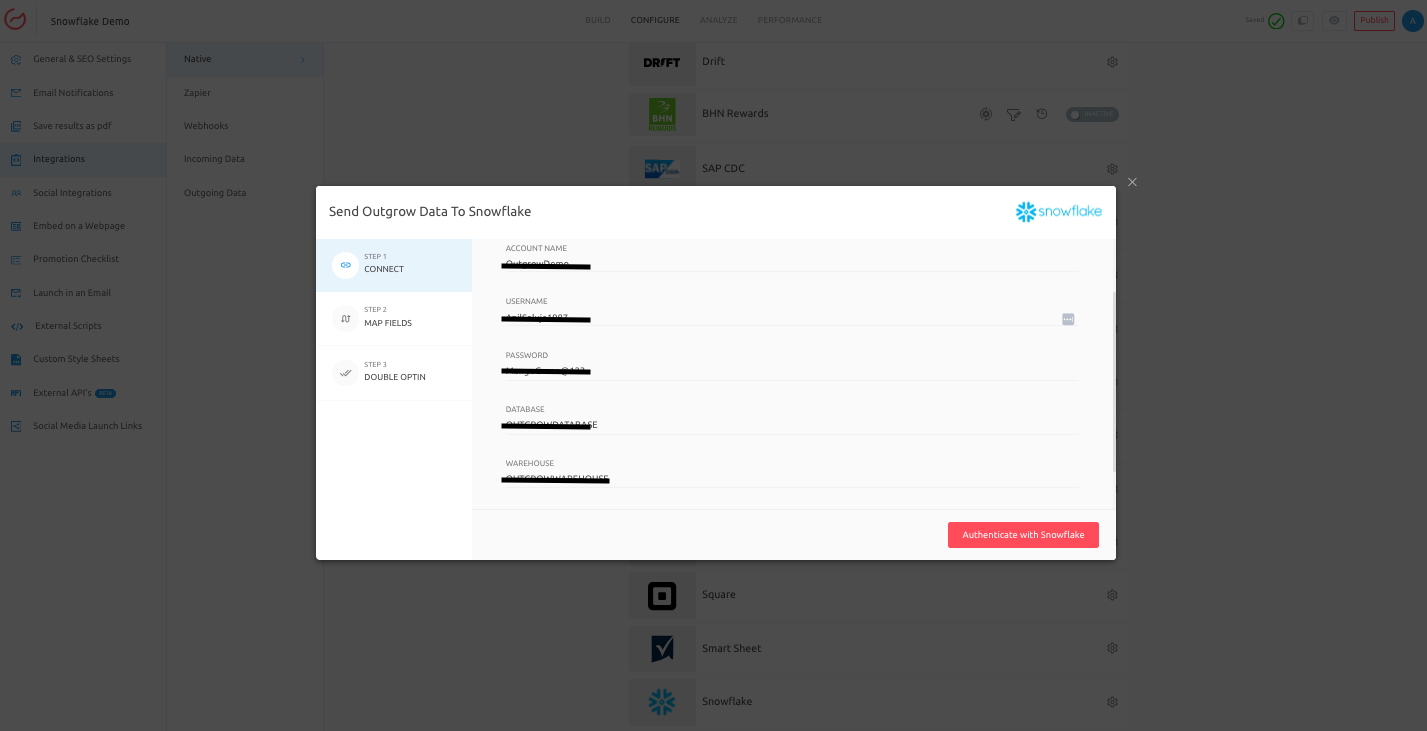
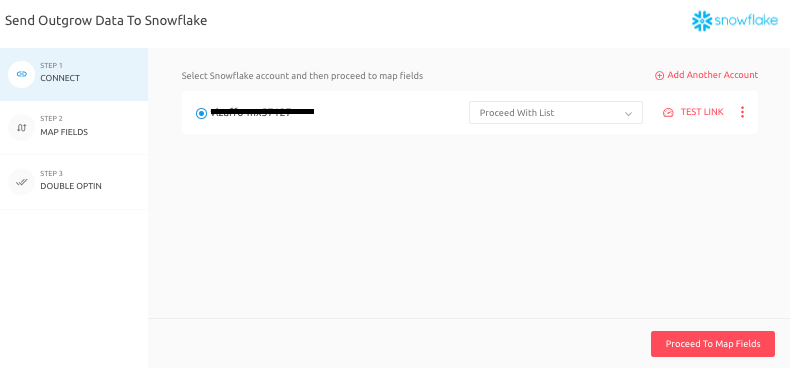
C. To connect your Outgrow & Snowflake account, specify the Account and Asset details that you copied from Snowflake. Once the details are added, click on Authenticate With Snowflake to authenticate the connection.
D. In the next step choose whether you want to Proceed With List or Segment.
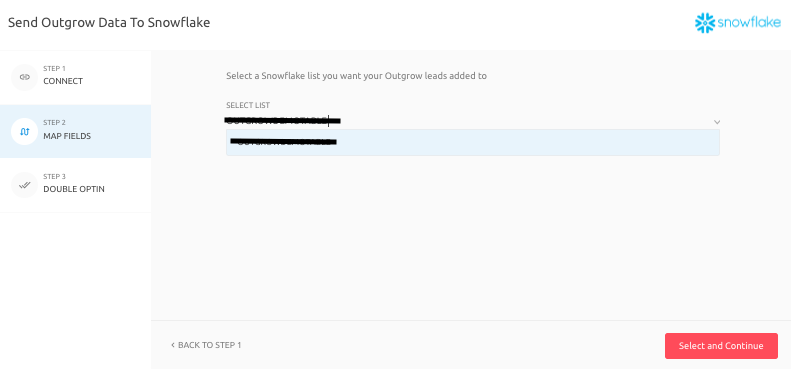
E. Post selecting the desired option, select the Snowflake table in which you want the Outgrow data to be added.
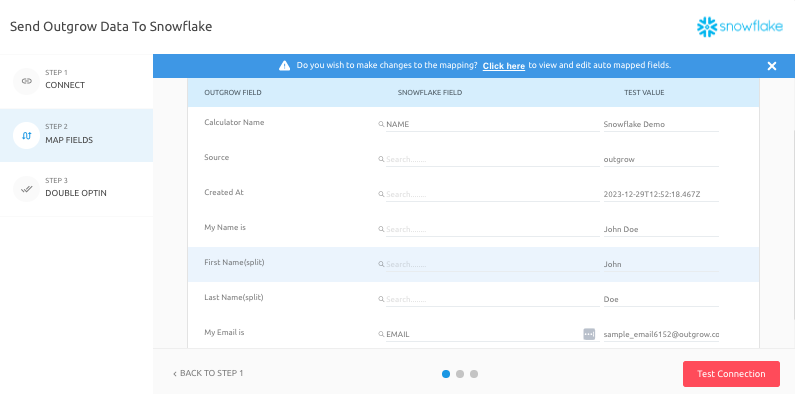
F. Map the required Outgrow fields, with the appropriate columns that you created in Snowflake.
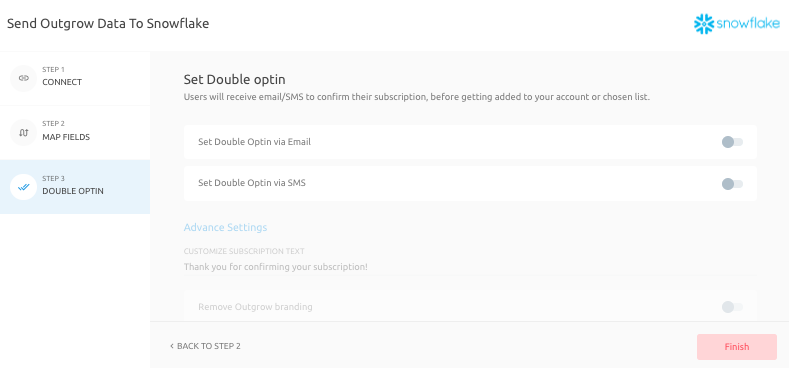
G. In the final step, click on Finish to save the newly added configuration.
H. Once the configuration will be saved, you will notice that the Snowflake integration has been activated, which means that the data from Outgrow will continuously be synced with Snowflake.
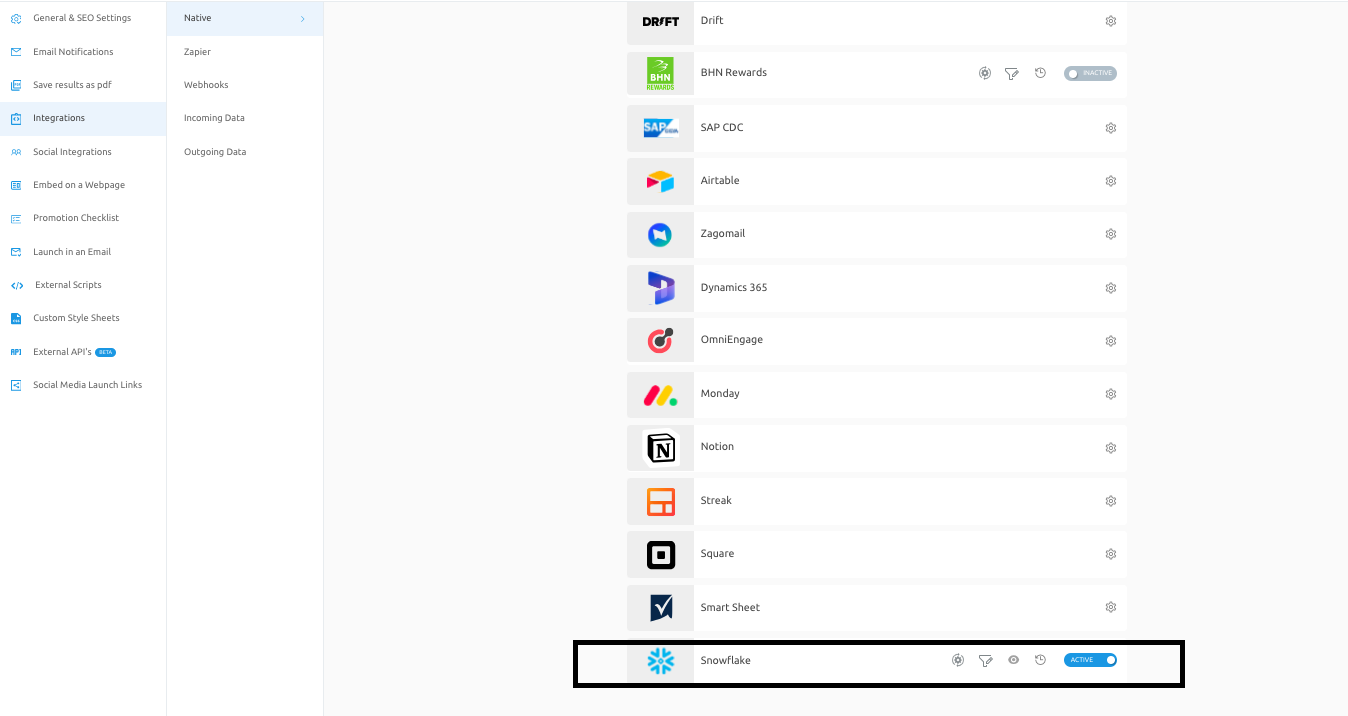
Additional Integration Actions
Once the integration is configured and active, you can navigate to the Snowflake block, and can choose to perform any of the below mentioned actions:
A. Re-configure: In case your Snowflake credentials have changed or you want to connect Outgrow with a different Snowflake account, then you will have to Reconfigure your Snowflake integration to continue getting Outgrow leads in your Snowflake account.
B. View Mapping: If you need to go over which fields you have mapped to configure your Outgrow & Snowflake integration, you can click on View Mapping. you can then toggle between tabs to view the mapping across all fields.
C. Task History: This contains the list of all the leads sent to Snowflake. The leads which are in queue to be synced will have the status Waiting and those which have failed to sync due to some reason will be shown as Failed. If due to some error in connection your leads from a content piece have not been sent to Snowflake then you can Sync the leads to your Snowflake account after re-configuring. All the leads which were not sent to your account will be sent to Snowflake when you sync. If for some reason, even after syncing you do not see your lead on your Snowflake account then reconfigure once and then Sync.
D. Filter: In case you would like to set up a quick filter using First Name, Last Name, and Email Address, to see if the lead was sent to Snowflake or not, you can use this feature.
Feel free to reach out to us at [email protected] in case you have any questions or concerns, and we will be happy to assist you further.
Updated about 2 years ago