GetResponse and Outgrow Integration
Use Outgrow interactive experiences which are designed for conversion and engagement and push the leads you have collected to GetResponse using our Outgrow-GetResponse native integration.
Here's what you will need to get started:
- An Outgrow account
(Freelancer and Essential plans come with limited integration which allows you to sync lead details to GetResponse, Business and Enterprise plans include loaded integration which allows mapping all fields including questions and responses from a content piece to GetResponse.)
- A valid GetResponse account
- A live Outgrow calculator, quiz or poll
Steps to set up the integration-
- Log in to your Outgrow account and open a live content piece for which you want to set up an integration with GetResponse. Once you are in the builder, navigate to the Integrations section in the Configure tab. Under Native Integrations, you will see GetReponse.

- Post clicking on the Configure Integration icon, an integration configuration window will open up. In this window, you will have to fill in the details and click on Authenticate With GetResponse.
.png")
NOTE:
You can find the API key by navigating to the Integrations and API section in the drop-down as shown below.
.png")
- Once your GetResponse account is authenticated, you will get an option to Proceed with List or Proceed with Segment.
.png")
When you choose to add Outgrow Leads to a List
- When you choose to Proceed With List, in the first step you will be required to select the List in your GetResponse account to which you want the Leads to be added.
.png")
- Now you can proceed by mapping the fields.
.png")
Once you are done, click on Test Connection and Finish. Your GetResponse integration is now active.
When you choose to add Outgrow Leads to a Segment
-
In case you have created a Segment in Outgrow to group leads using criteria such as Browser Type, Outcome Received, etc. you can map the Segment with a List in your GetResponse account.
-
After clicking on Proceed with Segment, you can select the Segment from Outgrow and the List in GetResponse where you want to send the leads.
.png")
Once done, you can click on Map Fields.
NOTE:
You can set up multiple cases, i.e. you can select multiple segments and lists to pass on your leads to GetResponse from more than one segment.
.png")
After you are done with mapping, you can click on Test Connection. Now you can click on Save Conditions and Finish. Your GetResponse integration is now active.
NOTE:
When you navigate to the integration dashboard, you will notice that the Active button will be toggled on for the Mailchimp integration.
.png")
How to configure AutoResponder value in GetResponse to trigger an email from GetResponse instantly
1. In the respective Outgrow content builder dashboard, navigate to the Configure tab and then under the Integrations sub-tab, navigate to the Incoming Data section.
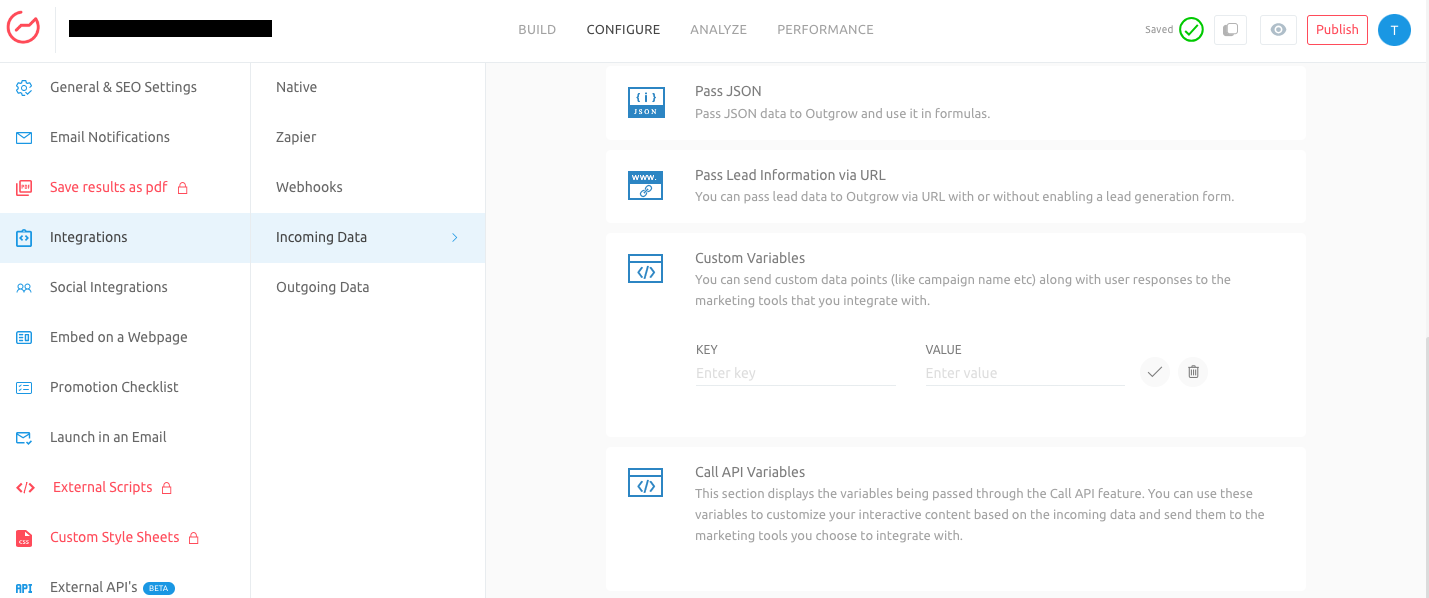
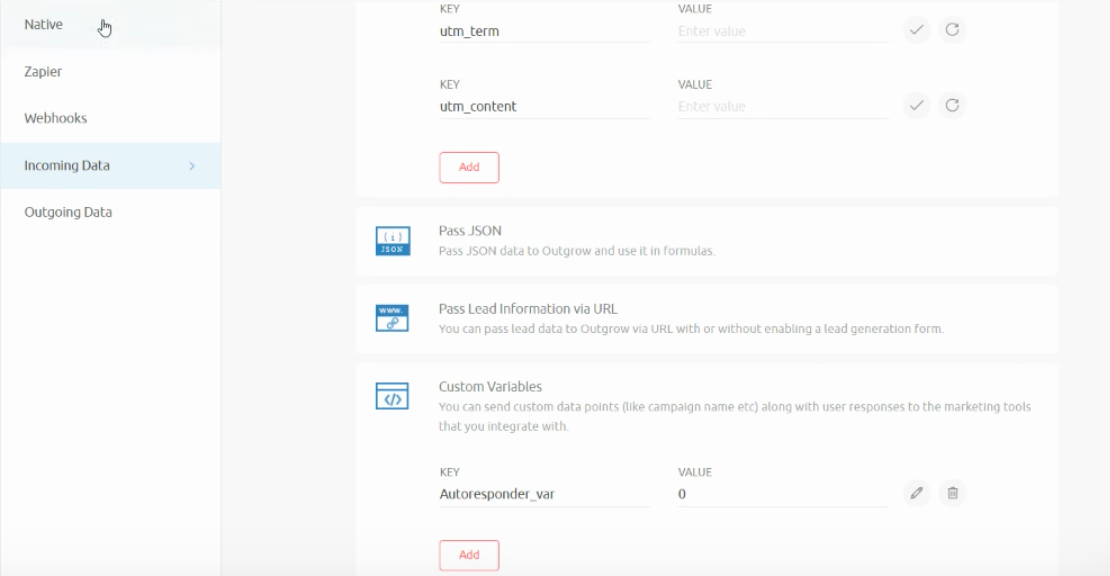
2. Under Incoming Data, add a new Custom Variable with the value 0. This custom variable field will be mapped with the date field in GetResponse. Make sure you click on Add to save the changes. Example: In the screenshot below, we have created Autoresponder_var as the key and 0 as the value of the custom variable.
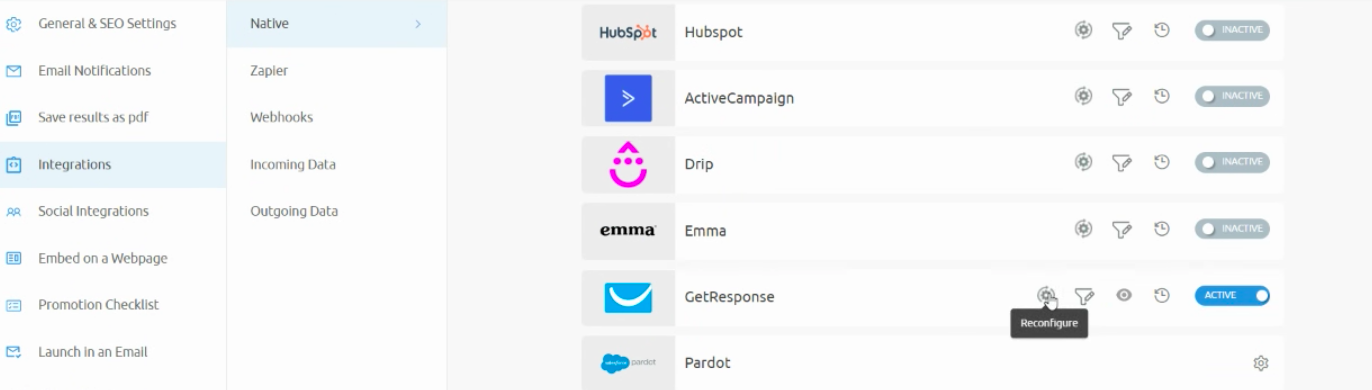
3. Now you need to navigate to the Native integrations section and click on Reconfigure option for the GetResponse integration.
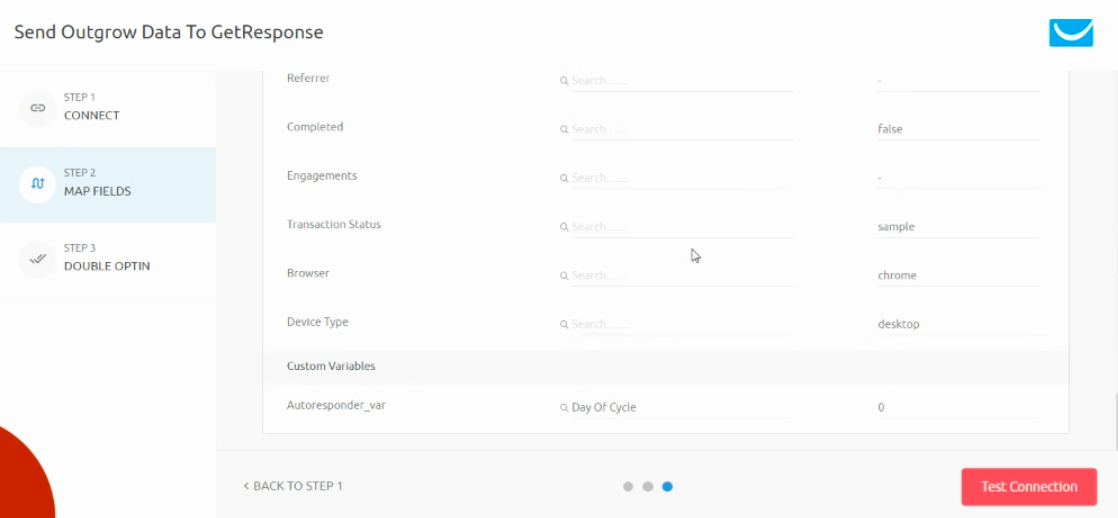
4. Under step 2, navigate to the Others tab, and locate the newly added custom variable field. Map the respective Outgrow variable field with the respective date field from GetResponse.
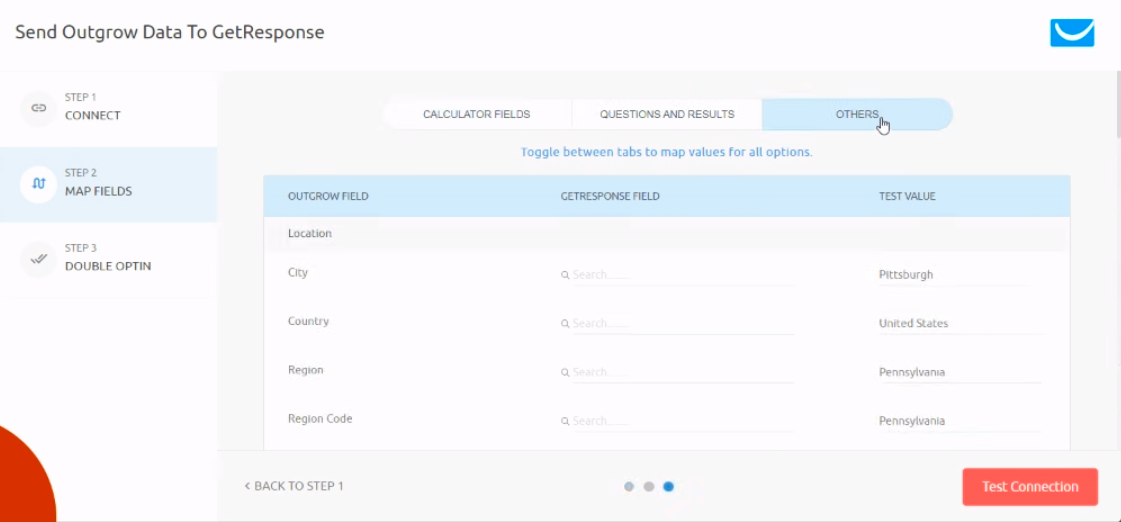
5. For example, as you can see in the screenshot below, we linked the Autoresponder_var (Outgrow) field with the Day Of Cycle (GetResponse) field. NOTE: Make sure you click on Test Connection and then on Save to save the configuration.
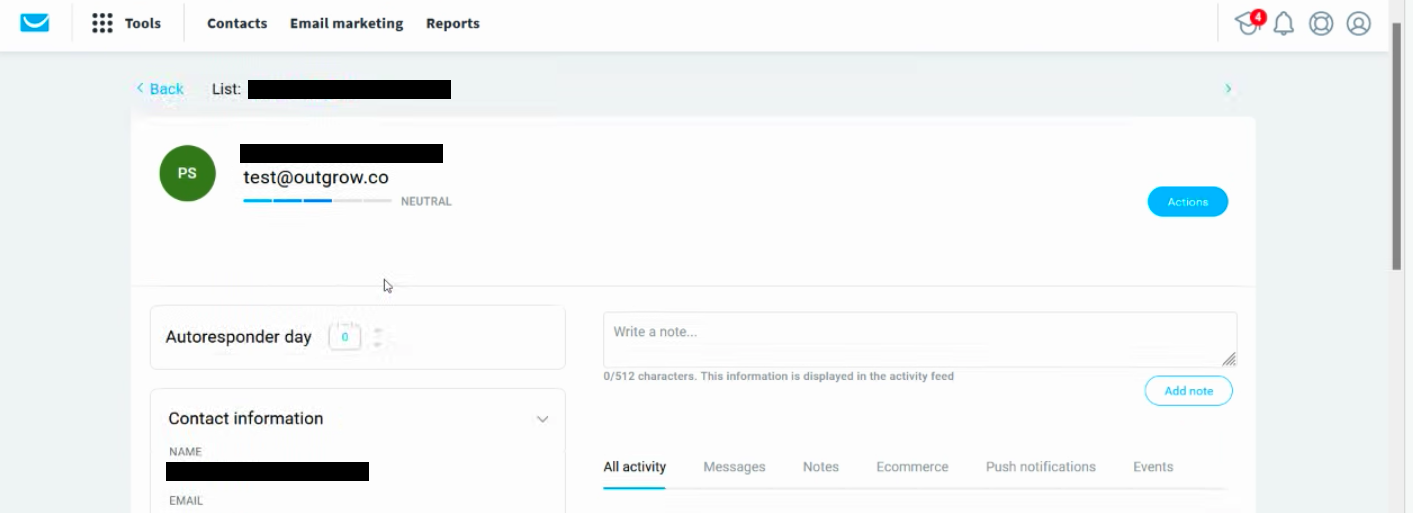
6. Now, if you login to your GetResponse account, and open the newly added lead sent from Outgrow, you will notice that the Autoresponder Day value has been set as 0, which will ensure that the email is sent to the user immediately without any delay.
More actions
Once the integration is configured and is active, you can navigate to the GetResponse block to see more actions that can be performed on GetResponse integration after it has been set up.
Re-configure- In case your GetResponse credentials have changed or you want to connect Outgrow with a different GetResponse account, then you will have to Reconfigure your GetResponse integration to continue getting Outgrow leads in your GetResponse account. If you have collected some leads on Outgrow but don't see them on GetResponse then you should definitely try to Reconfigure once to fix it yourself. If that doesn't help then drop us an email with your query at [email protected].
View Mapping- If you need to go over which fields you have mapped to configure your Outgrow-GetResponse integration, you can click on view mapping. you can then toggle between tabs to view the mapping across all fields.
Task History- This contains the list of all the leads sent to GetResponse. The leads which are in queue to be synced will have status Waiting and those which have failed to sync due to some reason will be shown as Failed. If due to some error in connection your leads from a content piece have not been sent to GetResponse then you can Sync the leads to your GetResponse account after re-configuring. All the leads which were not sent to your account will be sent to GetResponse when you sync. If for some reason, even after syncing you do not see your lead on your GetResponse account then reconfigure once and then Sync.
Deactivate - In case you don't want to send leads from a content piece to GetResponse, you can simply deactivate it.
Important
For every Outgrow content piece you create, you will have to activate or deactivate the integration from the Configuration section in the builder, to start or stop sending leads collected in Outgrow to GetResponse.
Email field is a required field and needs to be mapped for the integration to be configured.
In case you have any questions or concerns, please feel free to reach out to us at [email protected], and we will be happy to assist you further.
Updated about 2 years ago