Unbounce and Outgrow Native Integration
Use Outgrow interactive experiences, which are designed for conversion and engagement, and push the leads you have collected to Unbounce using our Outgrow-Unbounce native integration.
To get started, here is what you need:
- An active Outgrow account with a paid subscription.
- An active Unbounce account with a paid subscription.
- A live Outgrow content piece.
How to configure integration between Outgrow and Unbounce
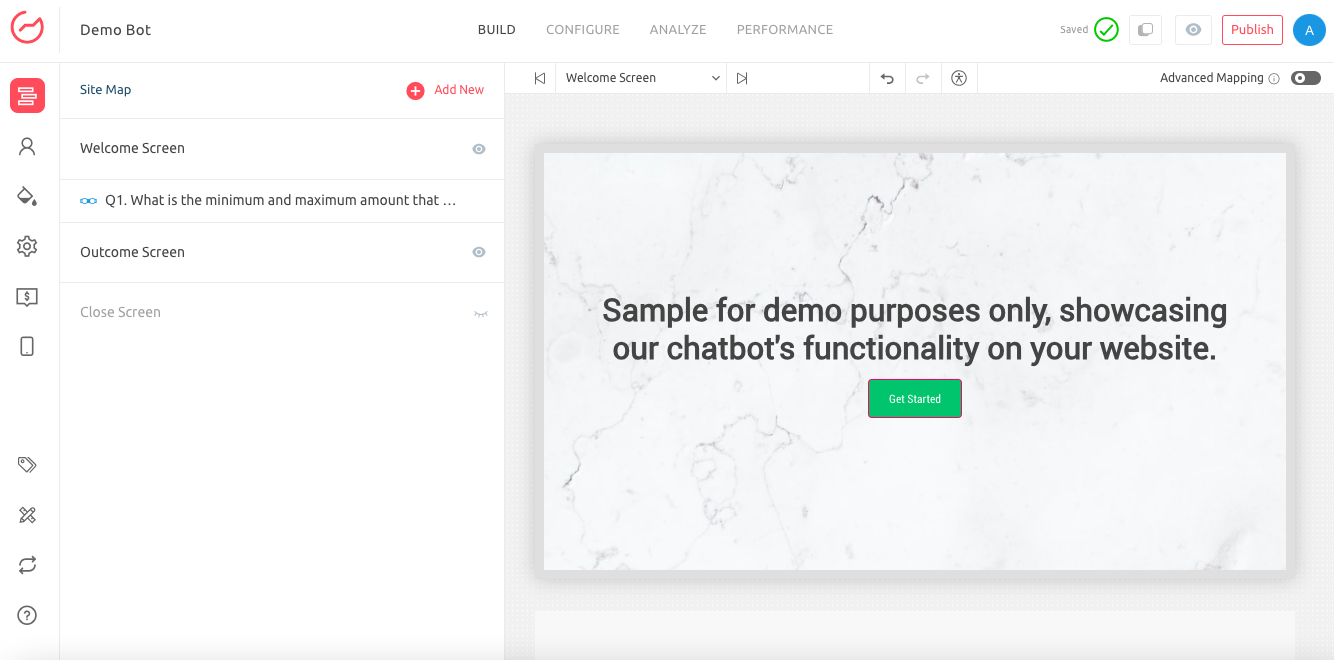
- Open the respective Outgrow content in Build Mode, and navigate to the Configure tab.
In the Configure section, navigate to the Integrations sub-tab, scroll down to Unbounce integration, and then click on Configure (Gear Icon) to configure the integration between Outgrow & Unbounce.

- In the Configuration popup, add the Account Name and Unbounce API Key, and then click on Authenticate With Unbounce.
.png")
NOTE:
- To access the API Key, you need to navigate to Account Management by clicking on the account icon on the top right corner of your dashboard.

- Under API access tab, you can access the API Key that you need to add in your Outgrow account.
.png")
- Once you are logged in, you will get an option to Proceed With Pages or Proceed With Segment.
.png")
- When you choose to Proceed With Pages, here are the steps that you need to follow:
A. Select the Unbounce Page, to which you want the Leads to be added.
.png")
- When you choose to Proceed With Segment, here are the steps that you need to follow:
A. If you have created a Segment in Outgrow to group leads using criteria such as Browser Type, Outcome Received, etc, you can map the Segment with the respective segment in your Unbounce account.
.png")
IMPORTANT NOTE
You can set up multiple cases, i.e. you can select multiple segments and pages to pass on your leads to Unbounce from more than one segment.
- Map the required fields in Outgrow with the respective fields in Unbounce, and then click on Test Connection and then on Finish to authenticate the data flow.
- Once the integration is configured, you will notice that the Active button will be toggled on for the Unbounce integration.
.png")
More actions
Once the integration is configured and is active, you can navigate to the Unbounce block to see more actions that can be performed on Unbounce integration after it has been set up.
Re-configure: If your Unbounce credentials change or you wish to link a different Unbounce account, you'll need to Reconfigure the integration for Outgrow leads to continue. If Outgrow leads aren't appearing in Unbounce, try Reconfiguring it yourself. If issues persist, email us at [email protected].
View Mapping: If you need to go over which fields you have mapped to configure your Outgrow-Unbounce integration, you can click on view mapping. you can then toggle between tabs to view the mapping across all fields.
Task History: This list includes all leads sent to Unbounce. Those waiting to sync show as "Waiting," while failed syncs display as "Failed." If content leads haven't reached Unbounce due to a connection error, you can sync them after reconfiguring. All unsent leads will go to Unbounce when synced. If a lead doesn't appear even after syncing, reconfigure once and then sync again.
Deactivate: In case you don't want to send leads from a content piece to Unbounce, you can simply deactivate it.
Important
For every Outgrow content piece you create, you will have to activate or deactivate the integration from the Configuration section in the builder.
Email field is a required field and needs to be mapped in order for the integration to be configured.
As a part of Freelancer and Essentials plan, you can only send lead details to Unbounce. To send questions and response details as well, you need to have access to Business plan and above.
In case you have any questions or concerns, please feel free to reach out to us at [email protected], and we will be happy to assist you further.
Updated about 2 years ago