Setting up a Poll in Outgrow
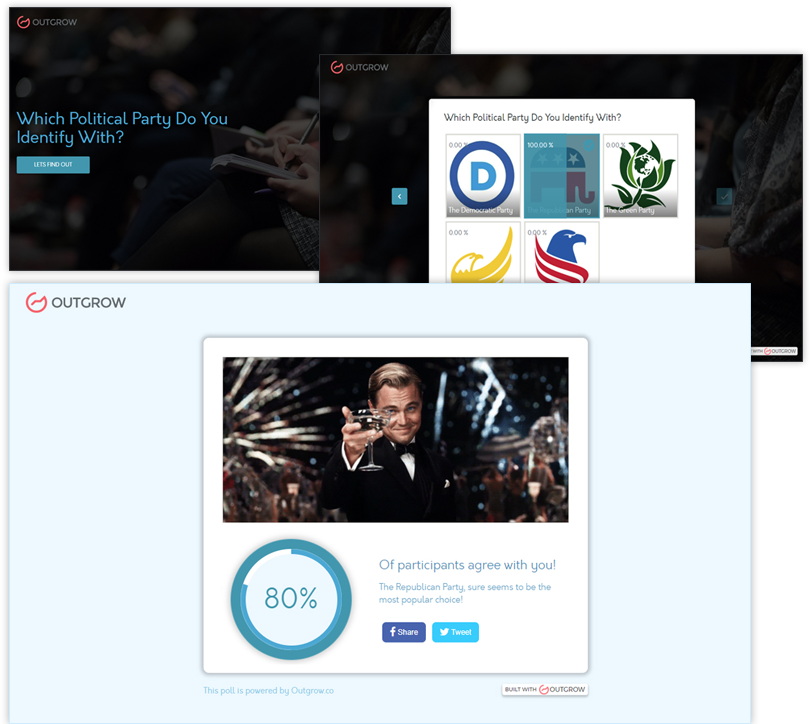
Outgrow is a software tool that allows you to create interactive content that engages your audience, and among its many features, you can now create polls. Polls are a powerful way to gain insights about your customers' needs and feedback about your products and services. They are also inherently viral and can help you reach a wider audience in a short amount of time.

Like other interactive content, Polls are also intrinsically viral, and you can now create real-time polls with Outgrow. Let's see how to build and customize a poll in Outgrow.
How to design a Poll in Outgrow
If you would like to create a poll using Outgrow, here is how you can do it:
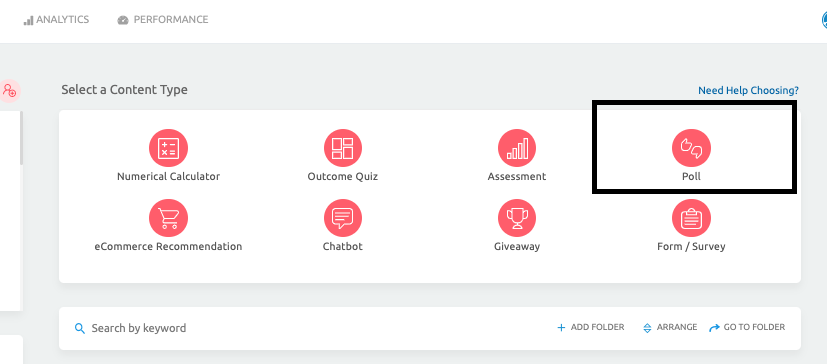
1. Log in to your Outgrow account and click on the Poll content type from the main dashboard.

2. Select whether you want to build a poll using a fresh design layout or a premade layout from Outgrow's library.
3. Customize your poll in the following three easy steps:
A. Step 1: Customize the Welcome Screen: To customize the welcome screen, you can specify the heading and subheading that will be displayed on the welcome page, the text that will be displayed on the call-to-action button, and whether you want to display media on the welcome screen. You can also modify the design aspect of the welcome screen by uploading a background image, specifying font size, type, and colour, and choosing the alignment of the text on the welcome screen.
B. Step 2: Customize the Questionnaire: To customize the questionnaire, you can add questions to your poll, and choose the question type, question text, description, and answer choices. You can also choose to make the question mandatory or not. You can customize the way in which the answer choices will be displayed for each question, choosing between a grid view or a vertical layout. You can also enable advanced settings such as redirecting users to another URL, specifying a fallback value, or adding a countdown timer. You can customize the design and layout of the questionnaire from the design and layouts tabs.
IMPORTANT NOTE
For Question Types, you can choose between Single Select, Multi Select, Drop Down, Text Input, Text Area, Numeric Slider, Opinion Scale, Rating, Ranking Grid, Date/Time Picker, and File Upload. One thing you need to remember is that only Single Select question type is considered while calculating the poll result.
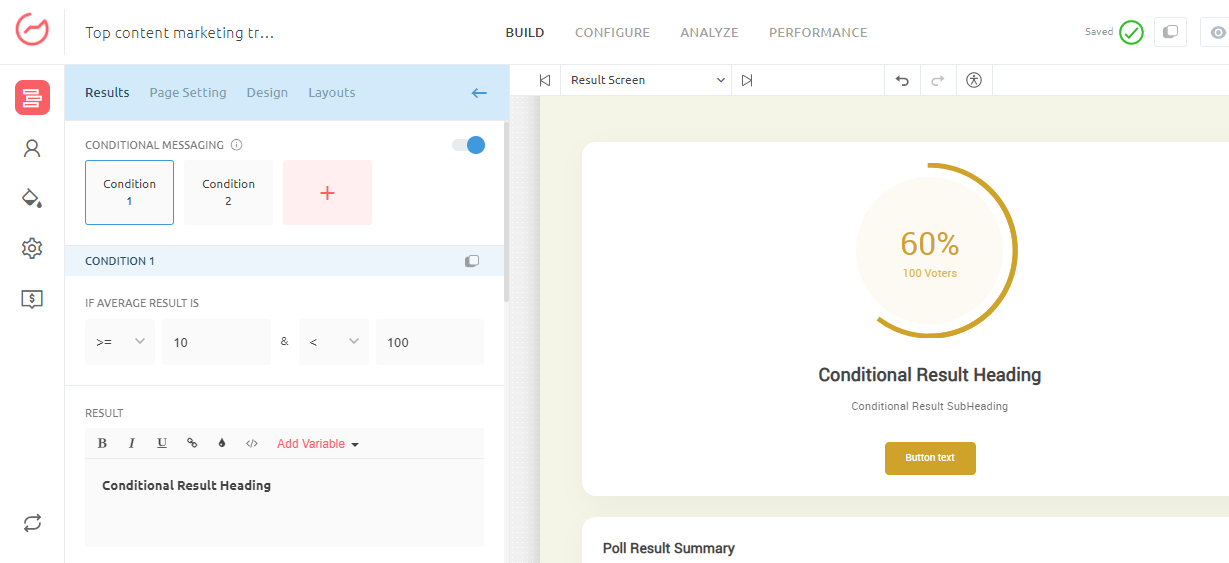
C. Step 3: Customize the Results Page: To customize the results page, you can configure the poll heading and description that will be displayed on the results page, as well as the URL that will be placed behind the call-to-action button. You can also configure conditional messaging and show poll summary settings. On the page settings tab, you can add media, social media follow and subscribe buttons, as well as Calendly and Chilipiper widgets. You can also customize the design aspect of the results page, from setting up the background image to selecting the font type, size, and colour that will be displayed on the results page.
D. Step 4: Setting up the Lead Gen Form: You can also customize the lead generation form and add or modify fields to collect specific information from your audience.
How does the Poll Scoring work?
When you create a poll, the percentage of users who have selected each option is automatically calculated. For example, if there are four options and 30 people have participated in the poll, and out of those 30 people, 25 have answered the single select question. If 10 of the 25 participants have selected option 1, then option 1 will show a percentage of 40%. To add a single select question, select "Single-Select" as the question type and lay out the options for users to choose from. Additionally, you can add an icon or image to be shown with each option.
NOTE: Only a Single Select option will be counted as a vote in the poll.
Configuring Conditional Messaging on the Results page
You can now display custom messages to poll users based on their results. You can showcase a different message depending on the result range. For instance, if the result is between 0-30%, you can show a message that reads "Only Result % of people agree with you, which is less than...". Otherwise, the message can read "Result% of people agree with you on...". You can add one or more conditional messages on a graded quiz. The range for the conditional message is automatically determined based on the possible range of the poll results.

Please feel free to reach out to us at [email protected] in case you have any questions or concerns, and we will be happy to assist you further.
Updated over 1 year ago