Configuring Multiple CNAMES in Outgrow: A Step-by-Step Guide
Outgrow allows you to use Custom Domain Names (CNAMEs) for your interactive content, providing a more professional and branded experience. This guide walks you through creating multiple CNAMEs for different content pieces within Outgrow.
Why Use Multiple CNAMES?
A. Brand Consistency: Maintain consistent branding across various campaigns or content types.
B. Organization: Easily identify and manage different content pieces based on their domains.
C. Tracking: Track performance separately for content hosted on different CNAMEs.
Steps for Configuration
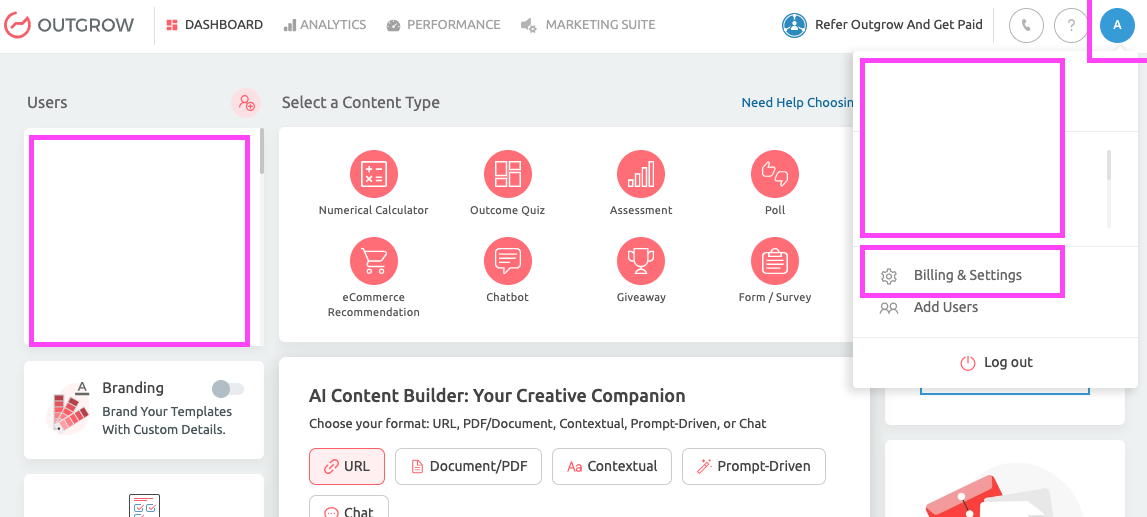
1. Log into your Outgrow account, and click on your Account Name in the top right corner. Click on Billing & Settings.
2. Under Billing & Settings, navigate to the Brand tab and Custom Domain.
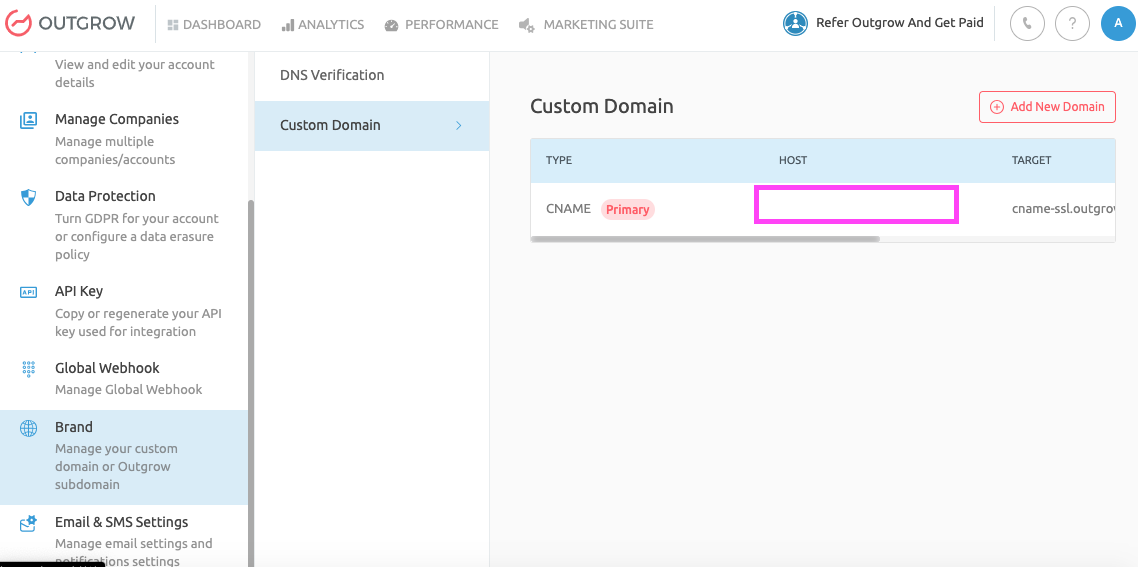
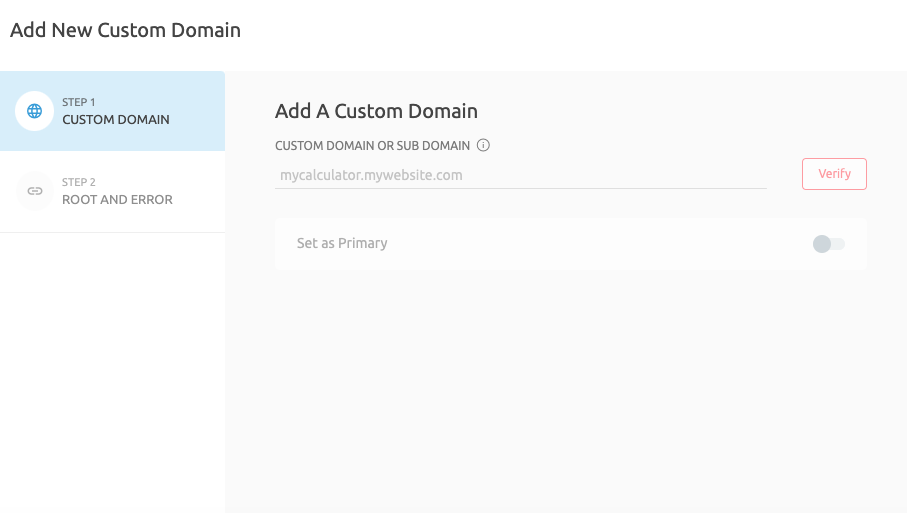
3. Click on Add A New Domain. Specify your Custom Domain or Subdomain and click on Verify. (NOTE: The subdomain entered in the Host Field should be the same as in your DNS records.). If you want to set the newly added domain as the primary domain, enable the toggle for Set As Primary.
4. In the next step, you need to sign in to your Domain Hosting Service to validate the domain specified in Outgrow and point CNAME to cname-ssl.outgrow.co. Here are the steps you can follow:
4.1. Sign in to your domain hosting service.
4.2. Navigate to your DNS management page.
4.3.Find the CNAME record settings, and open the respective CNAME record in edit mode.
4.4. In the Points To or Destination/Address Field, enter cname-ssl.outgrow.co. Click on Save to save the settings.
5. Once the Custom Domain or Subdomain is verified, in Step 2, your Automated SSL will be validated and made to point towards your Custom Domain or Subdomain. NOTE: You will see the status as Verified once the SSL is verified.
6. In the next step, specify your account's Root and Error URLs.
IMPORTANT NOTE
Suppose you have set up the following custom domain - mycalculators.mywebsite.com on your Outgrow account. Outgrow experiences that you create will automatically take URLs like - mycalculators.mywebsite.com/ROIcalculator1. Now, the user comes to this calculator link and then wants to check your website, so he changes it to mycalculators.mywebsite.com, but by default, this URL points to the Outgrow website. You can use this to showcase your landing page and product. For example, if your website is website.com, you can add website.com to the Root URL. So when users go on URL mycalculators.mywebsite.com, they will see your webpage instead of the Outgrow website.
Similarly, for error URL, if you have a page set up on your website for 404 error, you can add it while setting up Custom Domain. So when a calculator or quiz is not found on a given URL, your error page shows up instead of the default Outgrow error page.
7. You can repeat the above-mentioned steps for adding additional CNAMEs to your Outgrow account.
Feel free to use our chat tool on the bottom right or reach out to us at [email protected] if you have any questions, and our team can help you with a quick solution.