Unbounce - Launch Calculator or Quiz Pop up
Launch a Calculator/ Quiz in a Popup on an Unbounce Website
Following is a step by step illustration on how to Launch Calculator/Quiz in a pop up on an Unbounce Website
## 1. Log into your Unbounce dashboard
Head over to login page on Unbounce and login with your credentials.
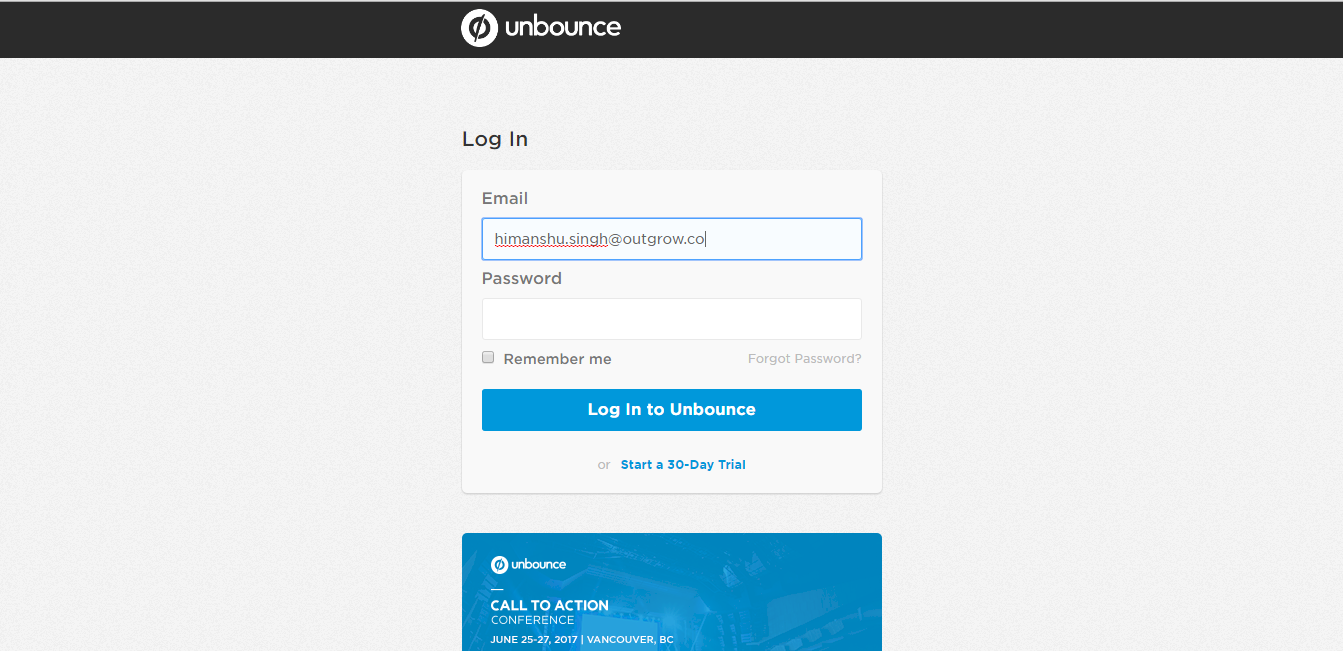
Unbounce Login Screen
Once you have logged in, you will be able to see your Unbounce dashboard
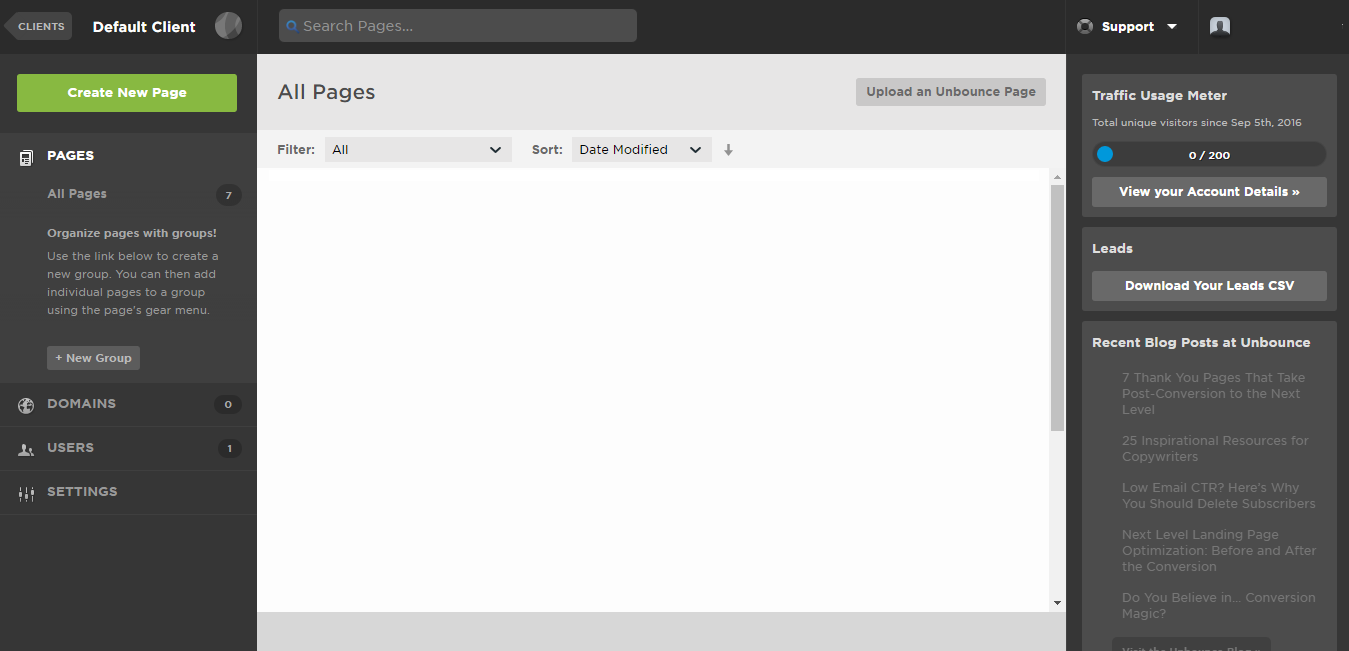
Unbounce Dashboard
## 2. Create a new page
Create a page and complete all steps required including ‘Choosing a template’ and ‘Naming your application’ and then click on ‘Start with this template’. For this illustration we will be proceeding with the Moda Template.
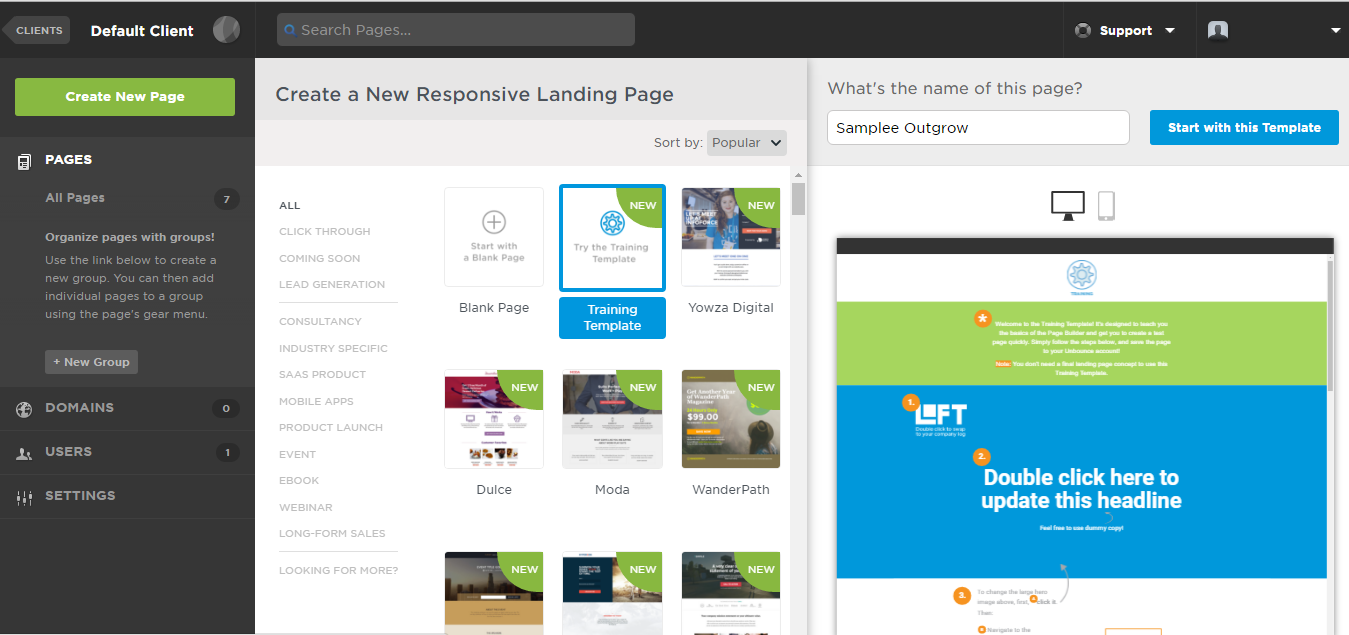
Create New page on Unbounce
## 3. Drag and drop a section on the webpage builder
Look for the "Section" element on the left sidebar and drag and drop that element on Unbounce page builder.
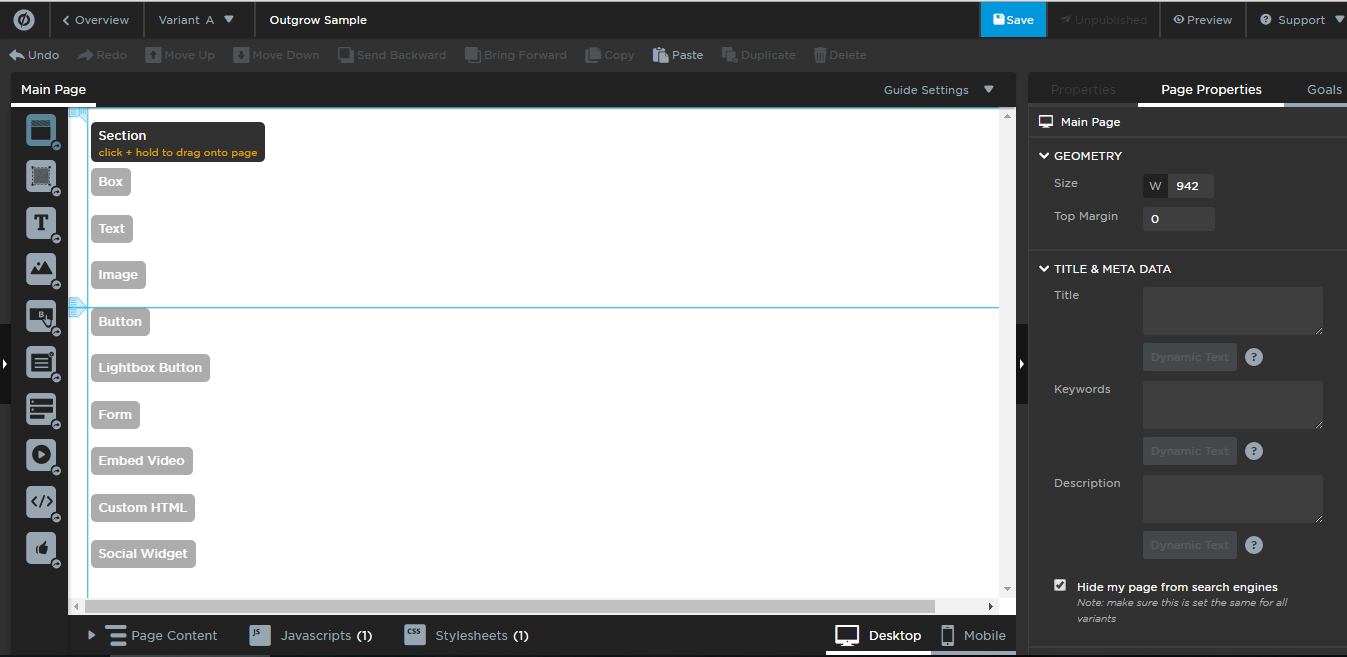
Add a Section on the page
Resize the section to suit your requirement. Don’t forget that the section will be enclosing your trigger, so resize it accordingly.
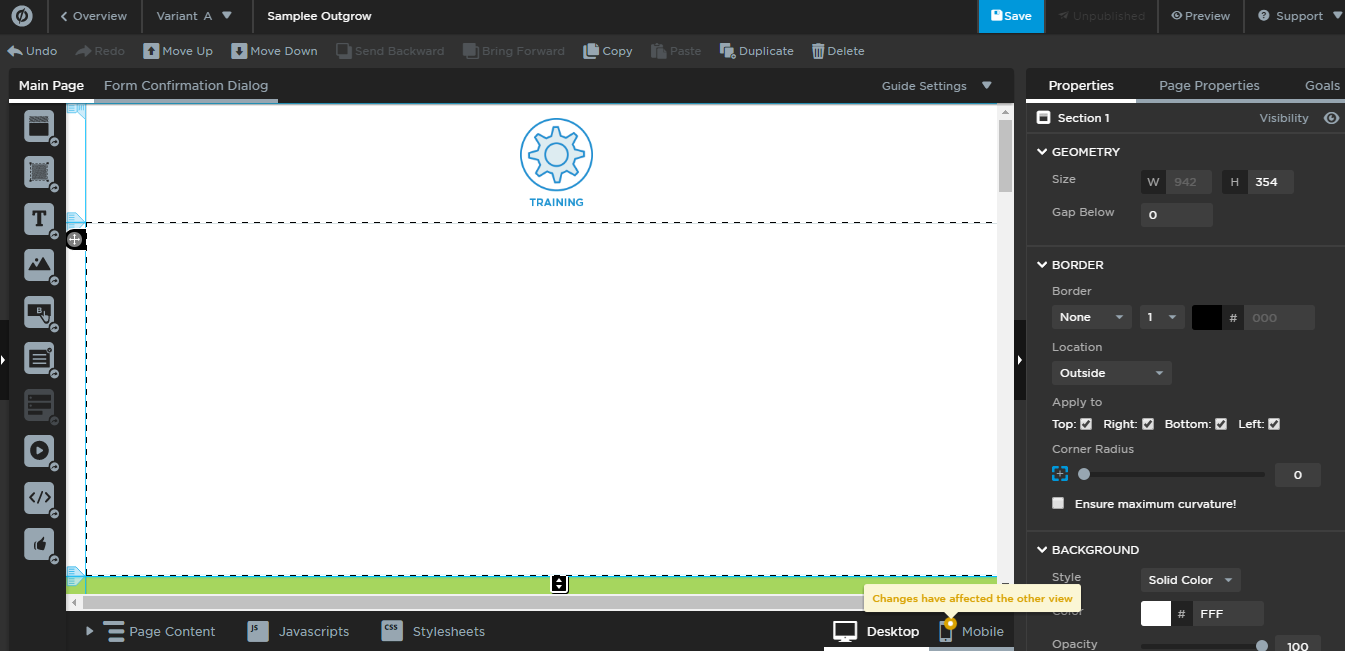
## 4. Add Custom HTML element
Look for “Custom HTML” element on the left sidebar and drag and drop that in the section that you created in the last step.
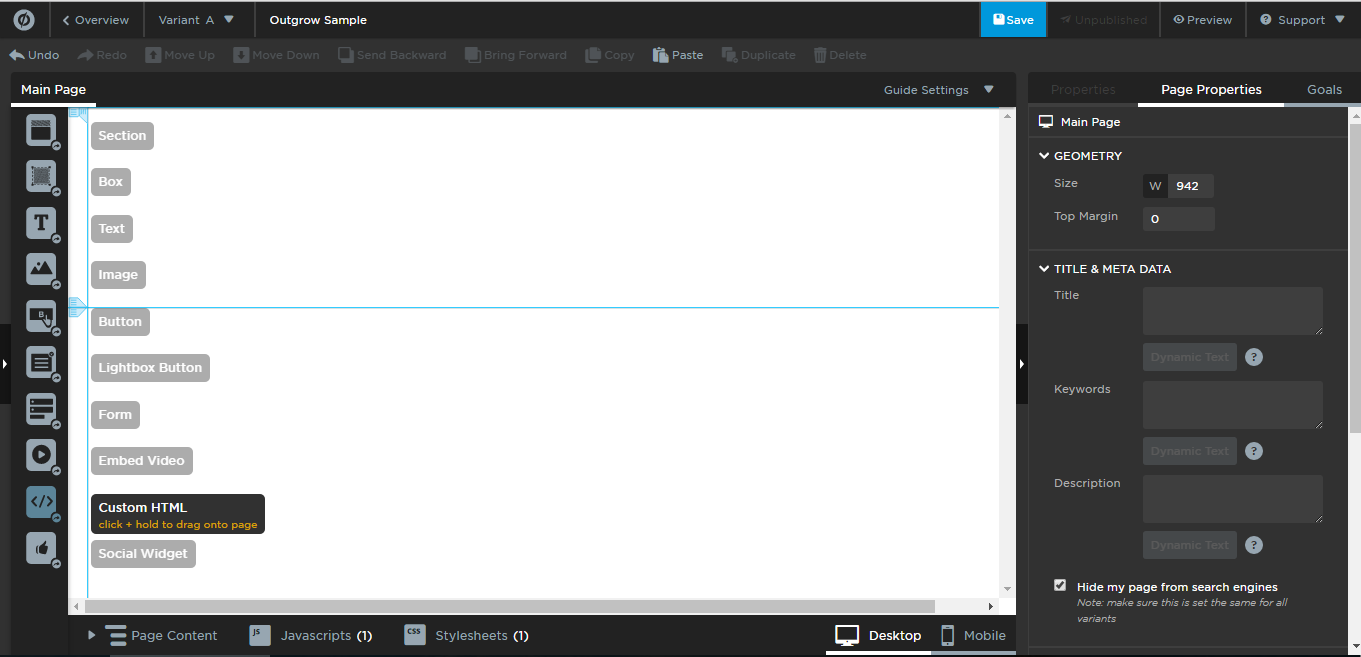
Add Custom HTML element to the resized section
## 5. Break the code
Let’s have a look at the code that you copied from OUTGROW dashboard for popup trigger integration.
<div>
  <div id='59645b8004b53bbf32007a1a' data-textcolor='#fb545b' data-bgcolor='#fb545b' data-prop='outgrow-p' data-type='outgrow-l' data-url='//influencers.outgrow.co/59645b8004b53bbf32007a1a' data-text='Get Started'>
  </div>
  <script src='//outgrow.co/js/ploader.js'></script><script>initIframe('59645b8004b53bbf32007a1a');</script>
</div>
You should get a code similar to the one shown above. This code will depend on the type of popup you are trying to integrate and whether you are using a button or a link as a trigger.
In any case, look for either tag in the code provided to you, copy that and keep it separately.
## 6. Result of Dissection
Once you split the code provided to you, the setup will look similar to the code below:
<div><div id='59645b8004b53bbf32007a1a' data-textcolor='#fb545b' data-bgcolor='#fb545b' data-prop='outgrow-p' data-type='outgrow-l' data-url='//influencers.outgrow.co/59645b8004b53bbf32007a1a' data-text='Get Started'></div>
</div>


  <script src='//outgrow.co/js/ploader.js'>
  </script><script>initIframe('59645b8004b53bbf32007a1a');</script>
Unbounce manages external JS, STYLES and HTML separately. So we needed this step to identify all the scripts and styles that we will put in separate section on UNBOUNCE and the anchor tag or button tag along with iframe tag will go in a separate section.
## 7. Time to Integrate
Now let’s put all the parts right where they belong on Unbounce. Let’s pick up where we left on Unbounce, which was adding “Custom HTML” to the section. Add the html div that have generated and put that in the text box that appears when you added “Custom HTML” element to the section on Unbounce page.
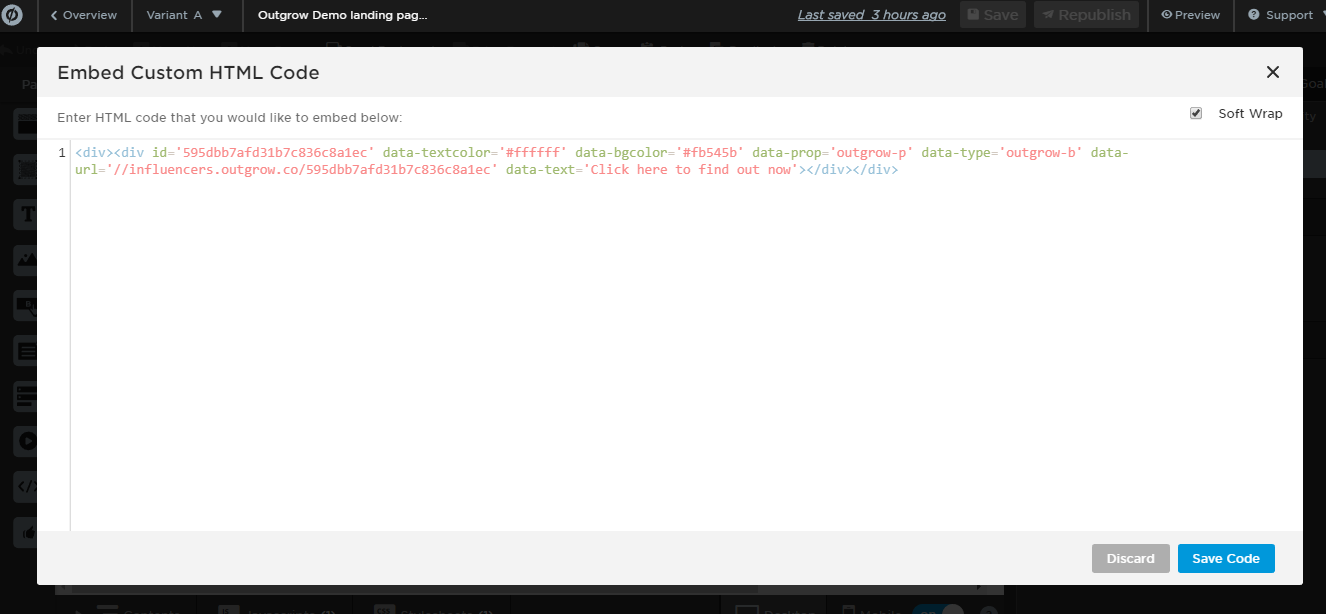
## 8. Add Javascript
On the page builder on Unbounce you'll find a link named “Javascripts” in the bottom toolbar. Click on that.
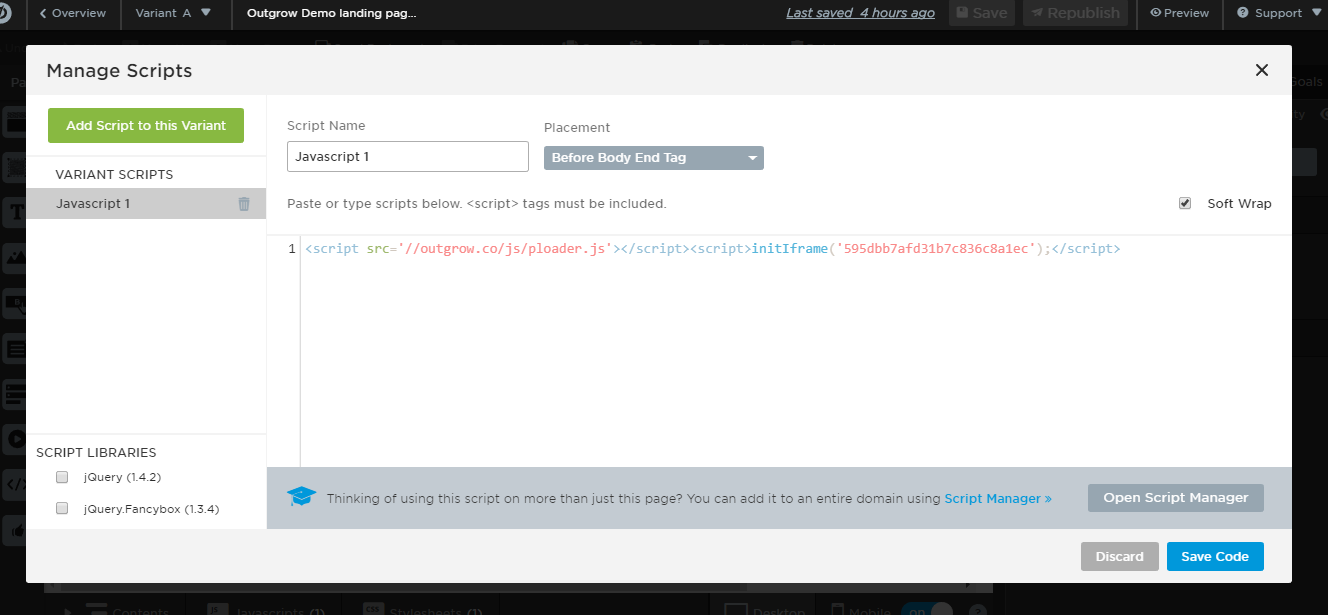
Uncheck jQuery and jQuery fancybox in the left bottom of the screen as we will be including them anyways. Or if you wish to use the one provided by Unbounce just keep them checked and avoid adding jQuery and jQuery fancybox scripts. Now paste the scripts in the editor and click “Save Code” on the bottom right of the screen.
## 9. Save and Preview
Once you are done, click on the “Save” button on the top right corner of the screen and right next to it is “Preview”, which you can use to preview the changes you make.
## 10. And we're done
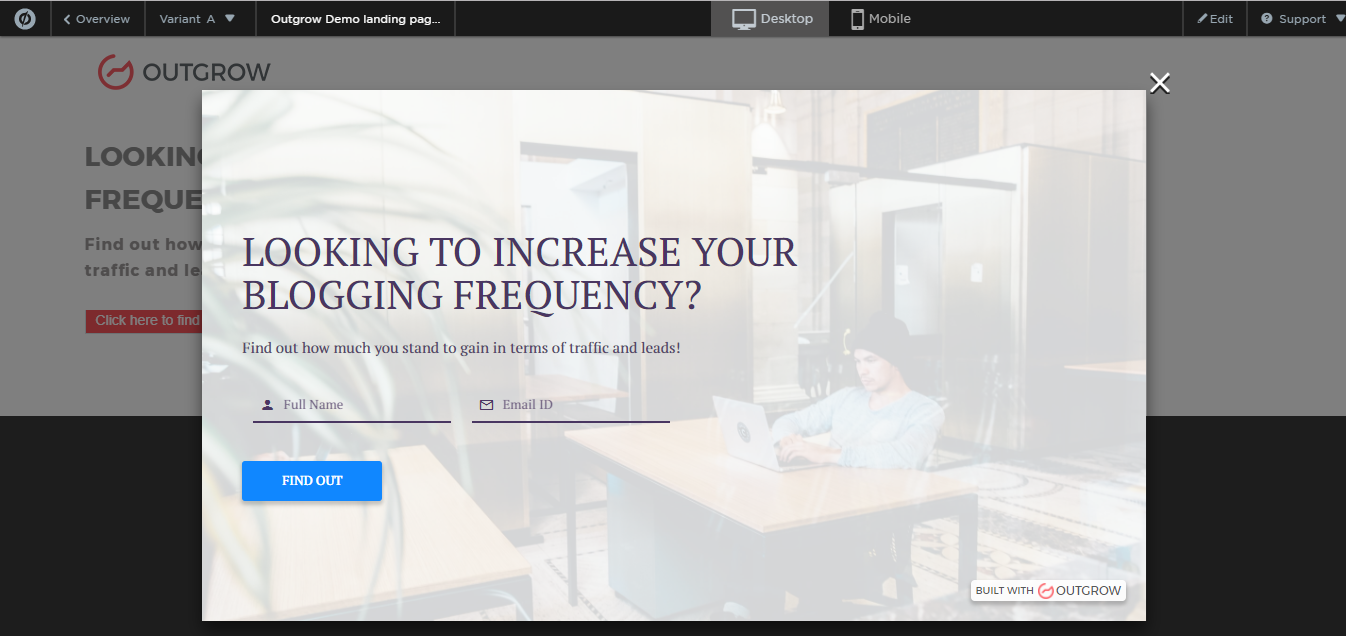
You have embedded a classic popup on an Unbounce page, it will look somewhat like this.
Updated over 1 year ago