Facebook Pixel: Track User Events & Behavior in Outgrow Content
Using this document, you can understand how to start tracking the events and behaviour of users on your Outgrow content using Facebook Ads Manager.
How do I connect my Facebook account to see events on my Outgrow content?
You can learn more about how to integrate your Outgrow account with your Facebook Pixel account here. The next section elaborates on how to create custom conversions using these events. More help from Facebook on custom conversion in this article.
![]()
Create a Custom Conversion for your Outgrow content
1. Using custom conversions, you can optimize and track specific actions using events on your content. As mentioned earlier, the following events get tracked when you add the Facebook pixel to your Outgrow content:
A. Page View
B. Landing CTA Clicked
C. Lead Form Submitted
D. Result CTA Clicked
![]()
2. To create a custom conversion, click Create Custom Conversion on the Custom Conversions page. (Events Manager > Custom Conversions).
![]()
3. On the pop-up that appears on clicking Create Conversion, choose a suitable conversion.
You can choose any of these events depending on the objective of your campaign. For example, if your objective is Lead Generation then choose the event Lead Form Submitted.
![]()
4. Under Rules, select Event Parameters and add the content name.
![]()
5. You can also add the URL for further specifications.
![]()
6. Don’t forget to give a suitable name to your conversion event.
![]()
7. Click on Create. Your custom conversion is ready to be used in Facebook Ad Campaigns. Your custom conversion is ready to be used in Facebook Ad Campaigns.
Exclude the users who have accessed the content from your Campaigns.
If you are running a campaign on Facebook for your quiz or calculator, avoid reaching out to those who have taken the quiz or used the calculator already. Suppose you wish to exclude people who've converted after seeing your ads. In that case, you'll need to capture them into a Website Custom Audience and use exclusion targeting in your ad campaigns to exclude your converters from seeing your ads.
1. Create a Website Custom Audience using your ResultCTAClicked standard event. You can follow these steps to learn how to do this.
![]()
2. Once someone clicks on the Result CTA on this quiz, they'll be added to the ResultCTAClicked Website Custom Audience.
3. When creating your campaign, you can select to exclude your 'Result CTAClicked' Website Custom Audience. Since this audience updates dynamically, if someone sees your ad and then makes a conversion, they will no longer see your ad in the future.
Checking if Pixels are Firing or Not
Once you have configured Facebook Pixel, you can keep a track of whether the respective Pixel is firing or not. You can navigate to Events Manager in your Facebook Ad Account, and click on the Overview tab here. You will be able to see more details about the different Pixels configured here in this section.
![]()
Managing Meta Pixel Traffic Permissions in Events Manager
The traffic permissions feature in Meta Events Manager enables you to create an Allow List or a Block List to control if domains can send events through your Meta pixel. You can add or remove domains from a list at any time, but you can't recover events that were lost while a domain was blocked, and blocked events aren't included in your ads performance.
To create a domain allow list or block list for pixel traffic in Events Manager, you can follow the steps mentioned below:
A. Go to Events Manager.
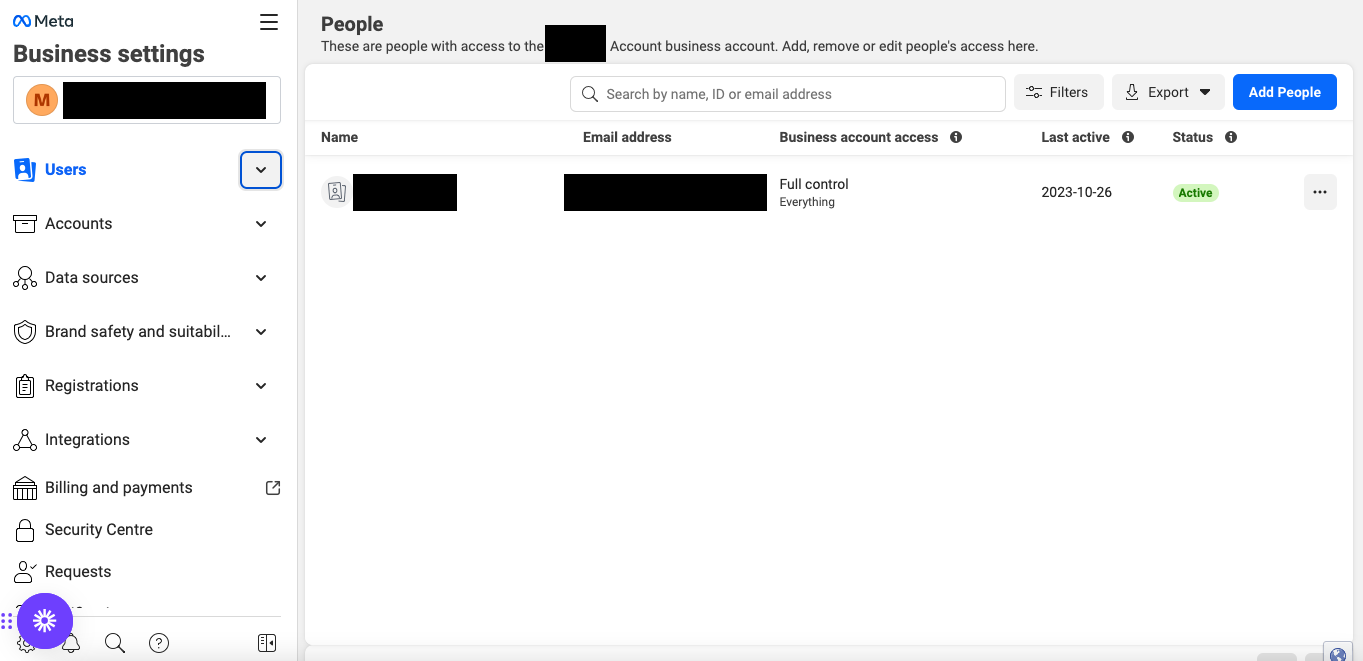
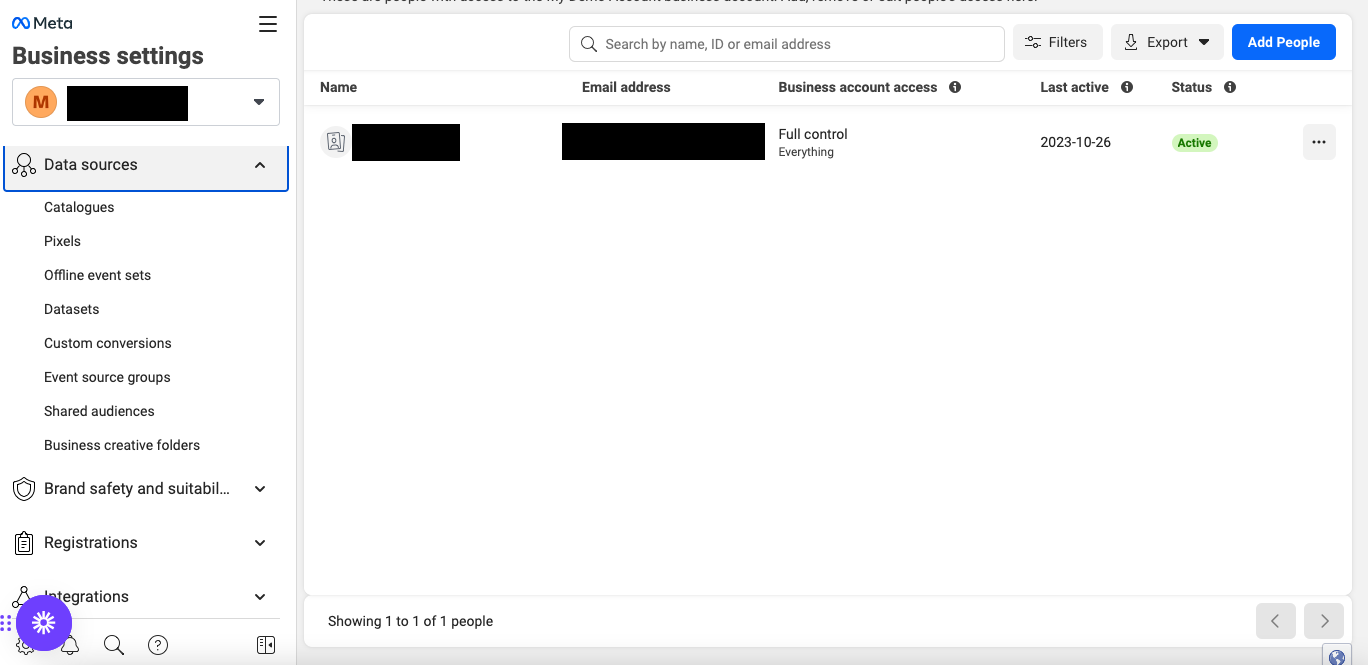
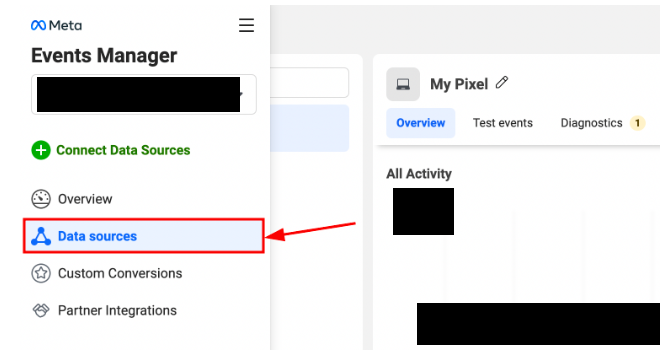
B. Click the Data Sources icon on the left-hand side of the page.
C. Select your pixel.
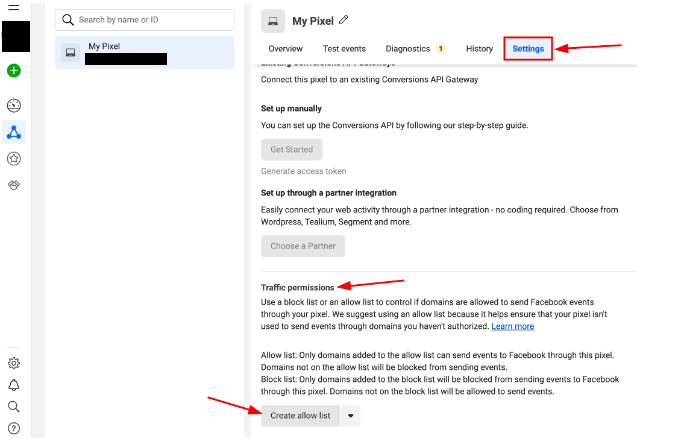
D. Click Settings.
E. Select Create Allow List or Create Block List from the drop-down menu under Traffic permissions.
F. Click the button to confirm your selection.
G. Add your Outgrow Subdomain to the allow list and click Next. The format in which the subdomain needs to be added is Outgrow.Co, or if you have configured CNAME, then add the CNAME domain. NOTE: When you add Outgrow.Co domain in the Allowed List, all your respective Outgrow Subdomains will automatically be added to the Allowed List.
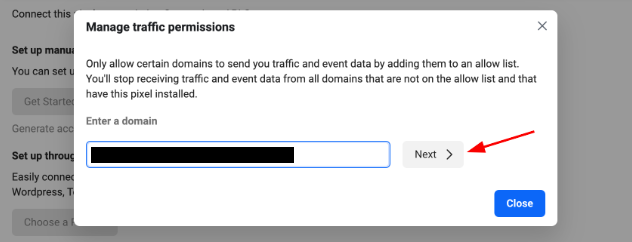
I. Click Confirm to save the changes. Please repeat these steps for any other domains you'd like to add.
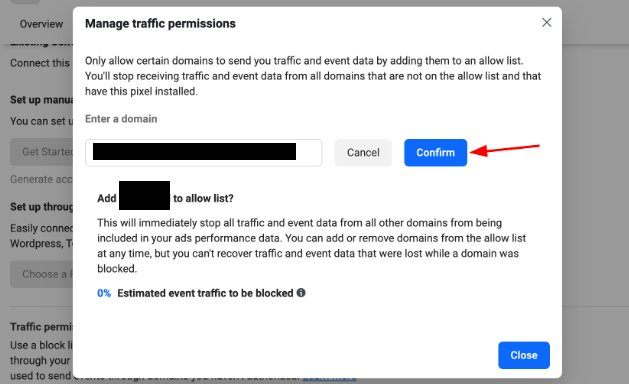
After you've created your list, you can view and edit the domains in the Traffic Permissions section of your Pixel Settings. Use the History table in Events Manager to see when a domain has been added to or removed from your pixel's allow list or block list.
Important thing to keep in mind related to Event Appearance under the Events tab
If your events are not appearing in the Test Events tab within one minute, try the following steps to start seeing events:
1. Pixel troubleshooting.
2. Disable any adblockers you are using.
3. Refresh your website and try interacting with it again.
4. App troubleshooting.
5. Force quit your app on your phone, then restart it.
6. Make sure you're logged in to the Facebook app on your phone.
Feel free to reach out to us in case you have any questions or concerns, either using the chat feature at the bottom of the page or using an email that can be sent to [email protected] . We will be happy to help you out.
Updated over 1 year ago