Creating Surveys Using Outgrow
Are you looking to create surveys or forms to collect feedback from your customers, employees, friends, or anyone else? Outgrow is the perfect tool for you! Let me guide you through the process of creating a survey in Outgrow.
How to create a survey
- Firstly, log in to your Outgrow account and click on "Form/Survey" in the list of available content types. You can choose a layout and build your survey from scratch or select a premade template from our library.

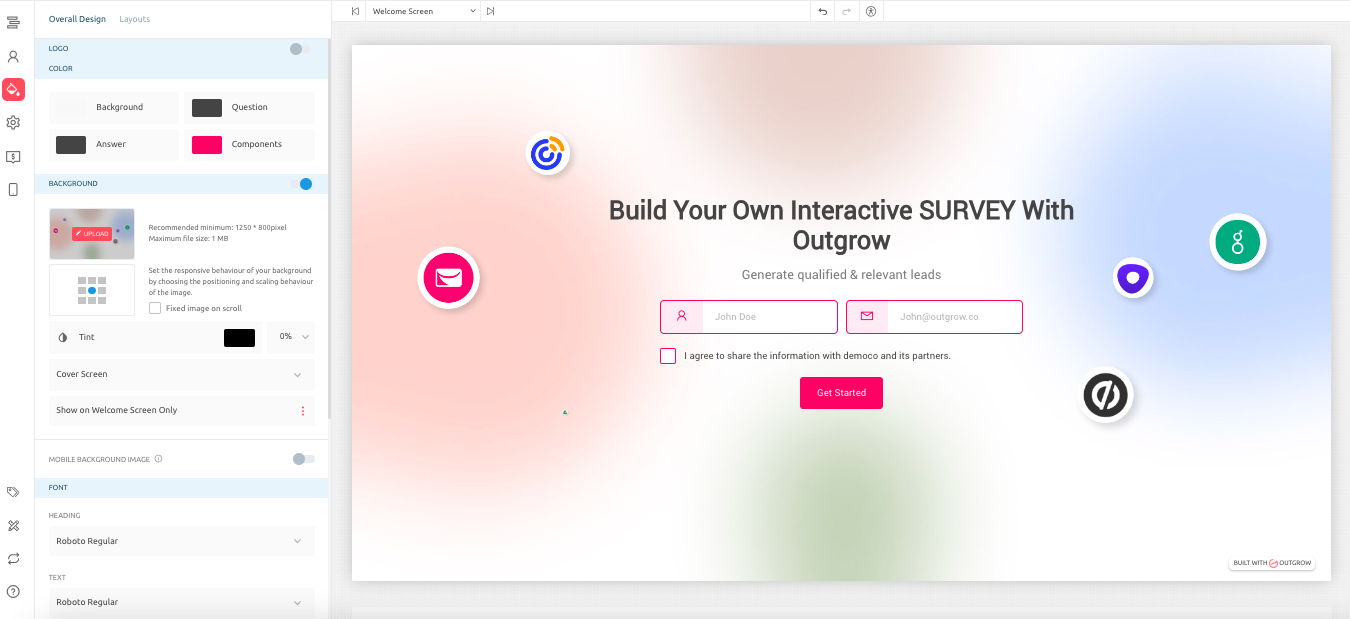
- Once you have selected your layout or template, you will be redirected to the Outgrow builder. Here, you can set up the welcome screen, lead generation form, questions, and result page.

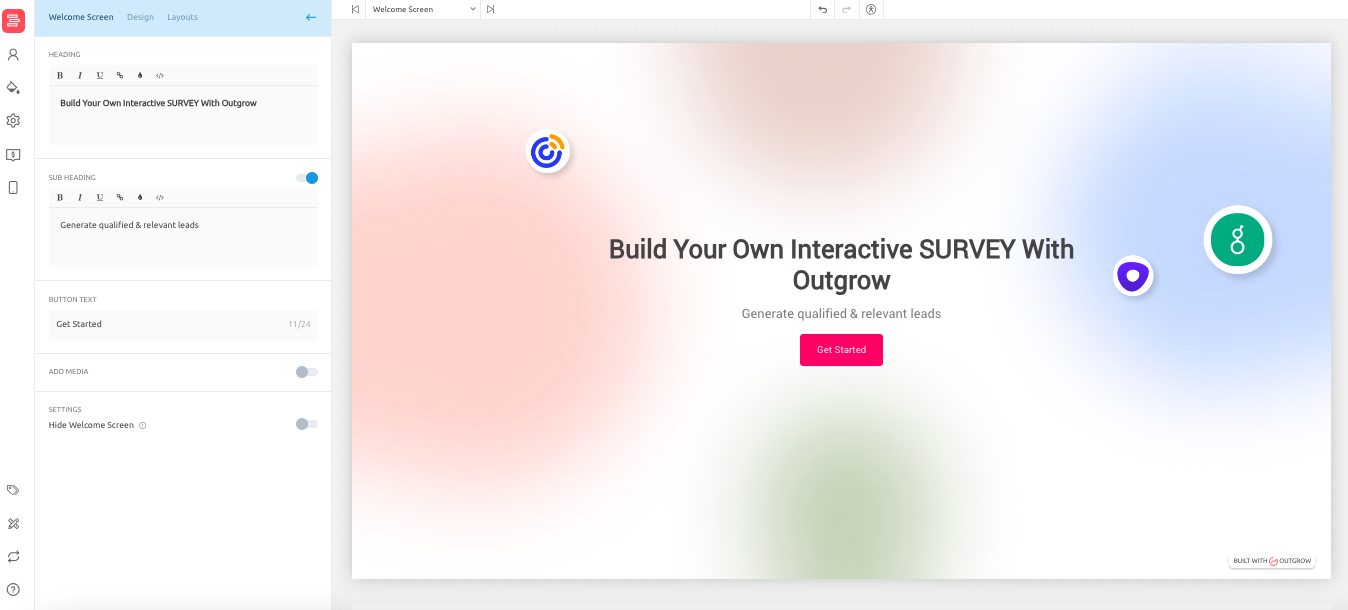
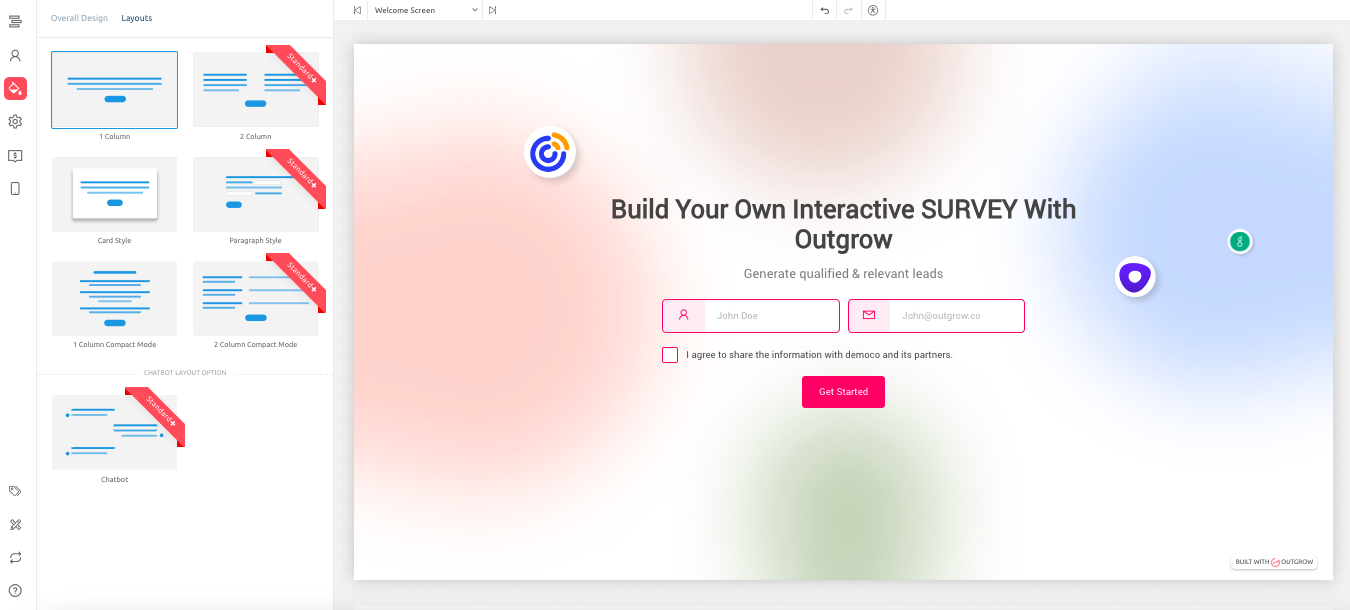
- Customize the welcome page by editing the heading and subheading or choosing to hide it altogether. You can also modify the design aspect of the welcome page and select the layout you prefer.
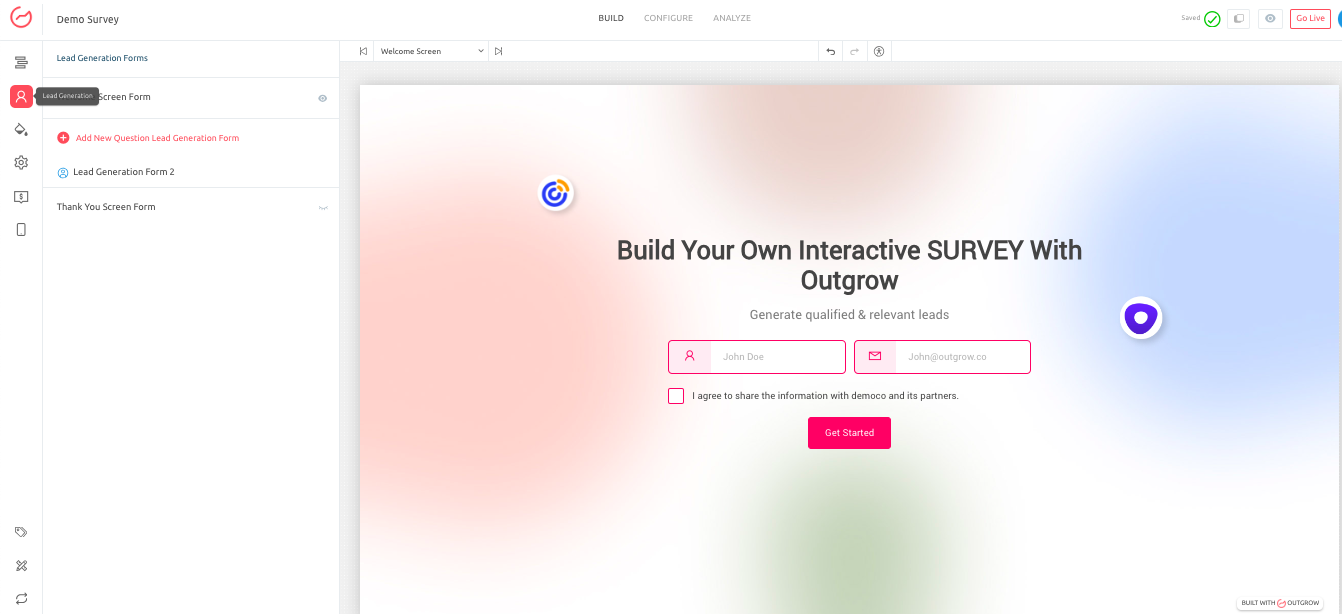
- Next, customize the lead generation form displayed in your survey. You can specify the form's location and fields that will be displayed. If you want to keep your survey anonymous, you can hide the lead gen form.
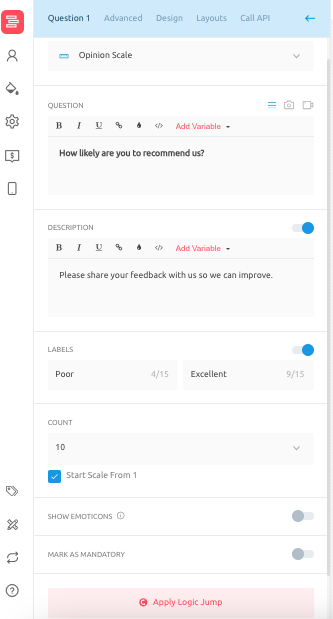
- Set up your survey questions by choosing from various question types, adding the question text, and specifying whether a question is mandatory or not. You can use the advanced, design, layouts, and call API tabs to modify the question settings further.
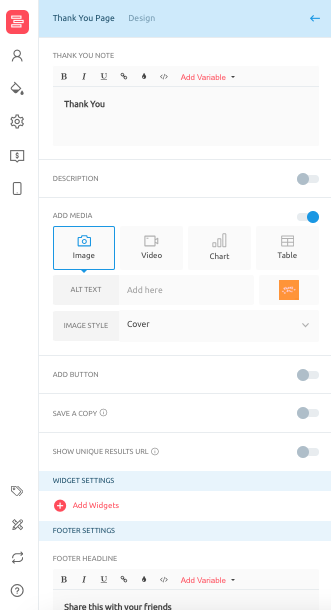
- Finally, customize your thank you page by adding media, a CTA button, and more.
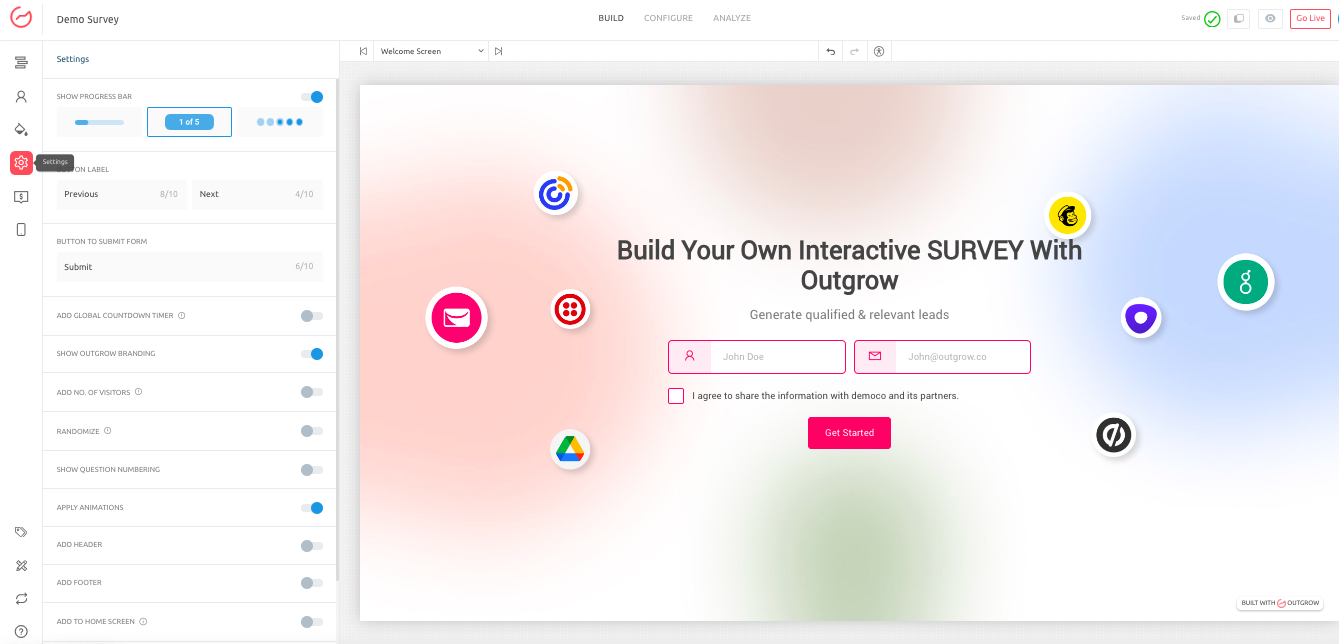
- Once the survey is configured, you can focus on other important aspects, including the overall design and layout of your survey. You can disable auto-progression, show the number of visitors, apply animations, and more.
- In this section, you can also specify the layout that will be used for your survey.
- Next, you can configure other settings such as Disabling Auto Progression, Showing No Of Visitors, Applying Animations, etc.
- If you want users to make a payment for accessing the survey or while going through it, you can enable payment processing from the payments section. Additionally, you can enable phone number verification if required from the verification section.

- You can also opt to enable phone number verification from the Verification section if required.

- Don't forget to click on "Publish" to save the changes to your form.
If you need further assistance, please feel free to get in touch with us at [email protected] or use the chat window at the bottom of the page.
Updated about 2 years ago
Did this page help you?