Integrating Your Outgrow Content With Payment Gateway
Outgrow now lets you integrate your Payment Gateway with your content to create gated content or process payment from the results page, where users are required to make a payment before accessing the content or before accessing the results. The payment gateways that we currently support are Paypal, PayU, Chargebee, and Stripe.
This document will help you in getting a better understanding of how this feature works and how you can configure it in Outgrow.
Configuring the Payment Gateway feature in your content
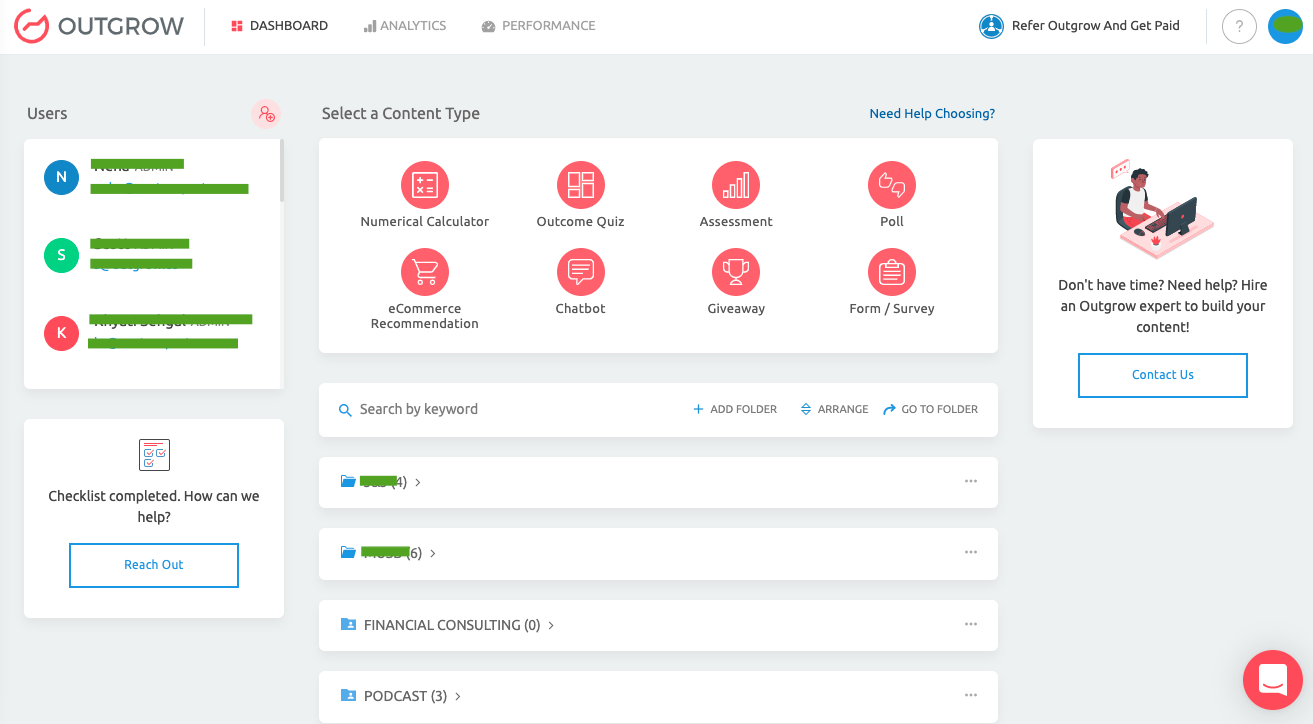
1. Login to your Outgrow dashboard, and open the respective content in Build mode.
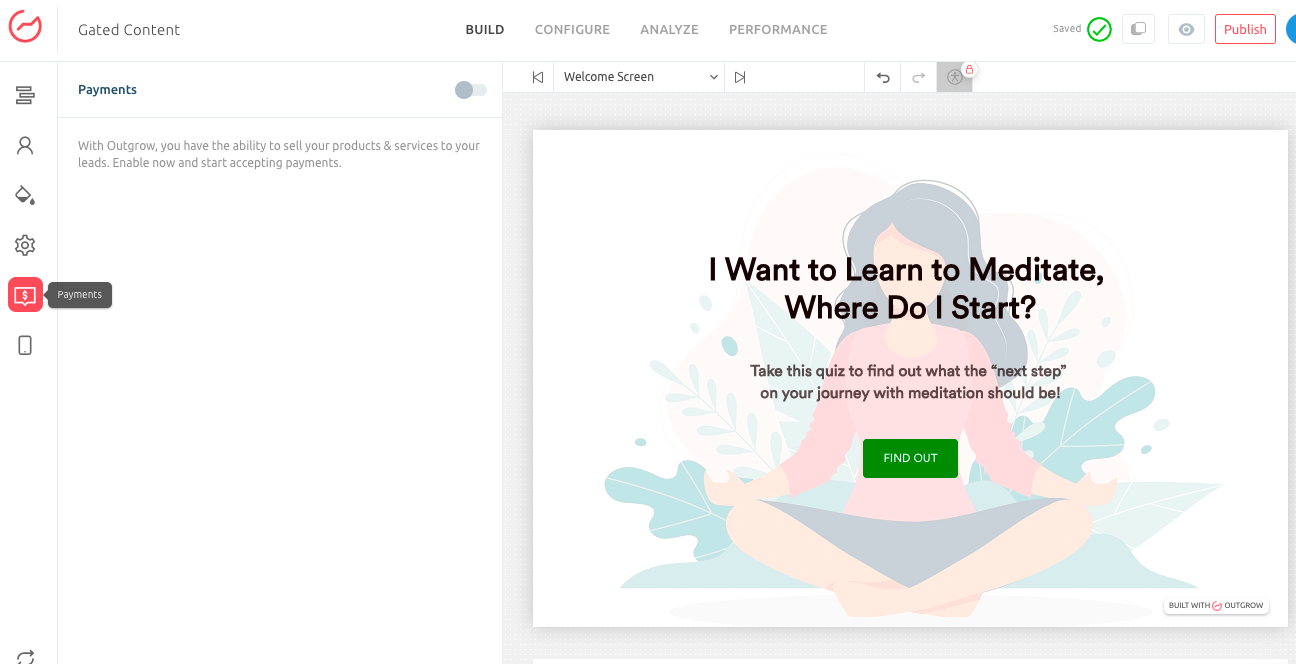
2. In the next step, navigate to the Payments tab in the Build section. Turn on the toggle for enabling Payment Gateway integration.
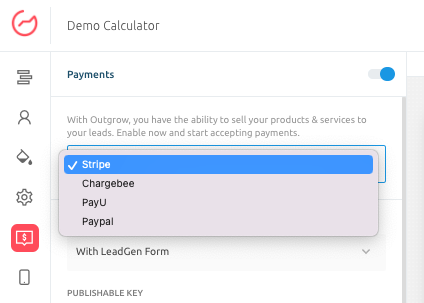
3. Select the Payment Gateway that you want to integrate with your Outgrow content. Currently, we support integration with Stripe, Chargebee, PayU, and Paypal.
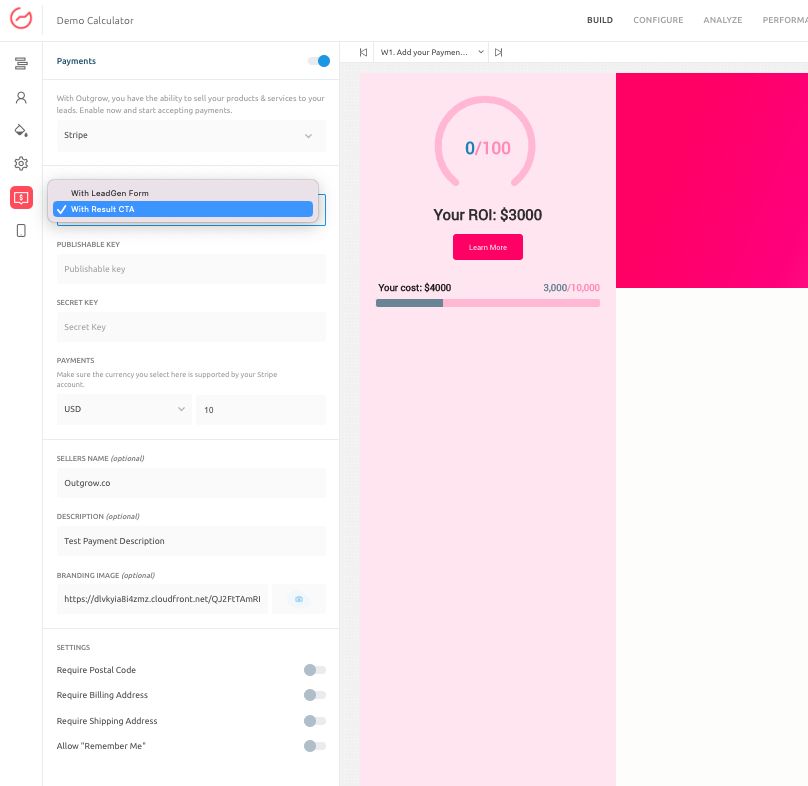
3.1. Integrating Outgrow content with Stripe: You can collect the payment using Stripe, either by placing the payment option behind Lead Form CTA or the Results Page CTA. To authenticate the integration you need Stripe Publishable Key and Secret Key. You can also select the currency that will be supported by your Stripe account. You can choose to display the Seller's Name and Description if required, and also you can enable the settings that will require the user to add Postal Code, Billing Address, and Shipping Address and also give the user access to be Remembered post adding the payment details.
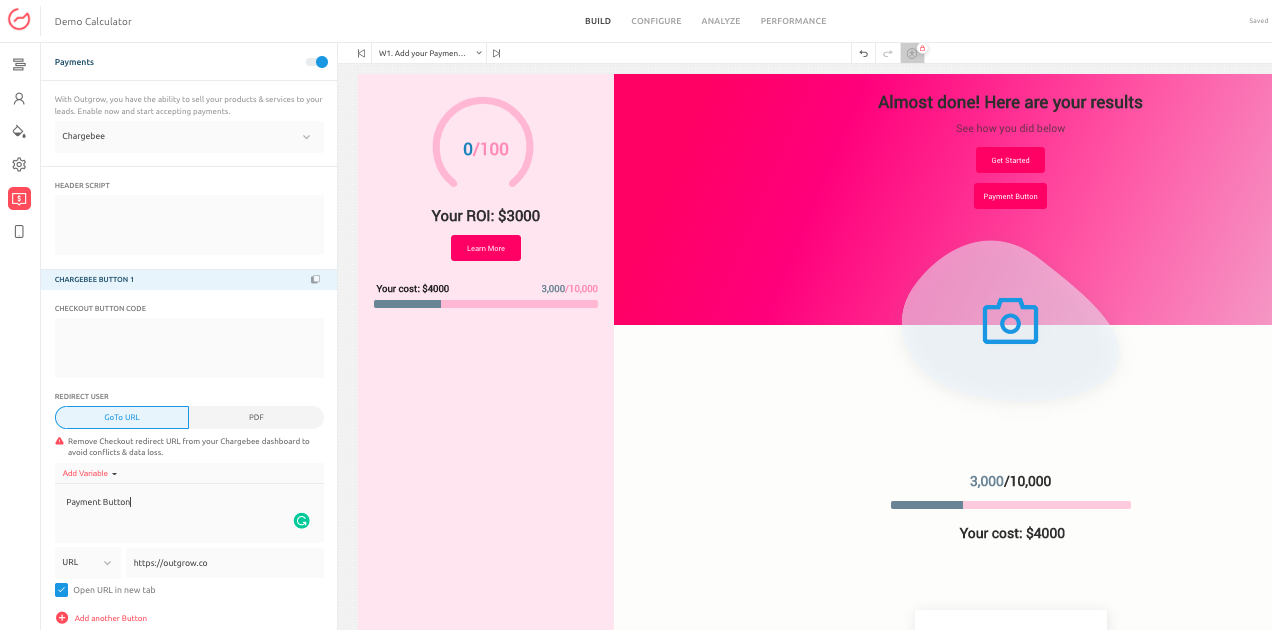
3.2. Integrating Outgrow content with Chargebee: You can collect the payment using Chargebee, either by placing the payment option on the Results Page CTA. To authenticate the integration you need to add Chargebee Header Script. Then for the Chargebee Checkout Button, add the Checkout Button Code. You can then choose how you want the user to be redirected when they have made the payment. NOTE: Remove the Checkout redirect URL from your Chargebee dashboard to avoid conflicts & data loss.
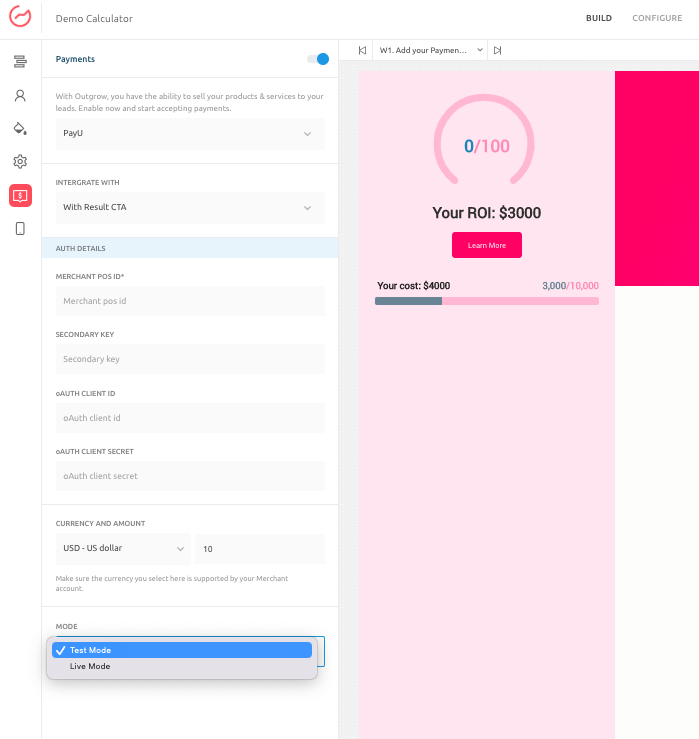
3.3. Integrating Outgrow content with PayU: You can collect the payment using PayU, either by placing the payment option behind Lead Form CTA or the Results Page CTA. To authenticate the integration you need PayU Merchant POS ID, Secondary Key, oAuth Client ID, oAuth Client Secret. You can also select the currency that will be supported by your PayU account. You can choose whether you want to process the payment in Test Mode or Live Mode.
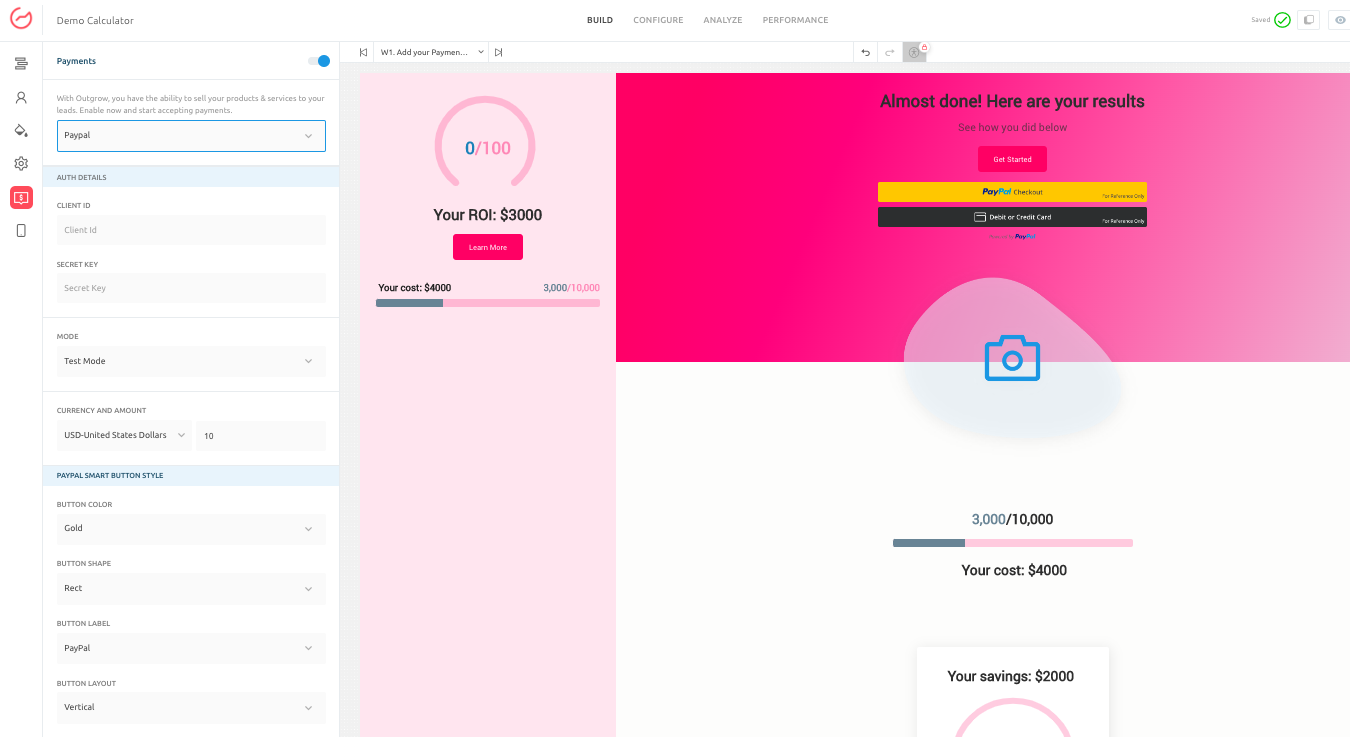
3.4. Integrating Outgrow content with PayPal: You can collect the payment using PayPal, by placing the payment option behind the Results Page CTA. To authenticate the integration you need PayPal Client ID and Secret Key. You can also select the currency that your PayPal account will support. You can choose whether to process the payment in Test Mode or Live Mode. NOTE: You can also configure the PayPal button style in this section, and can select the label text for the PayPal button.
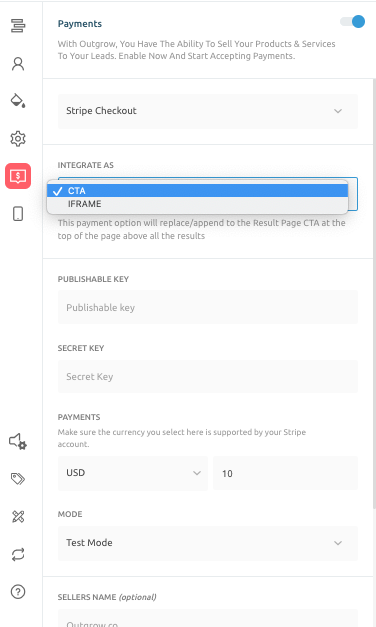
3.5. Integrating Outgrow content with Stripe Checkout: Stripe Checkout v2 is a payment processing solution that allows you to accept payments using your Outgrow content. You can collect the payment using Stripe Checkout by integrating the payment option with the CTA or as an iFrame. To integrate Stripe Checkout v2 with Outgrow, you must create a Stripe account and obtain your Publisher and Secret API keys. You will then need to add your API keys to your Outgrow account. You can also select the currency that your PayPal account will support. You can choose whether to process the payment in Test Mode or Live Mode.
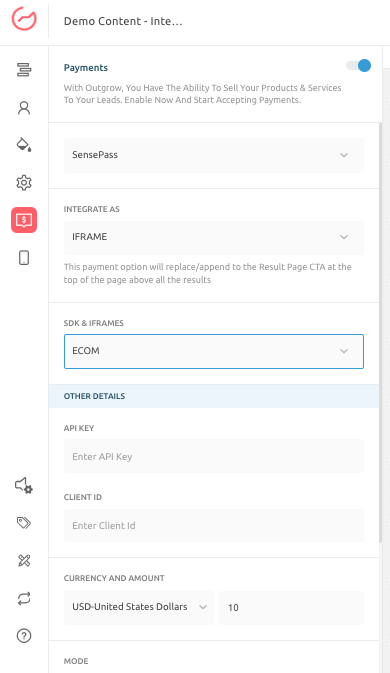
3.6. Integrating Outgrow content with SensePass: SensePass offers a streamlined payment gateway solution that seamlessly integrates with Outgrow, enabling you to accept payments and create gated content experiences securely. To integrate Outgrow with SensePass, you can obtain the ClientID and API Key from your SensePass account and add it to Outgrow. You will also be required to choose an SDK/iFrame from the following list:
A. POS (Point of Sale): Select the relevant SensePass POS SDK and iframe options.
B. Credit Card: Choose the appropriate SensePass Credit Card SDK and iframe.
C. Ecom (E-commerce): Opt for the suitable SensePass Ecom SDK and iframe.
4. Click on Publish to save the changes.
Using Stripe as the reference Payment Gateway for explaining the setup
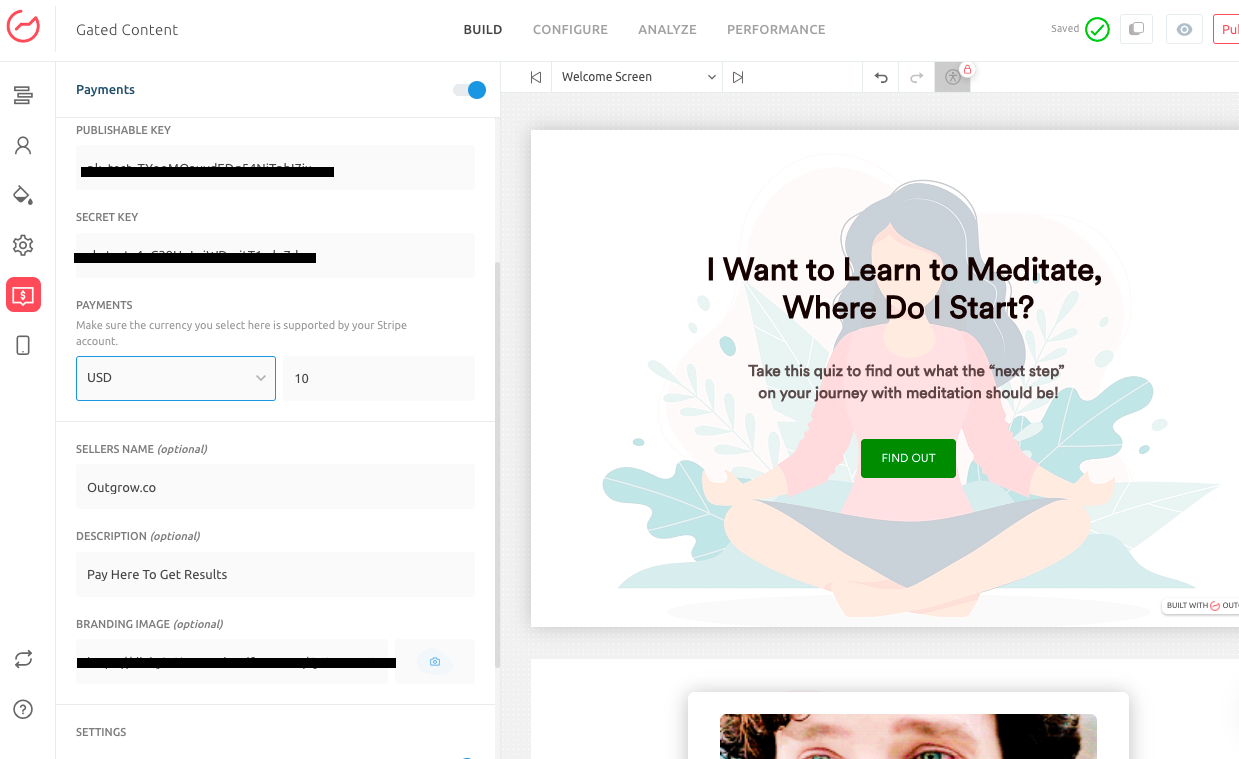
1. In this case, we will select Stripe as the reference Payment Gateway. Add your Stripe Publishable Key and Secret Key to your Outgrow content. Specify the amount that the end-user needs to pay and any description you want to display to the users.
2. Lastly, as you will be setting up the gate for collecting payment with the Lead Gen form, select the location where you want to display the Lead Gen form.
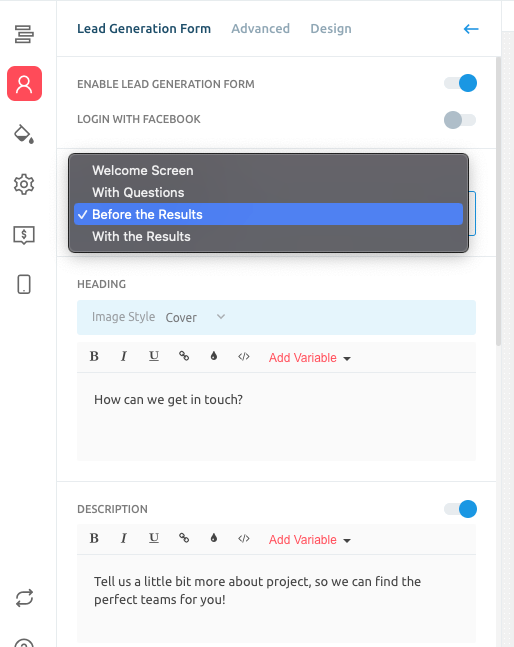
NOTE: In case you want to show the results prior to the user making the payment, then you can choose the Lead Form to be displayed Before The Results.
3. Save the changes by clicking on Publish.
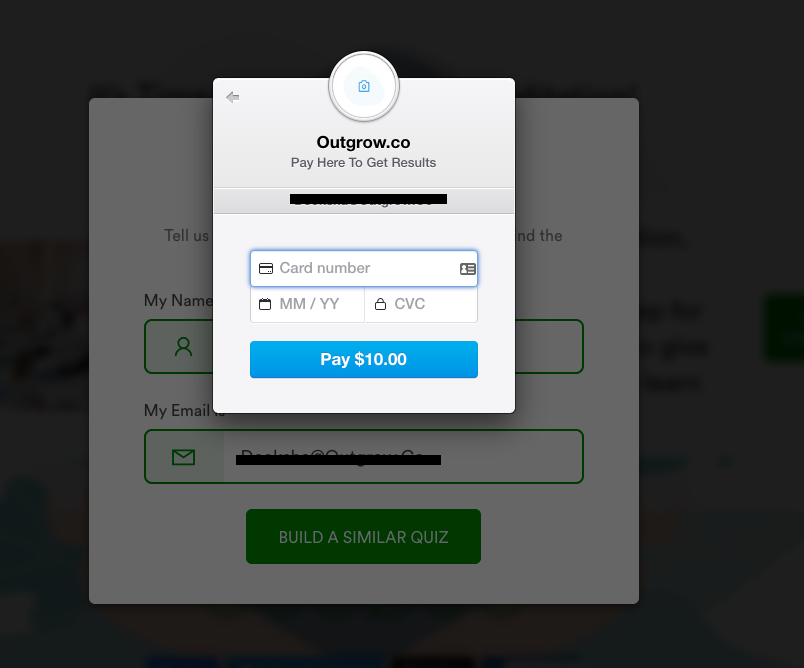
4. Now when the users will access your content, and post entering their lead details in the Lead Gen form, they will be asked to make a payment before they could see the results. You can refer to the screenshots below:
A. Users will see the payment page upon adding their lead details in the lead gen form:
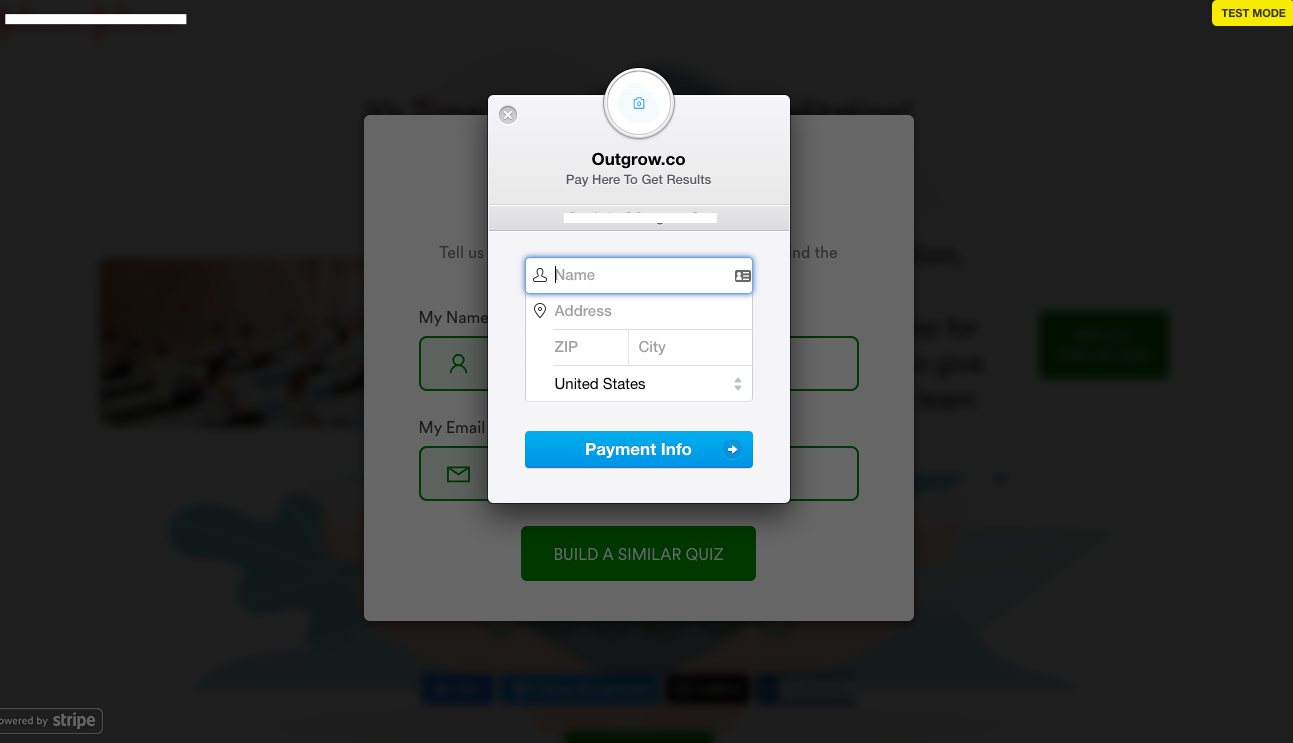
B. Users will be required to add their card details:
5. Click on Publish to save the changes.
If you have any further questions or concerns, please feel free to contact us using our Chat feature at the bottom of the page or by sending an email at [email protected]. We will be happy to assist you further.
Updated over 1 year ago