Setting up eCommerce Quiz in Outgrow Using Products from WooCommerce
WooCommerce is an open-source e-commerce plugin for WordPress. It is designed for small to large-sized online merchants using WordPress. You can follow the below-mentioned steps to learn more about how you can install the WooCommerce plugin on your WordPress website.
Setting up WooCommerce & WordPress
1. The first step is to choose whether you want to install the WooCommerce plugin on your locally hosted WordPress site or a site hosted on the internet. You can install the WooCommerce plugin on your local WordPress website and then host it on the internet. You can also opt for working with a business that offers hosted websites with a preinstalled WordPress plugin.
2. Create a free account on WooCommerce and on WordPress. You can signup on Wordpress and go through the flow.
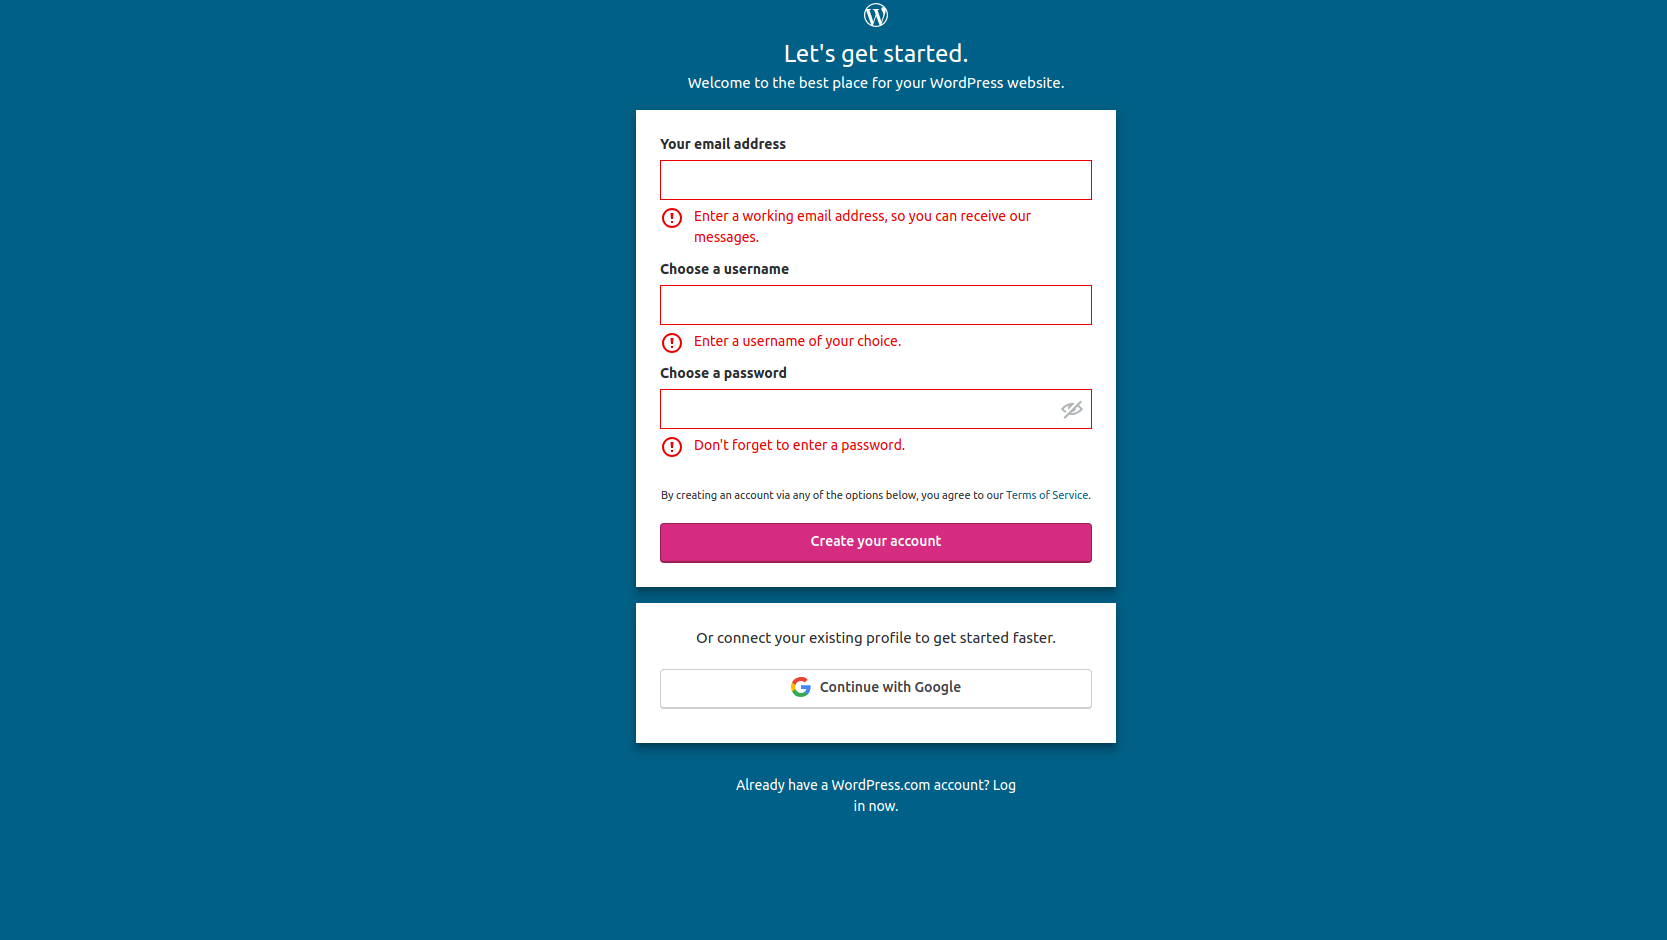
3. The next step involves signing into WooCommerce using your WordPress account.
A. In case you already have a WordPress account, you can use the WordPress credentials to log in.
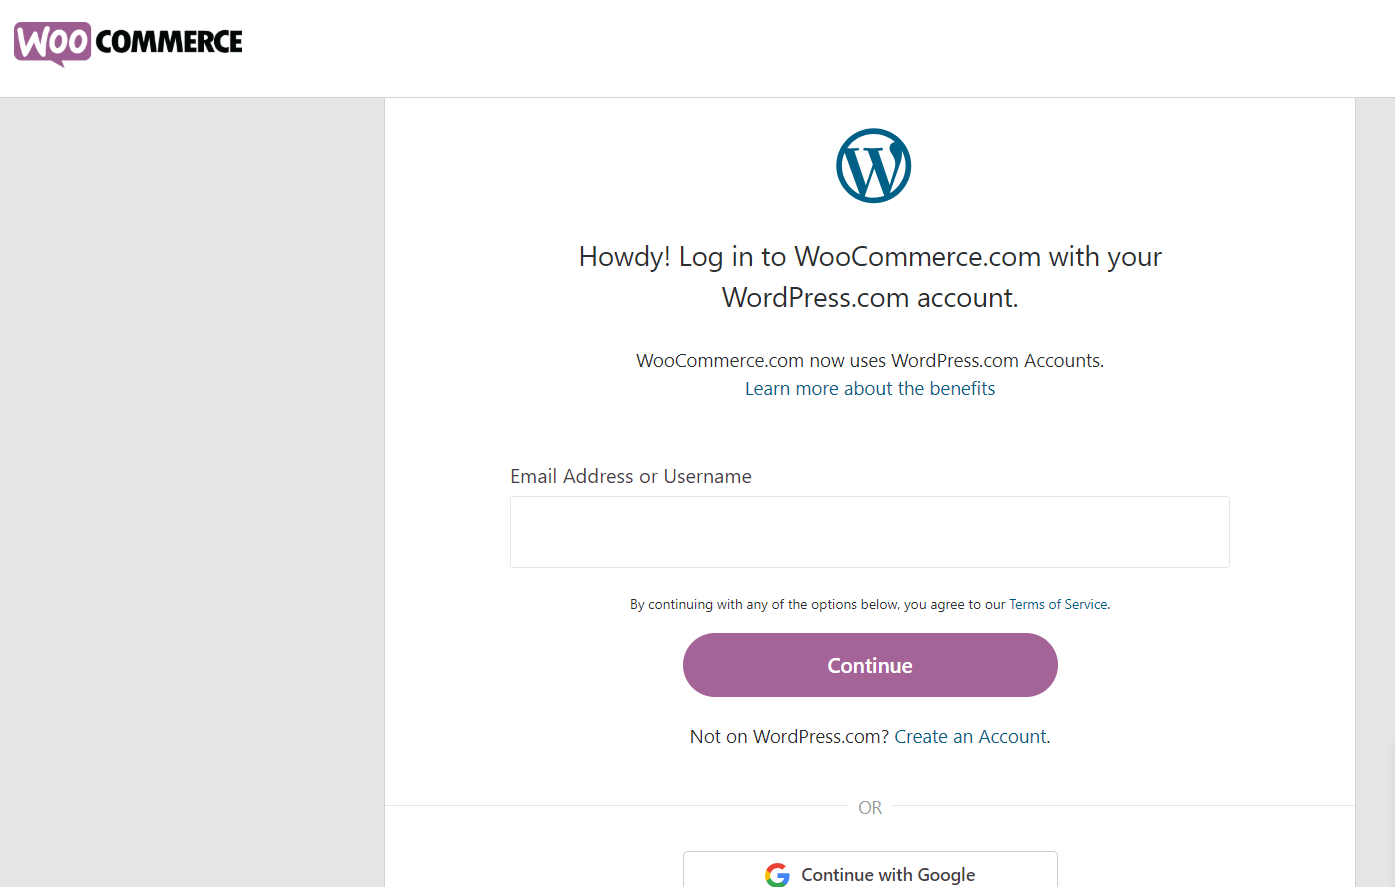
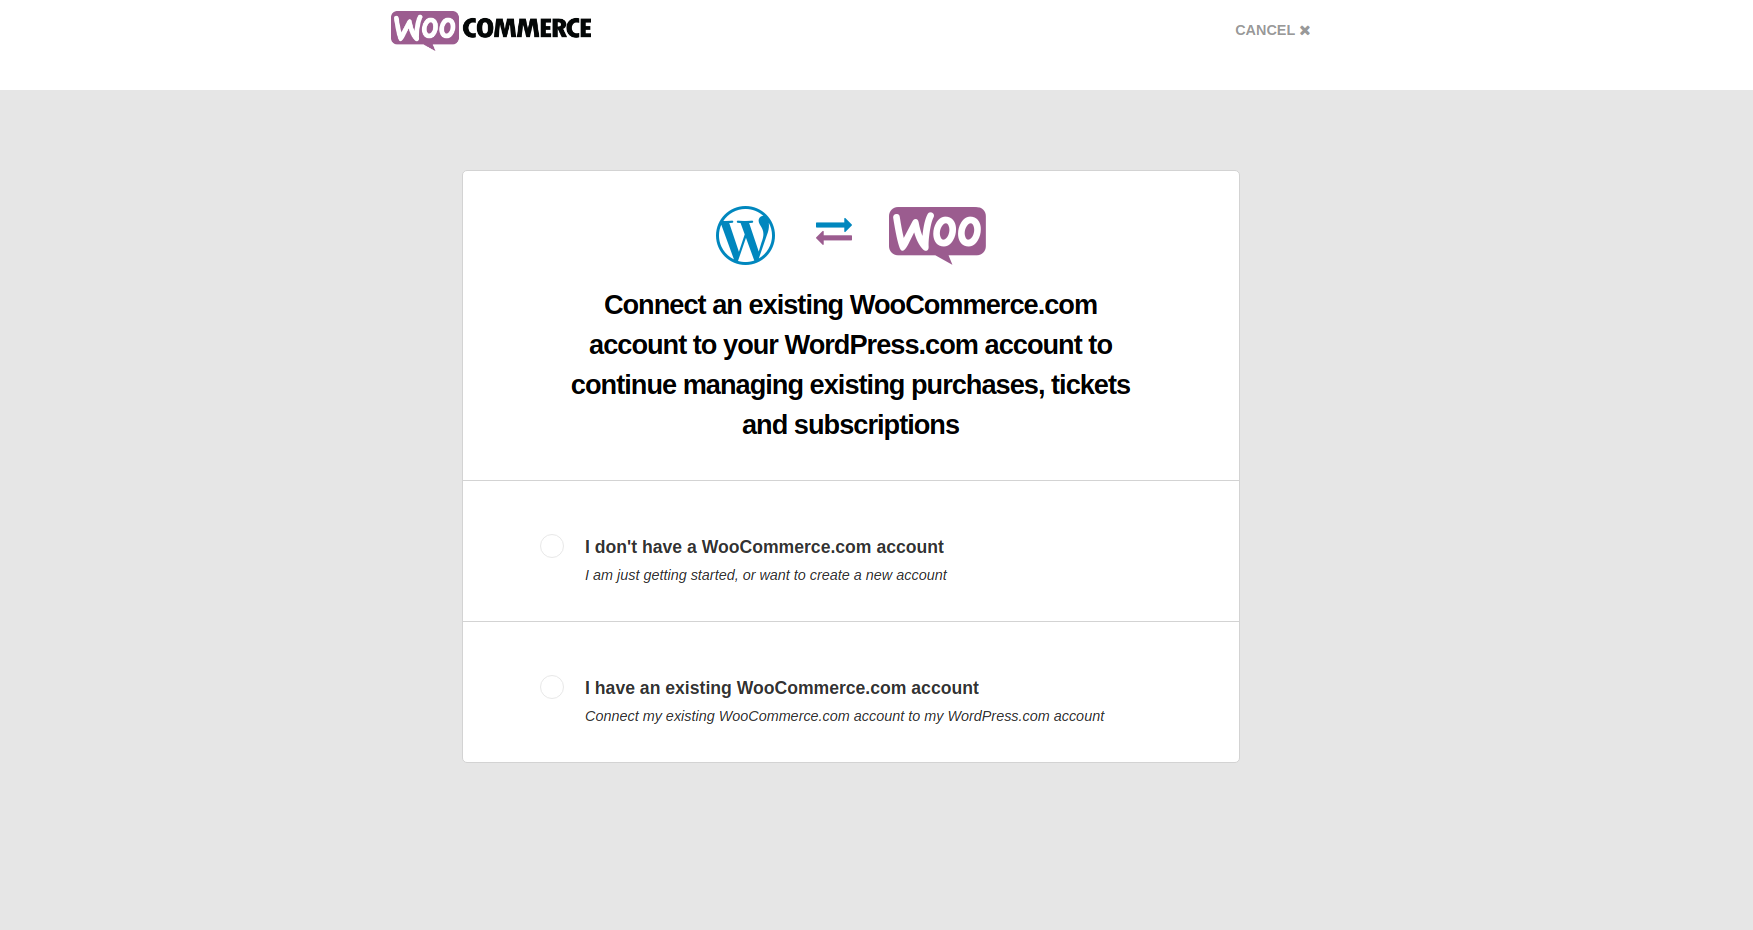
B. In case you don’t have a WordPress account, you can follow the below-mentioned steps:
B.1. You need to choose the option that says "I don’t have a WooCommerce account".
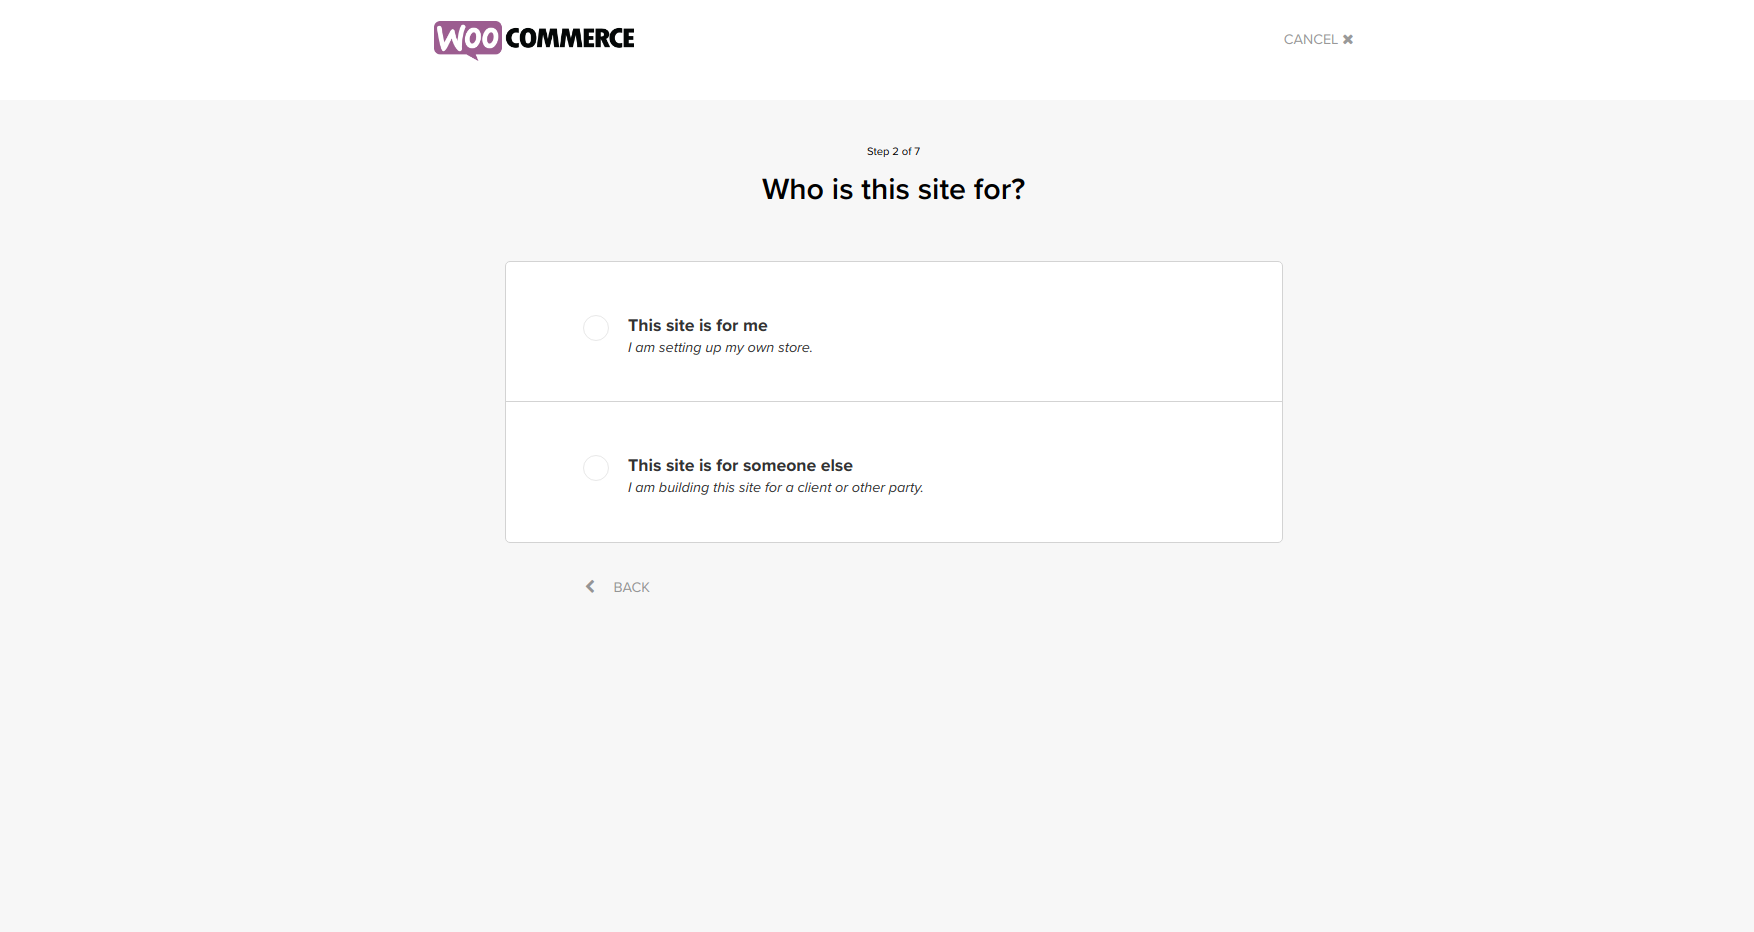
B.2. Choose whether the site is for you or for someone else.
B.3. Choose the industry type for your site.
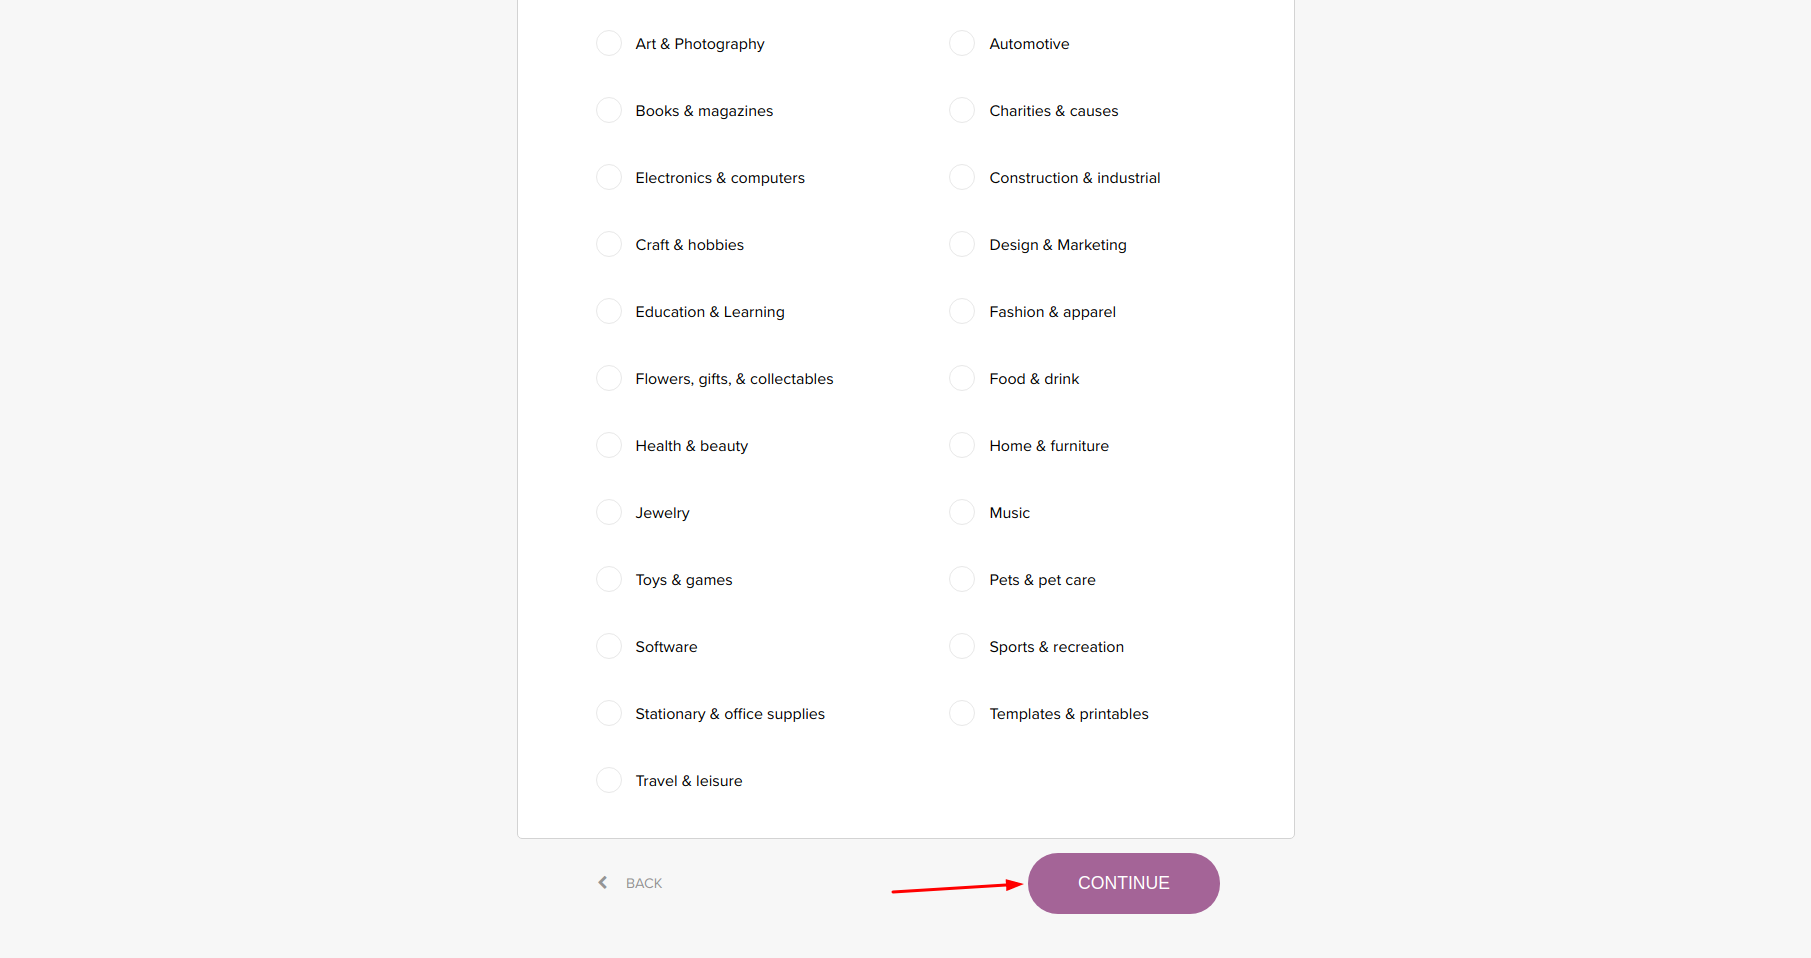
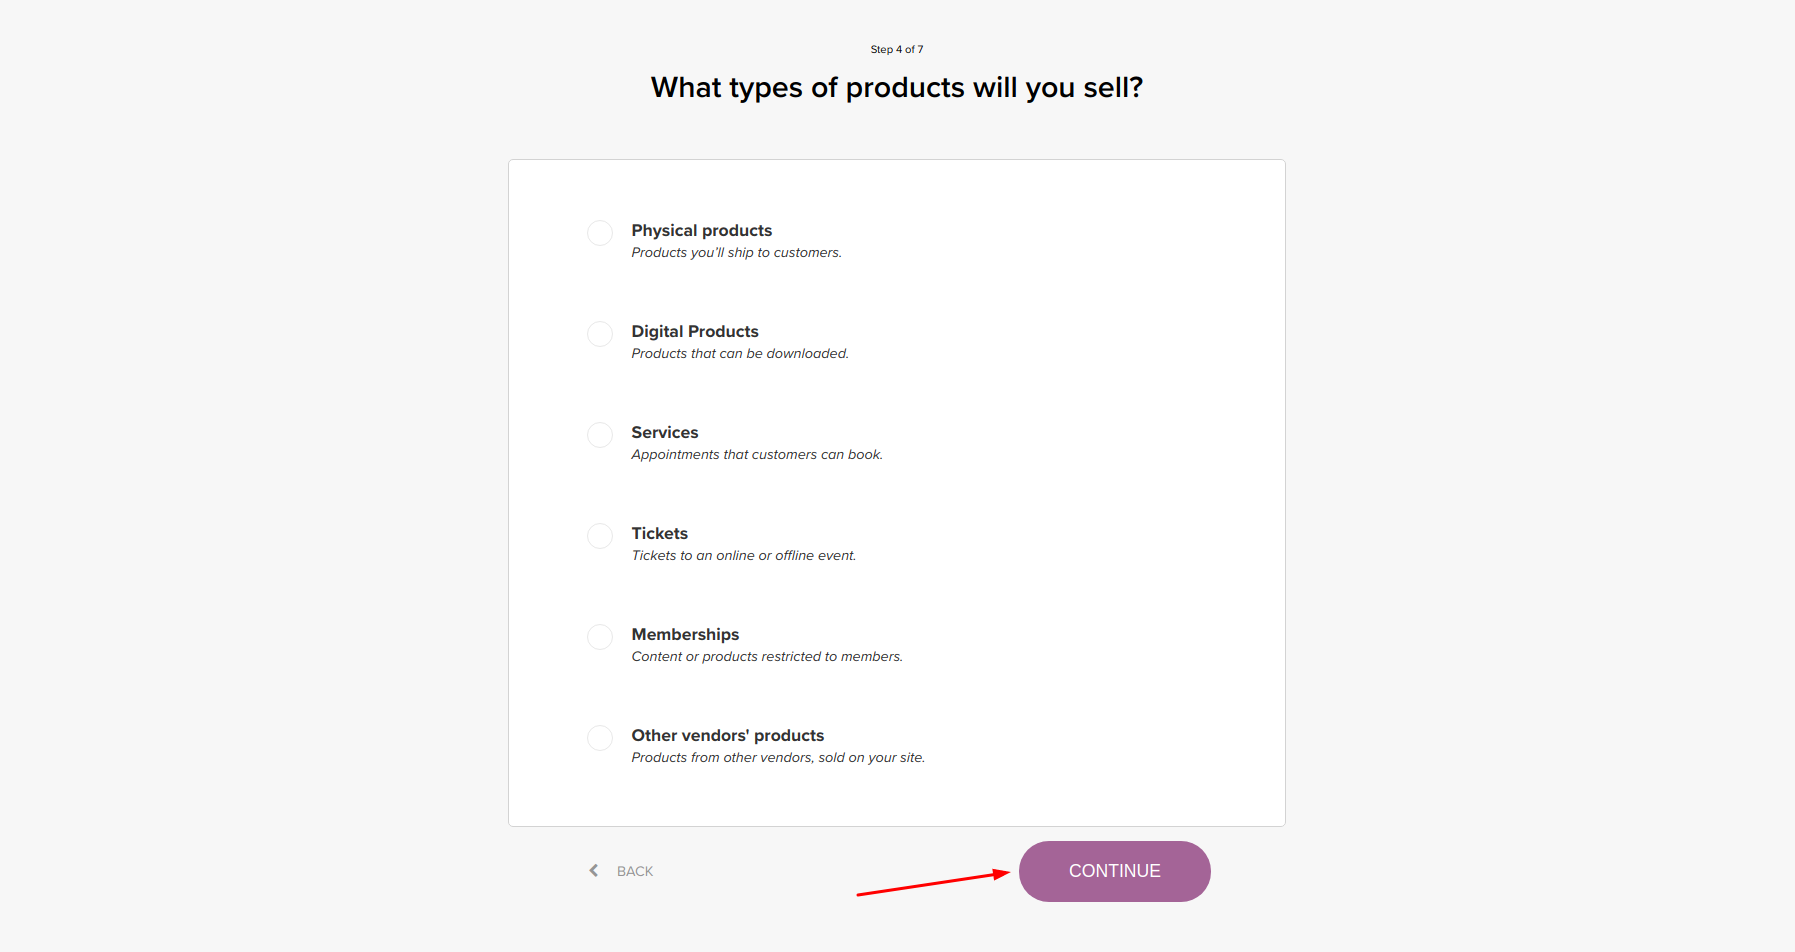
B.4. Choose the type of products that you will be selling using your website.
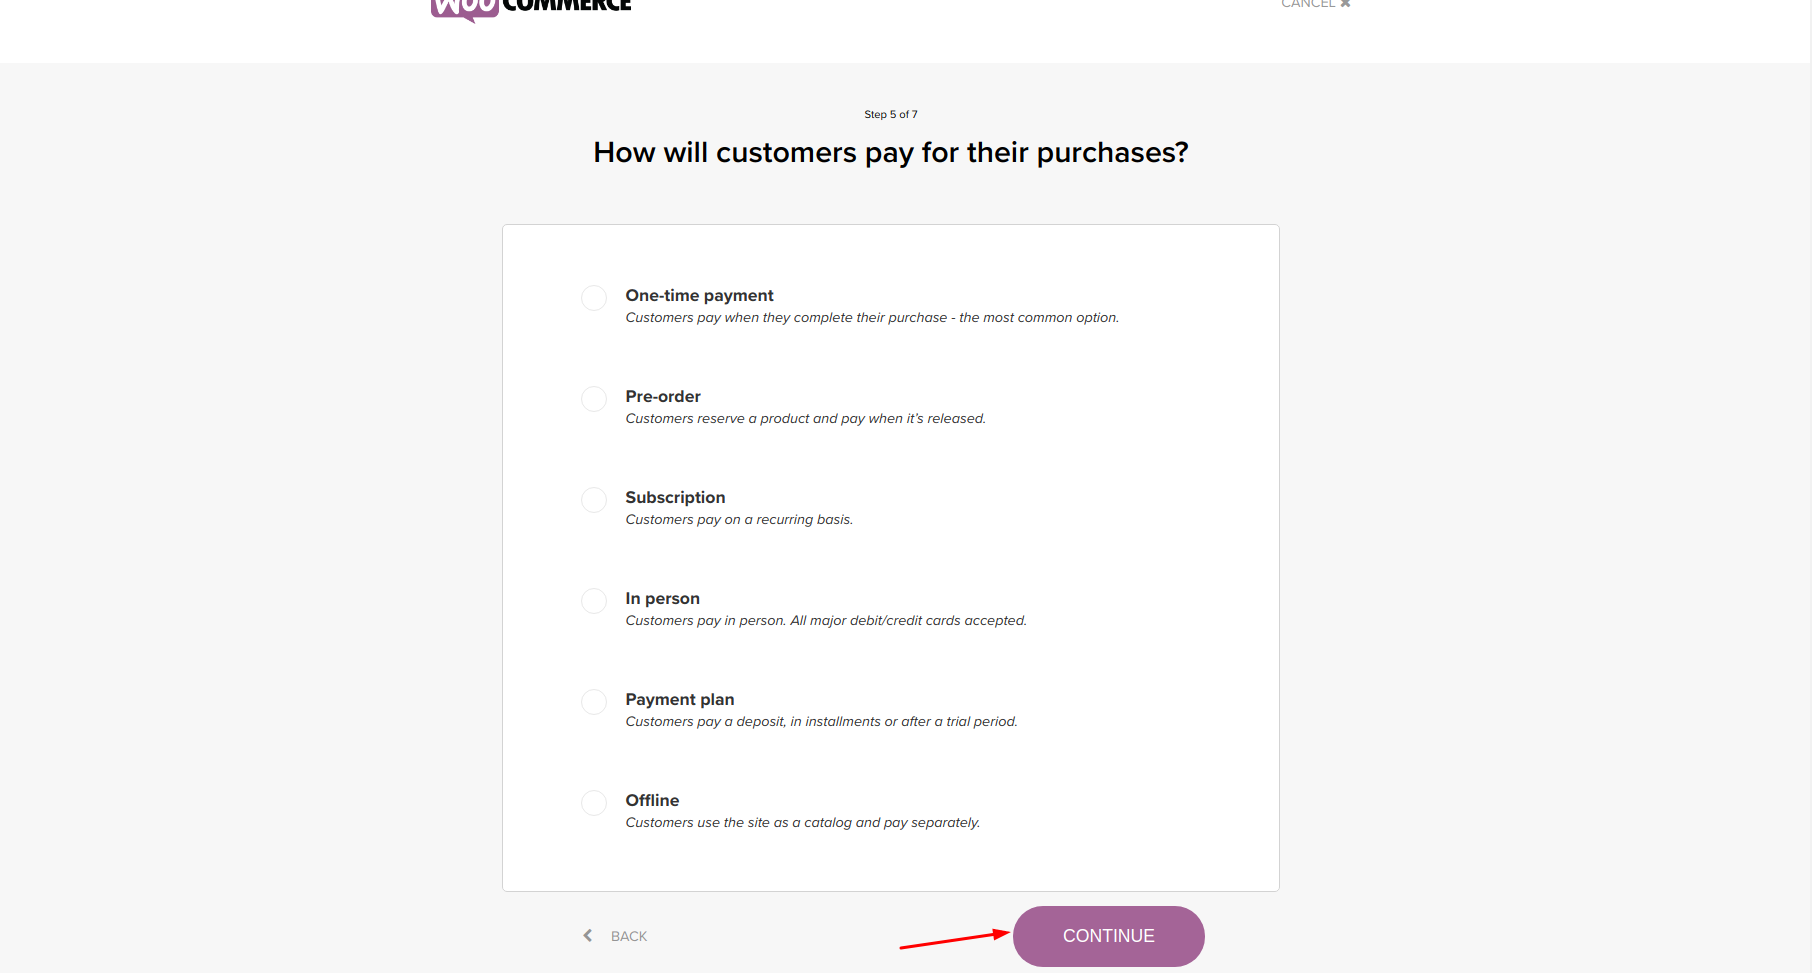
B.5. Choose the mechanism using which the customers will pay for their purchases.
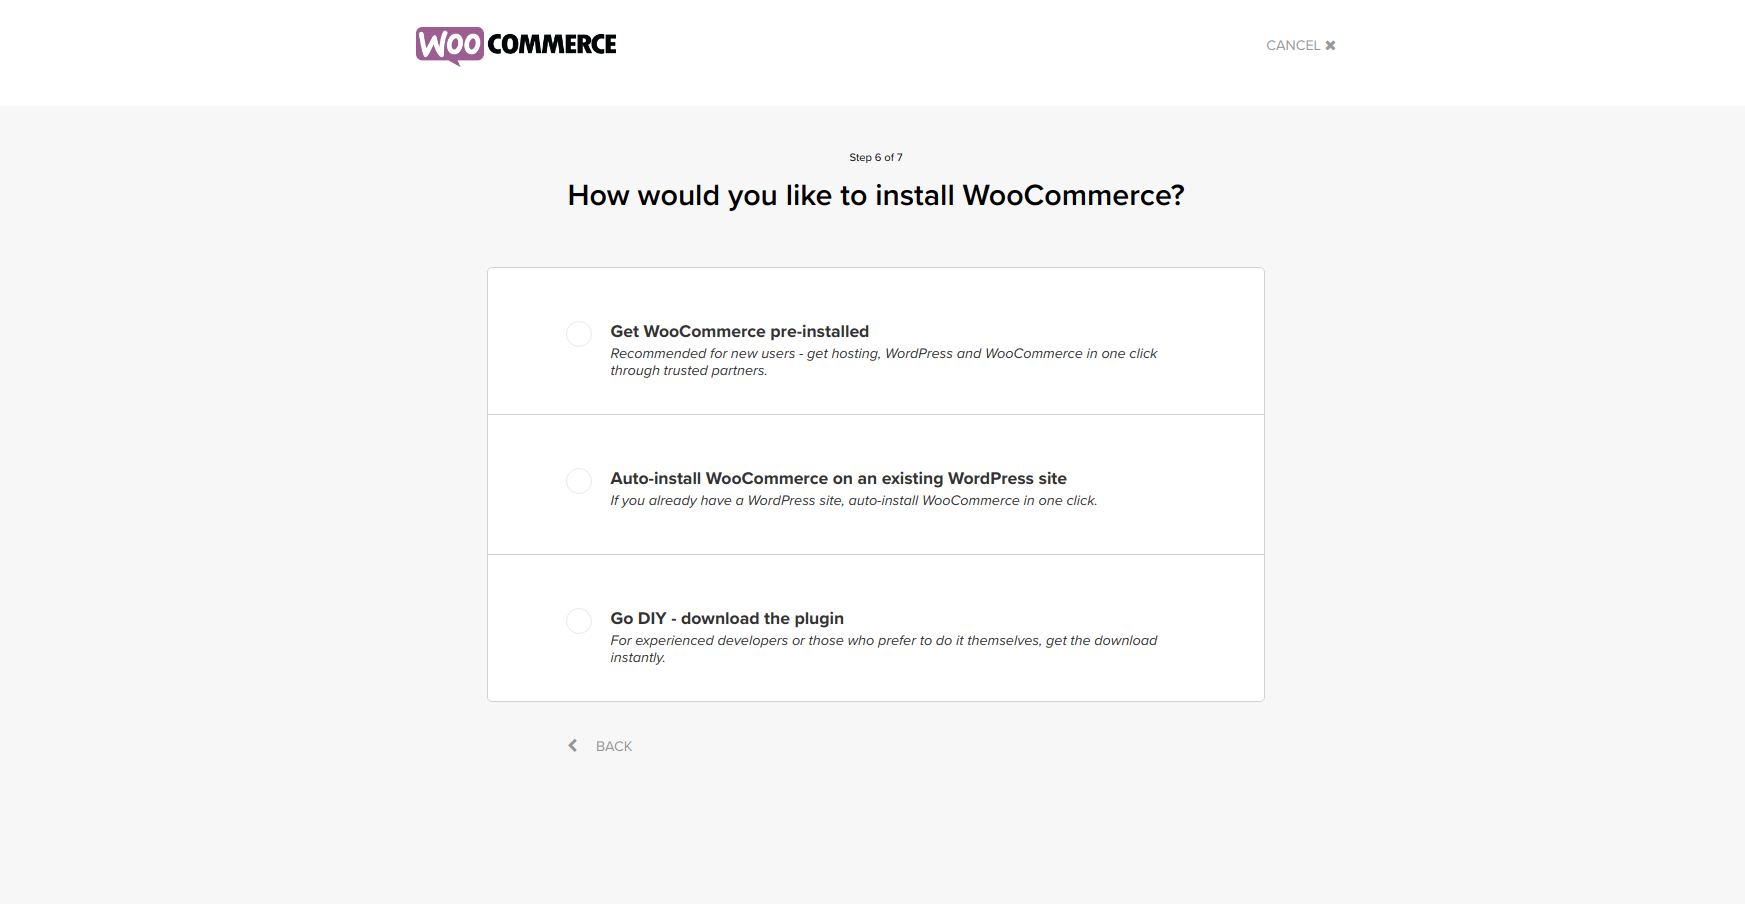
C.1. If you are a New User and want to host your WordPress and WooCommerce in one go, then you need to choose to Get WooCommerce pre-installed.
C.1.1. Choose the partner and package that works for you.
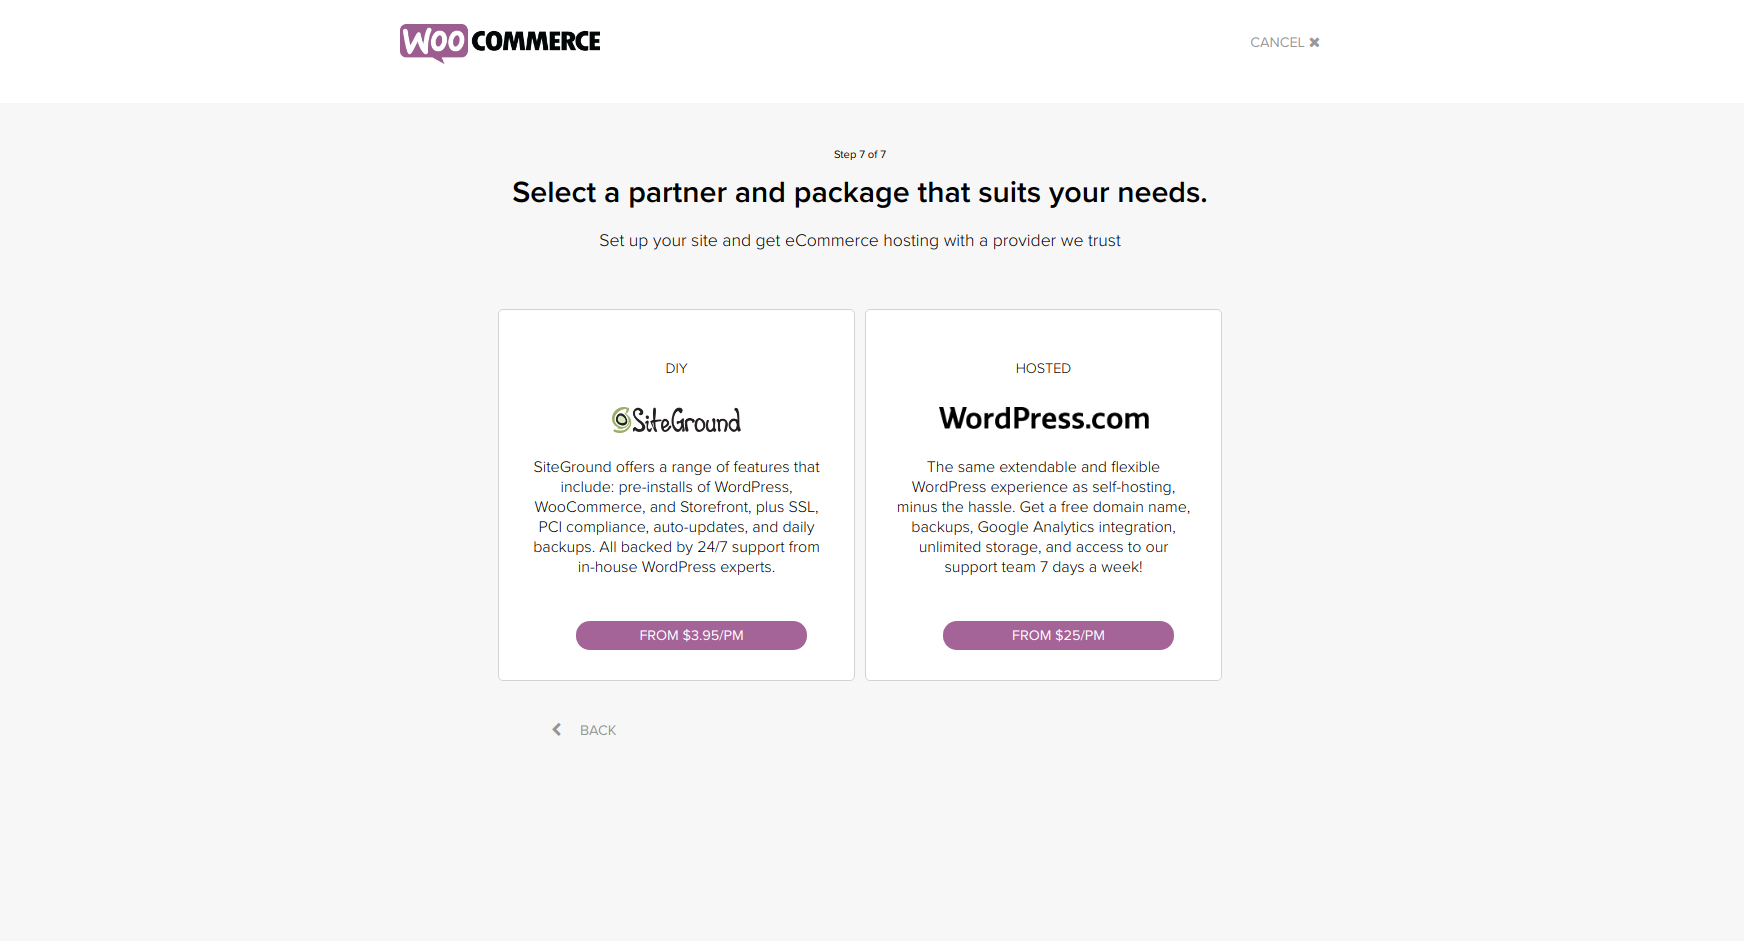
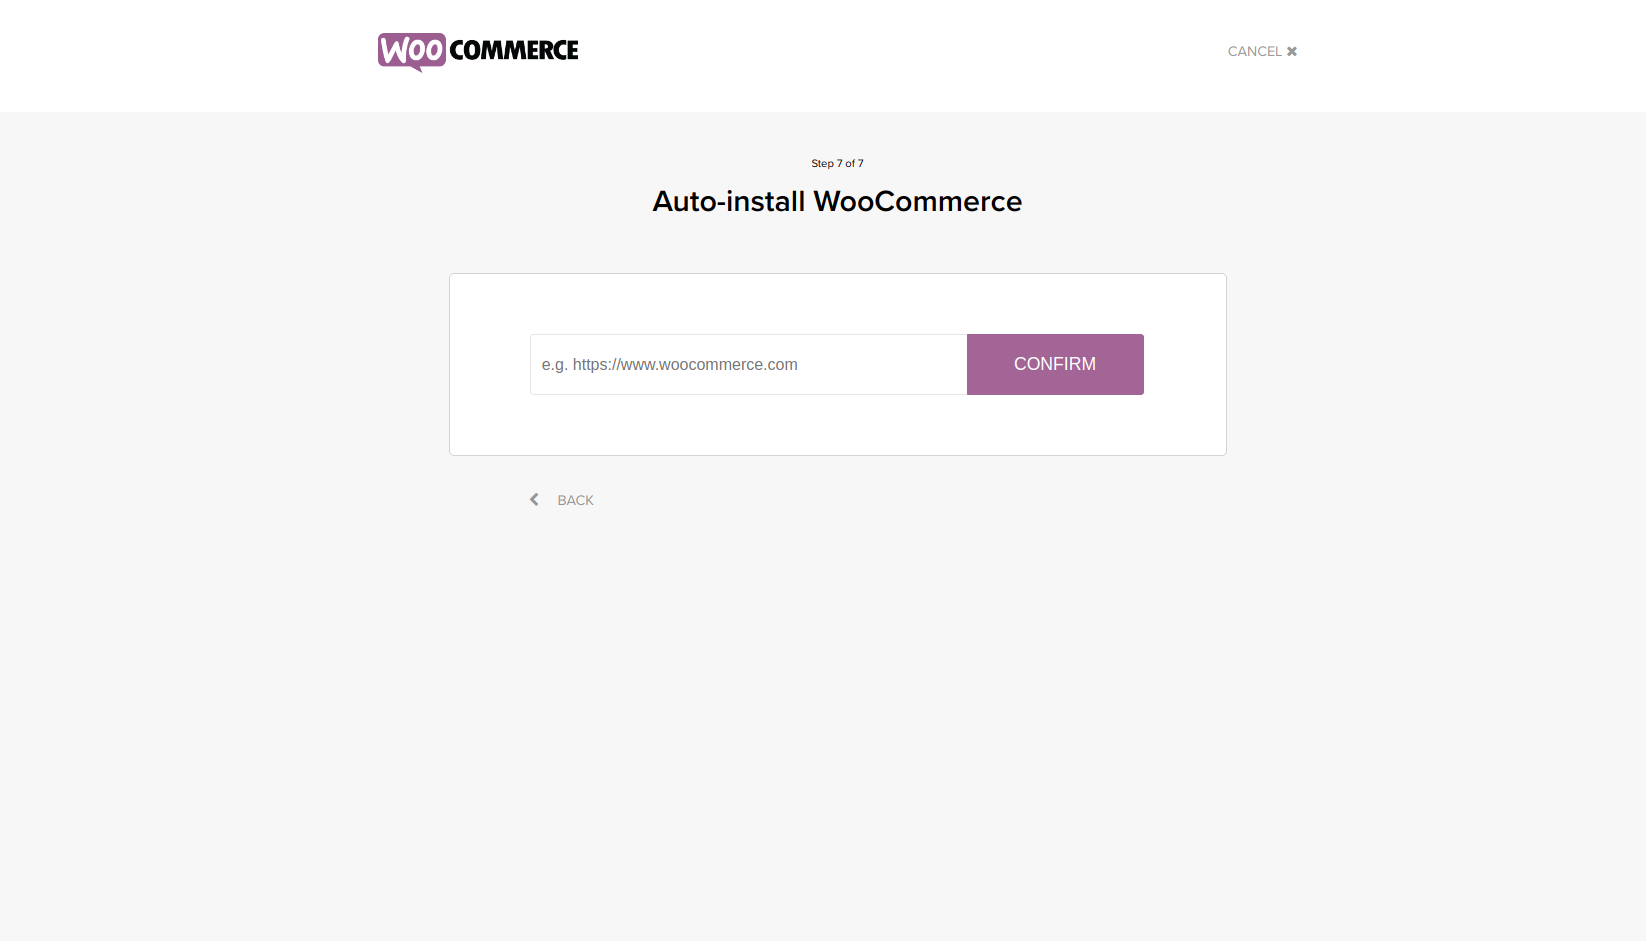
C.2. If you already have an existing WordPress site, you can autoinstall WooCommerce plugin in one click.
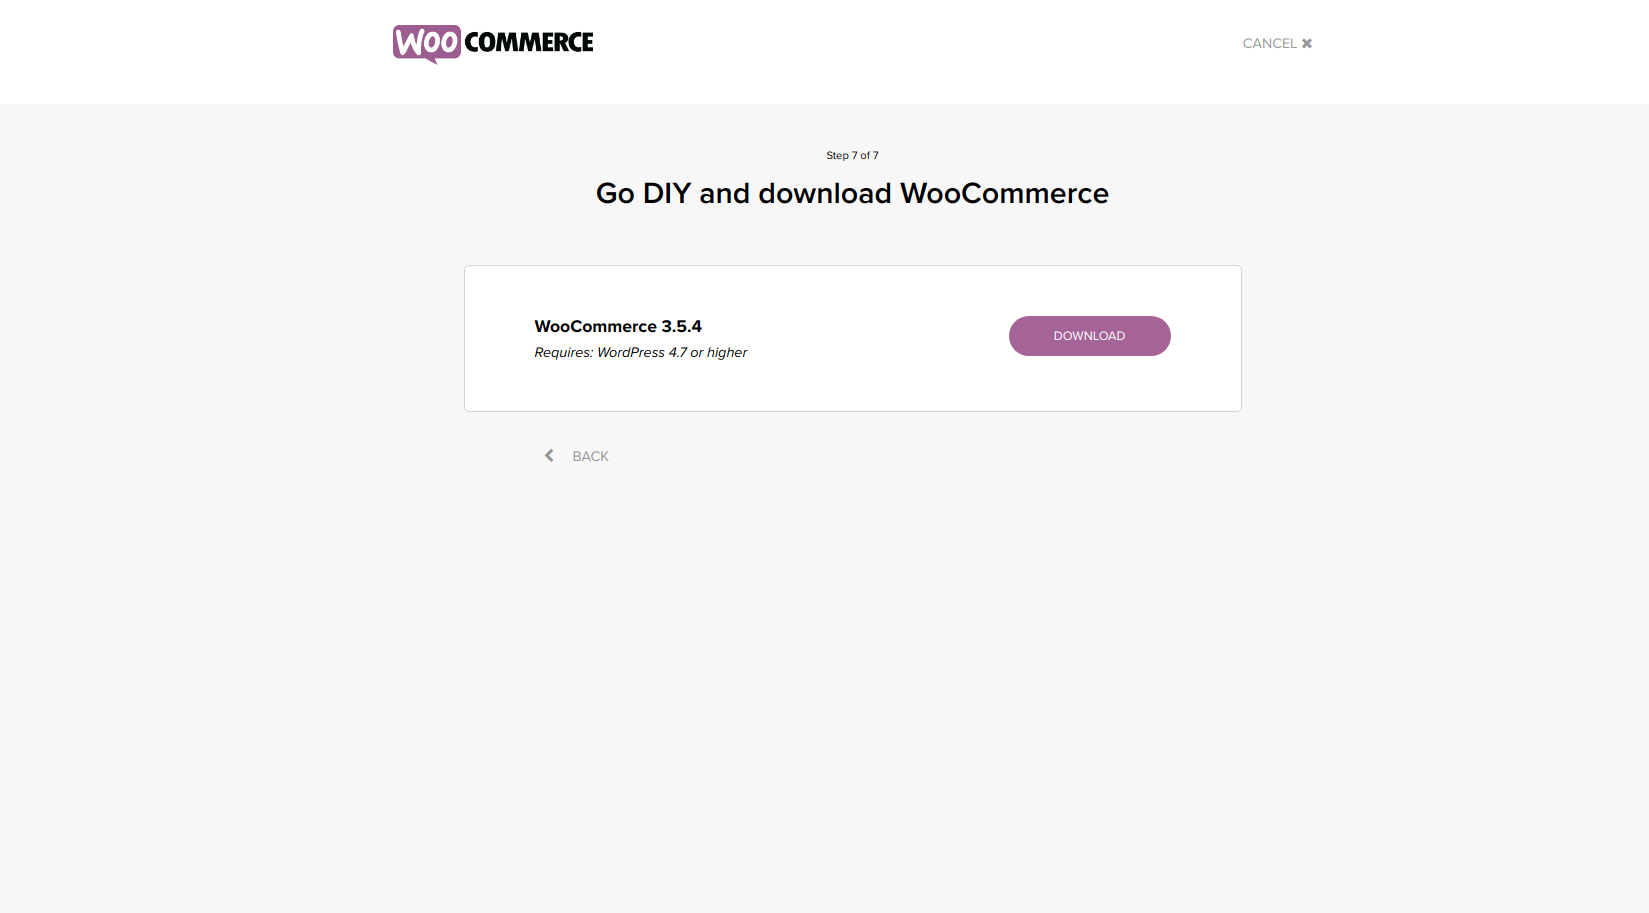
C.3. In case you want to opt for the DIY option and download and install the plugin by yourself on your WordPress site, you need to follow the below-mentioned steps:
C.3.1. Download the WooCommerce plugin in DIY mode.
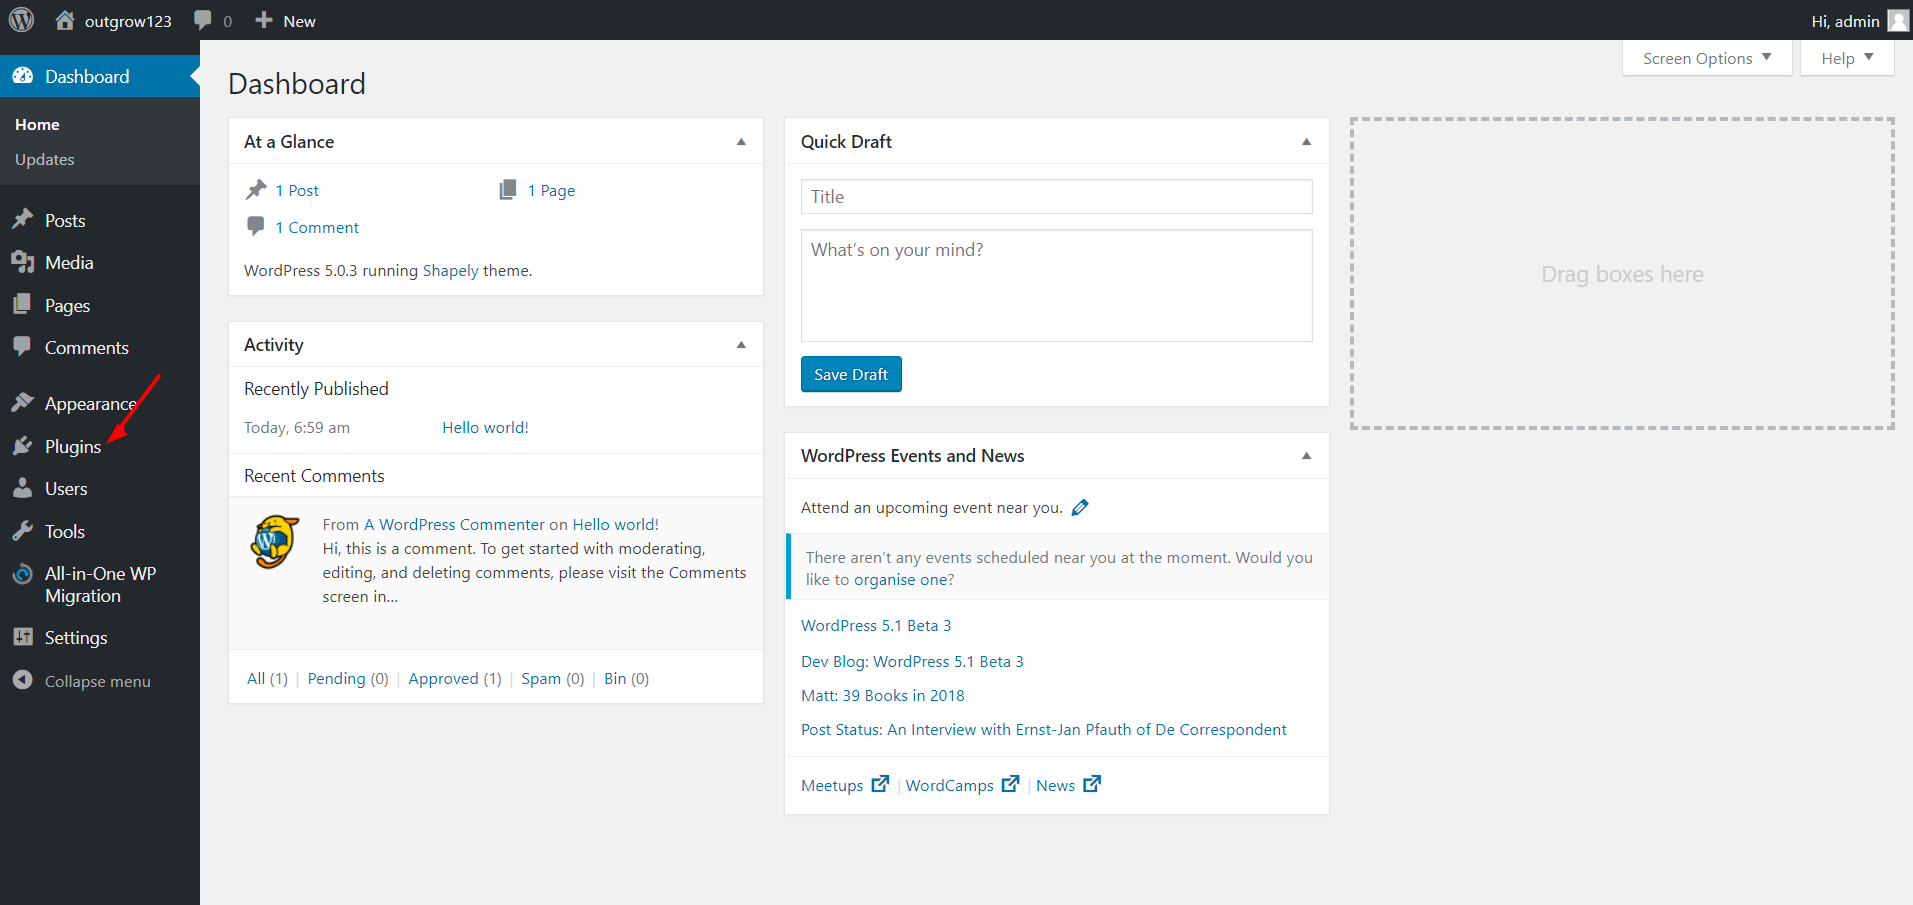
C.3.2. Once the plugin is downloaded, go to your WordPress site, and then navigate to the dashboard, and select the WooCommerce plugin and click on Add New.
C.3.3. If you have already installed the WooCommerce plugin, then click on Upload Plugin and choose the plugin file. After uploading the plugin click on Install and Activate.
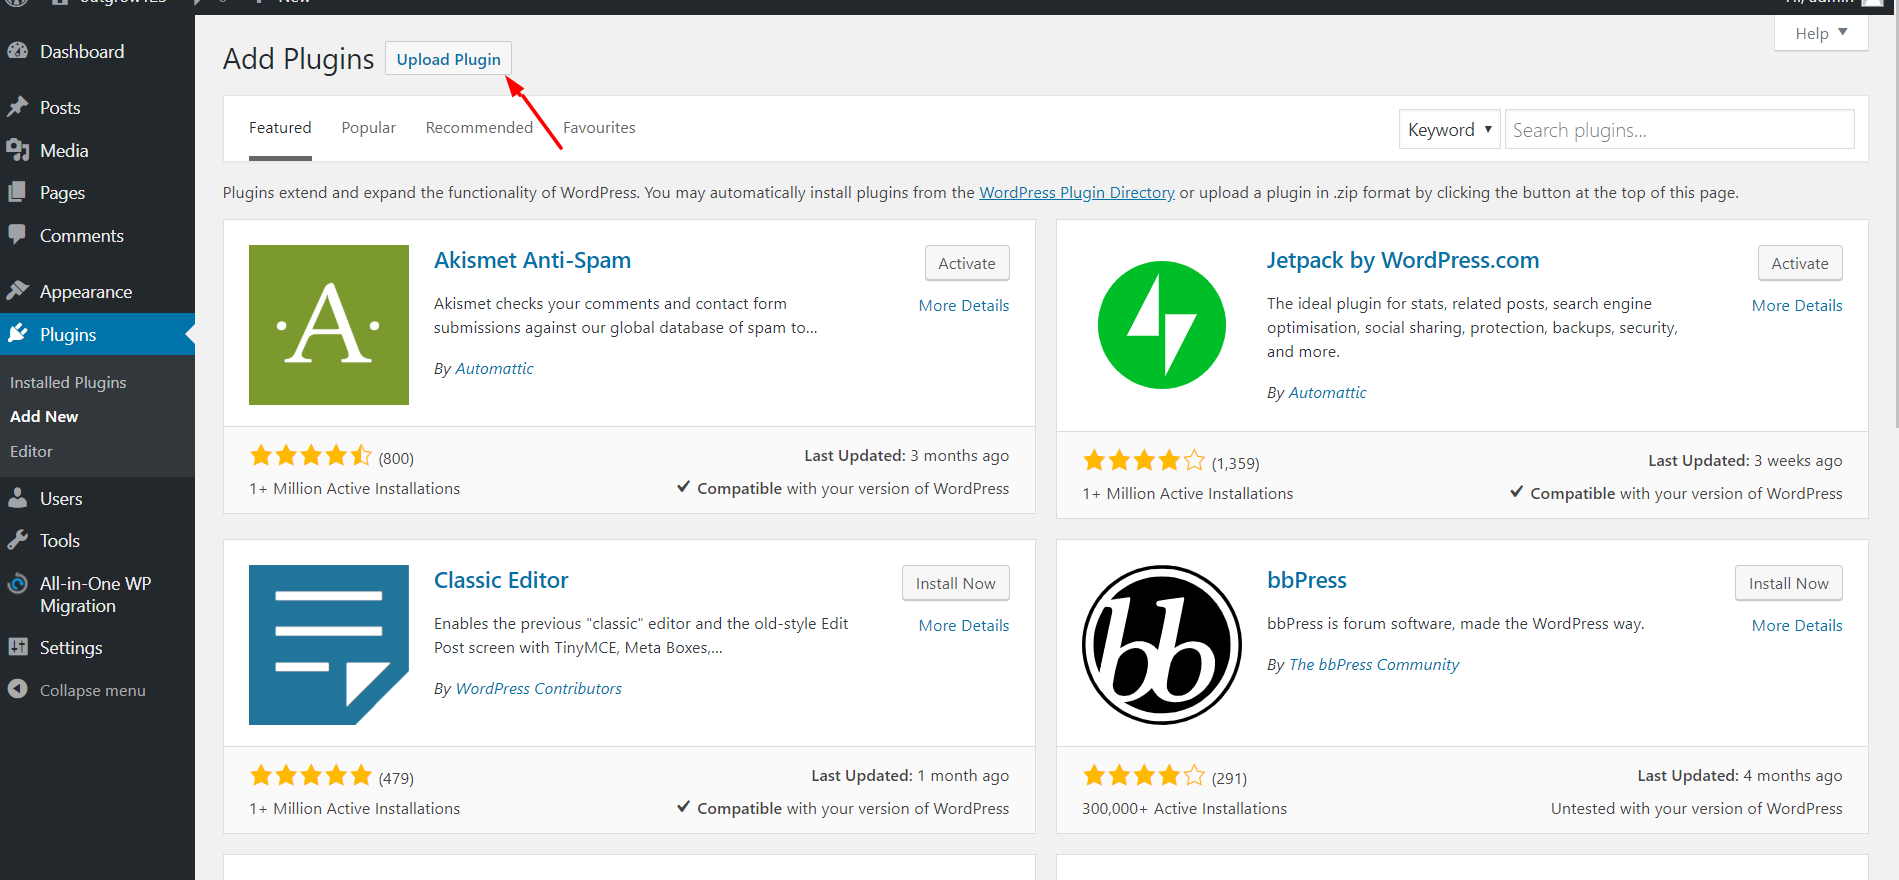
C.3.4. You can also search for WooCommerce plugin in the Search Bar, and then you can install and activate the plugin.
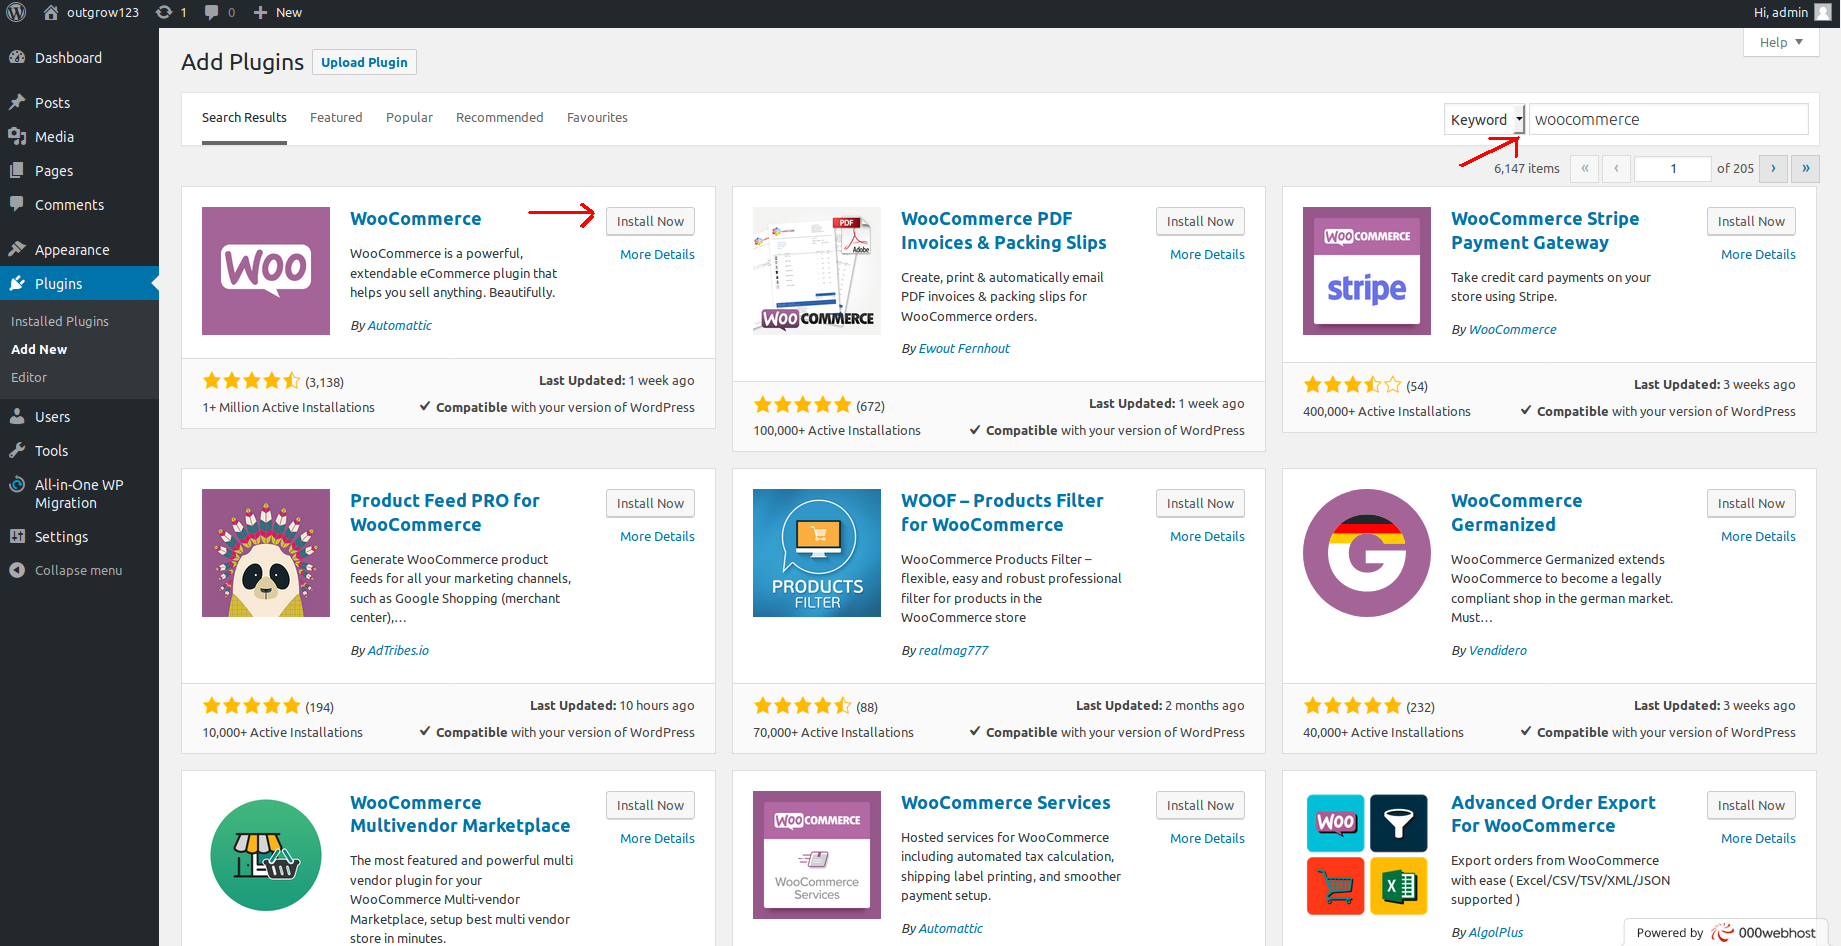
D. Once your plugin is activated, you can go through the steps to update your store details.
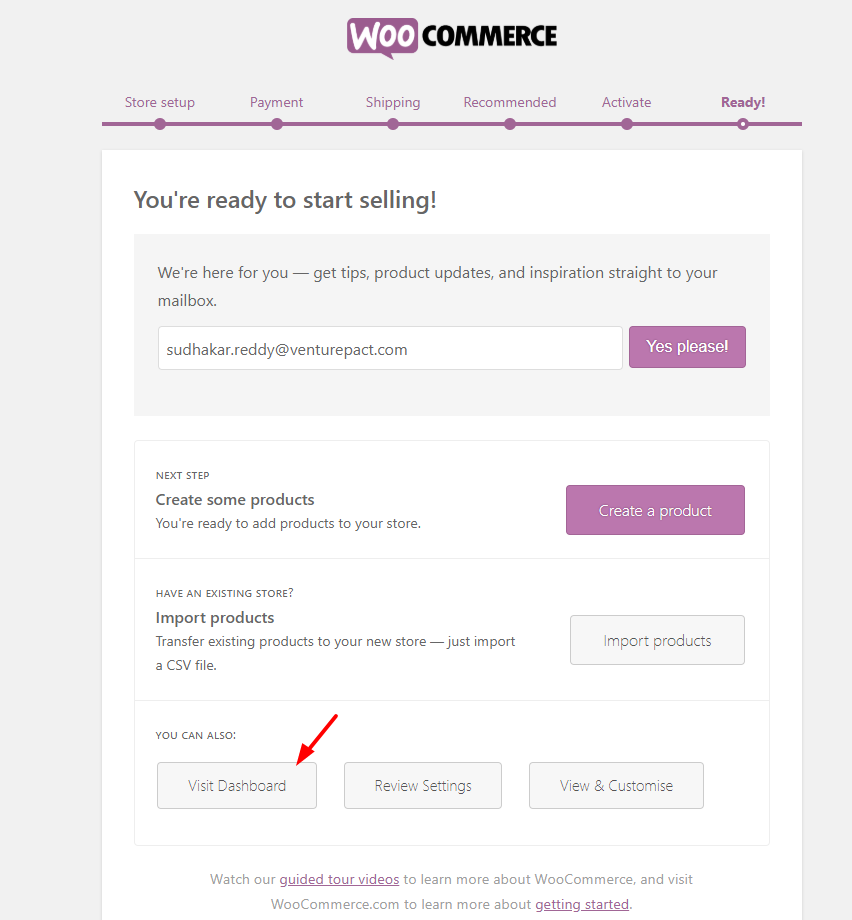
E. Once the plugin is installed, click on Visit Dashboard.
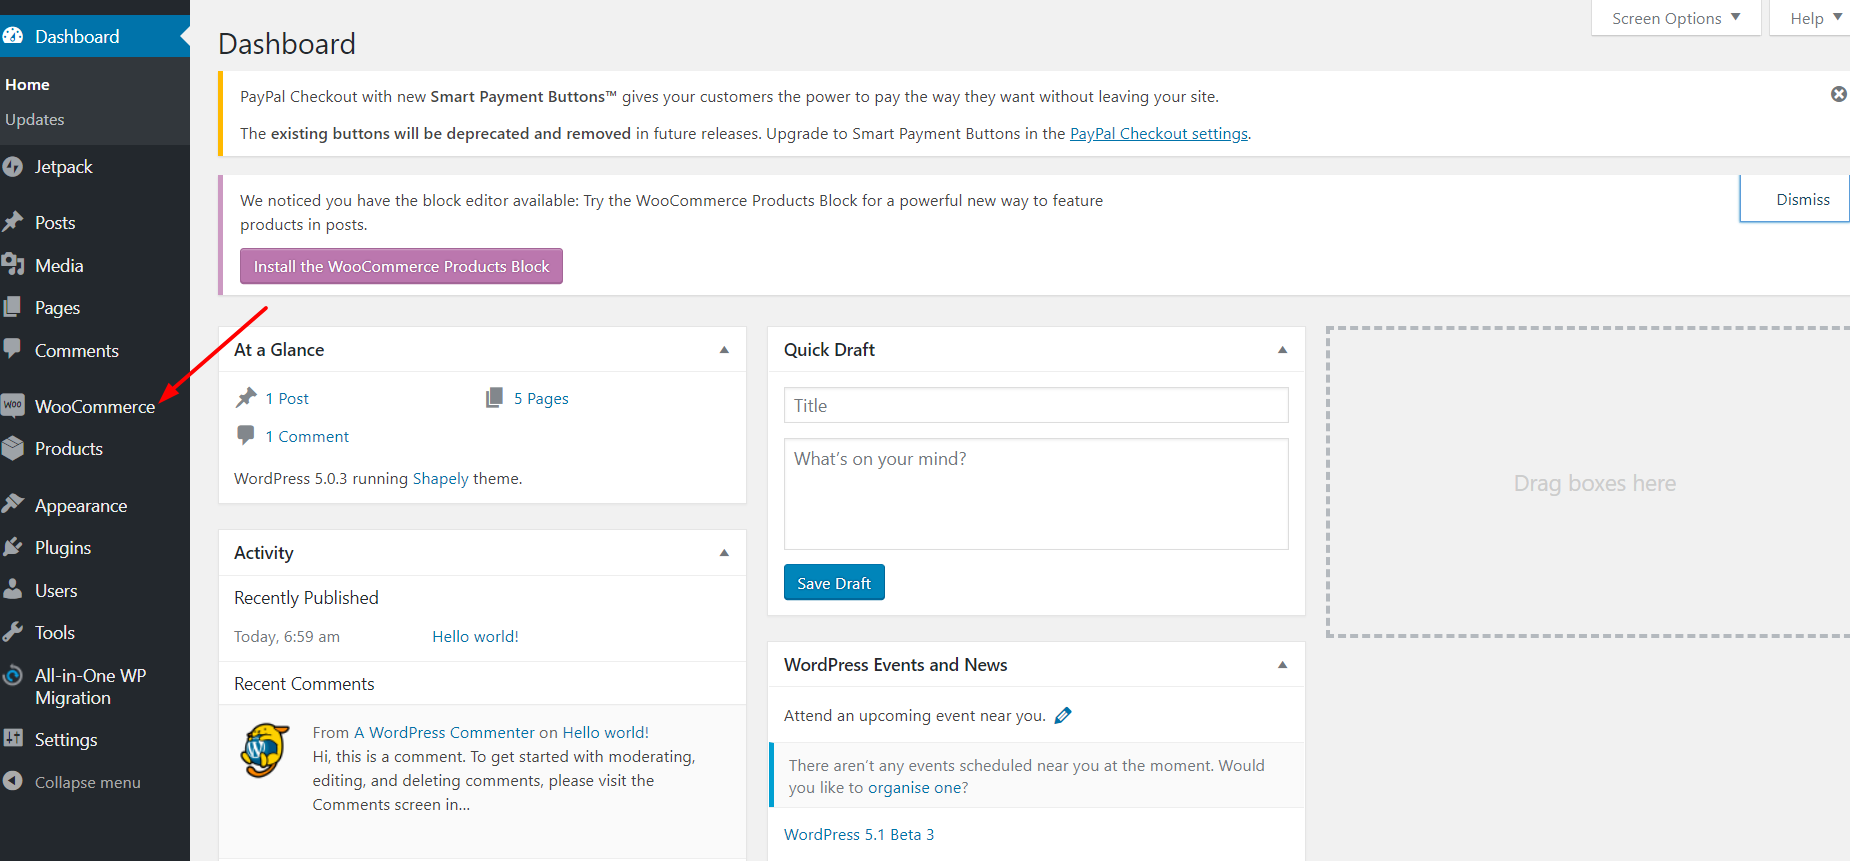
F. Click on WooCommerce and go to the settings.
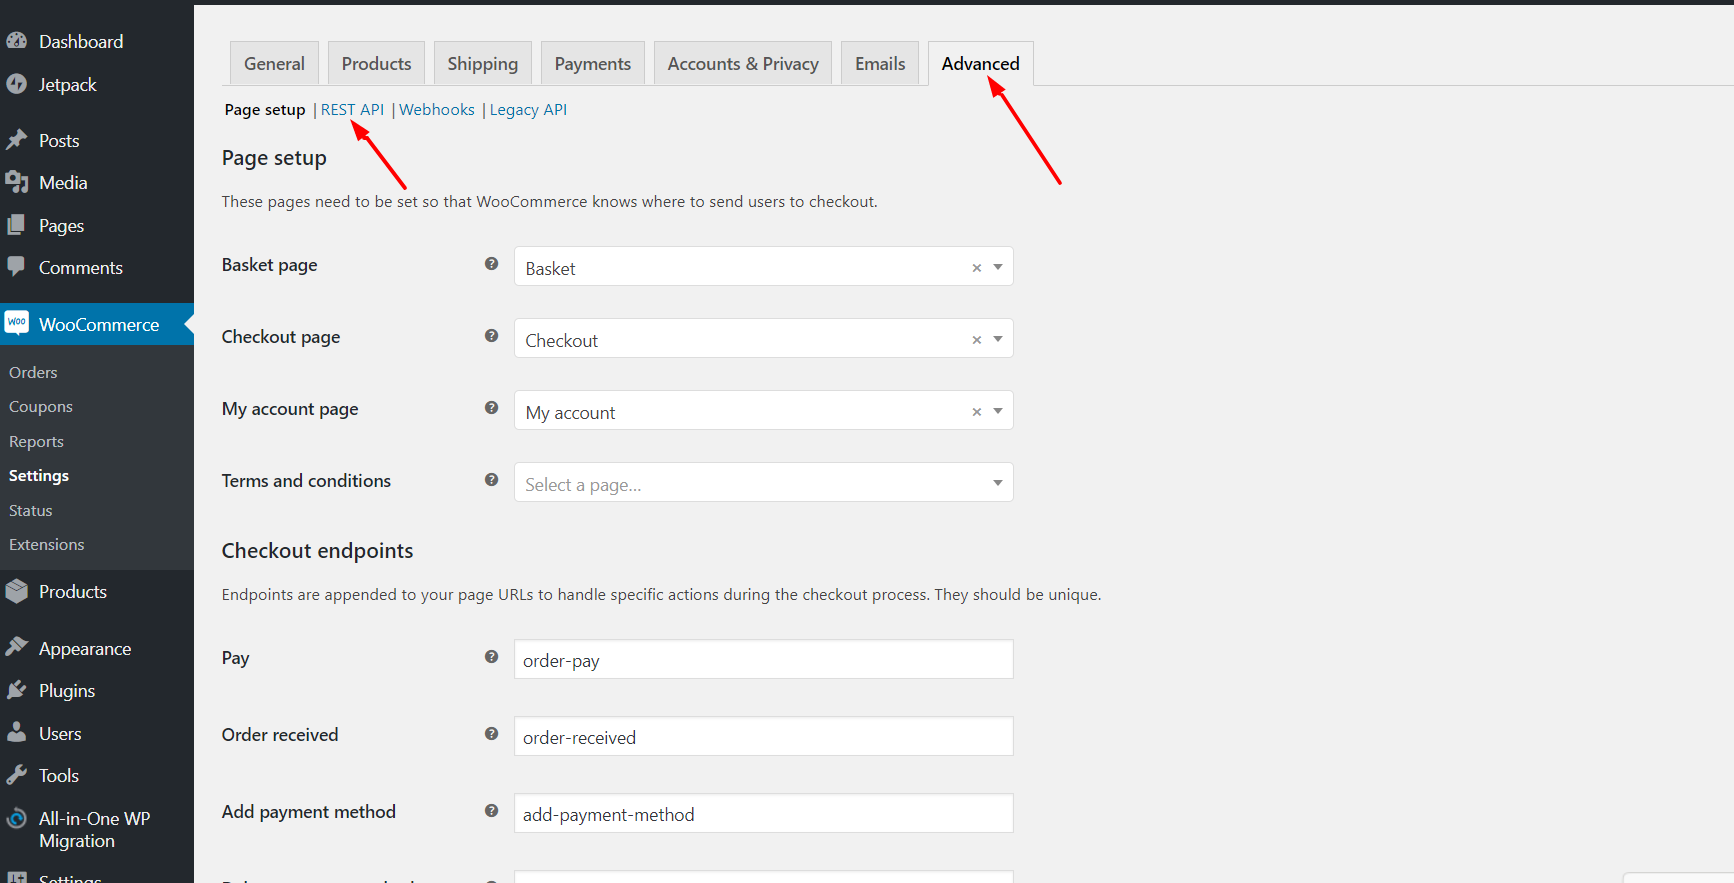
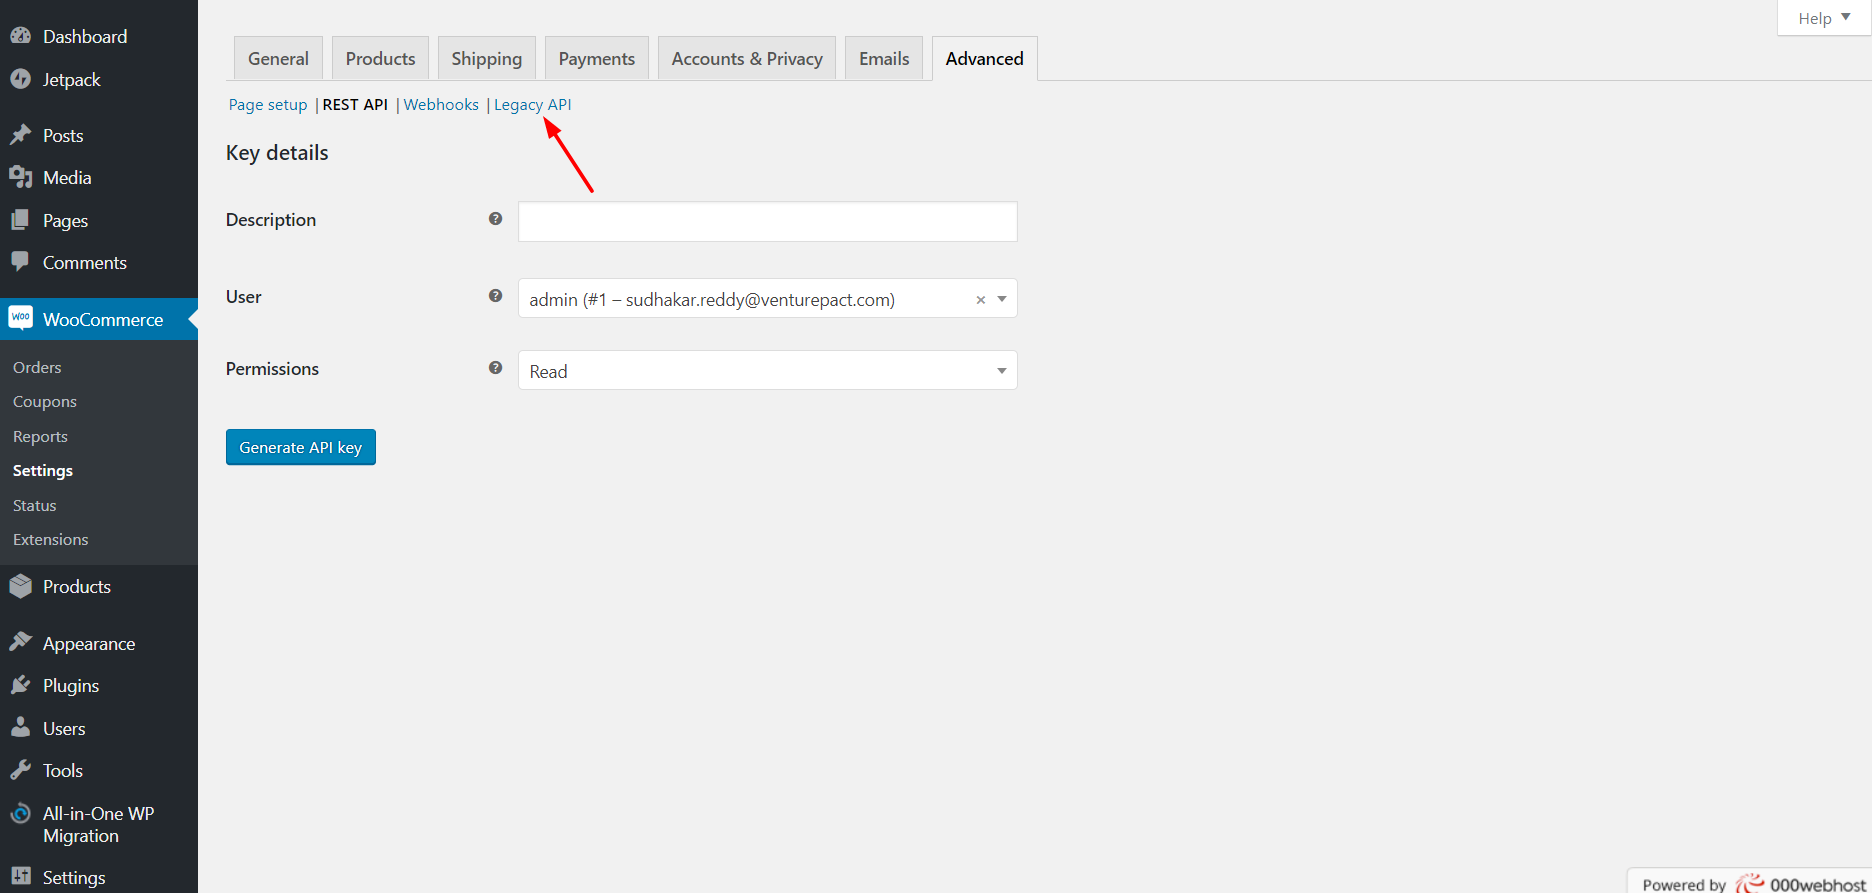
G. Navigate to the Advanced Tab and then go to REST API.
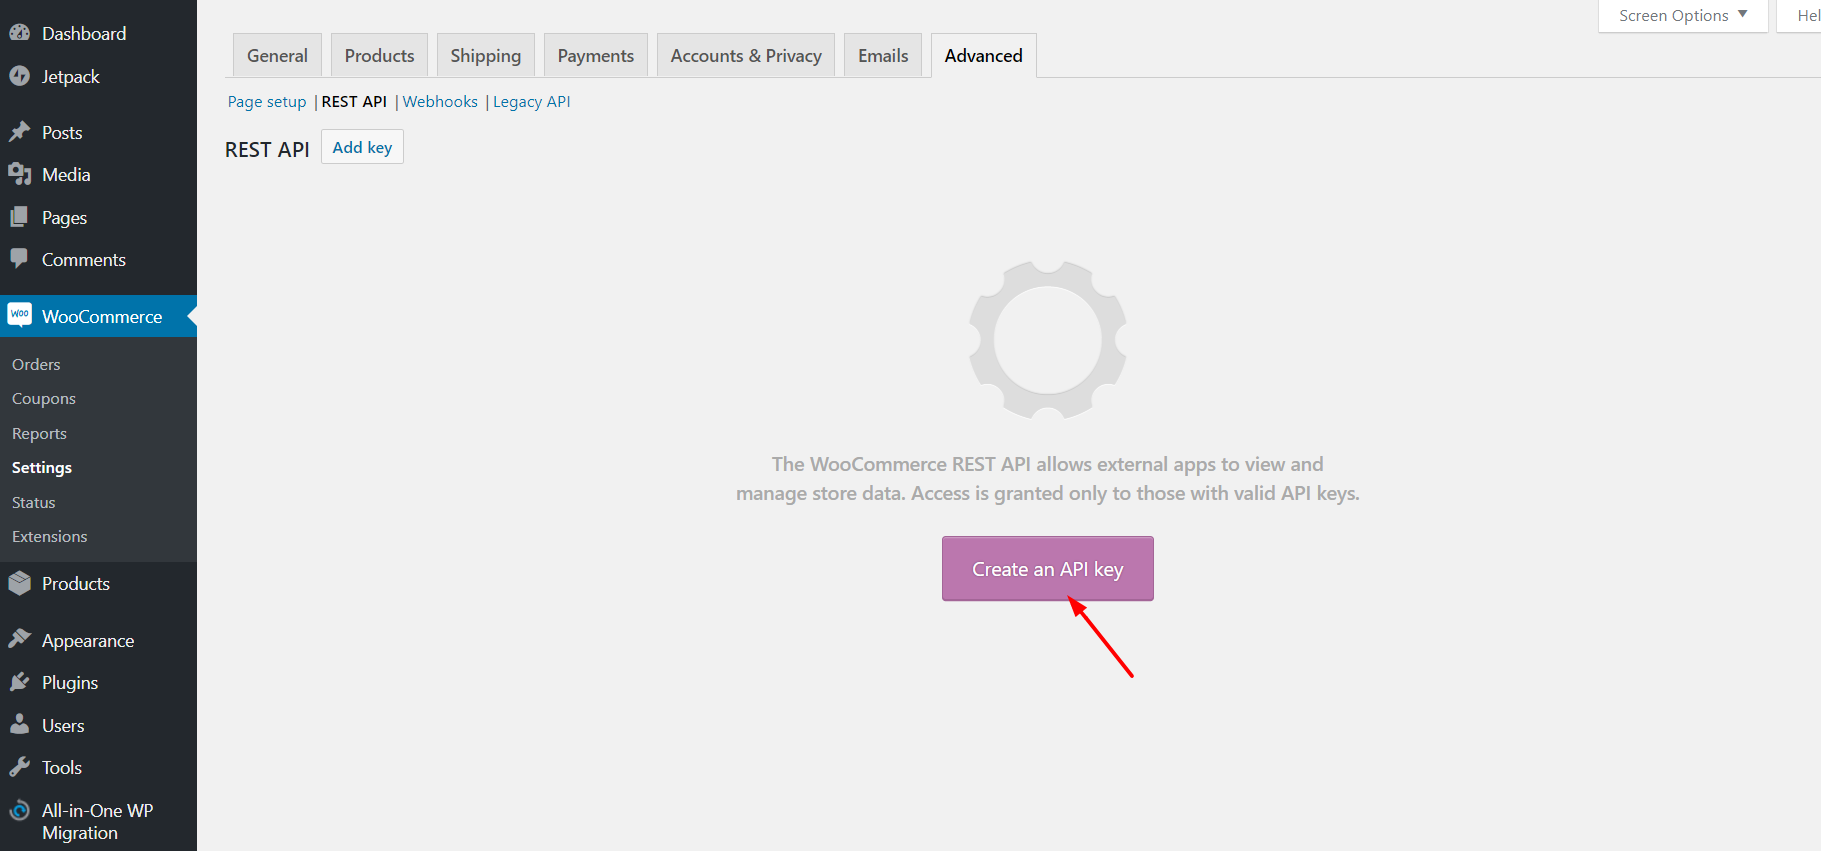
H. Click on Create an API Key.
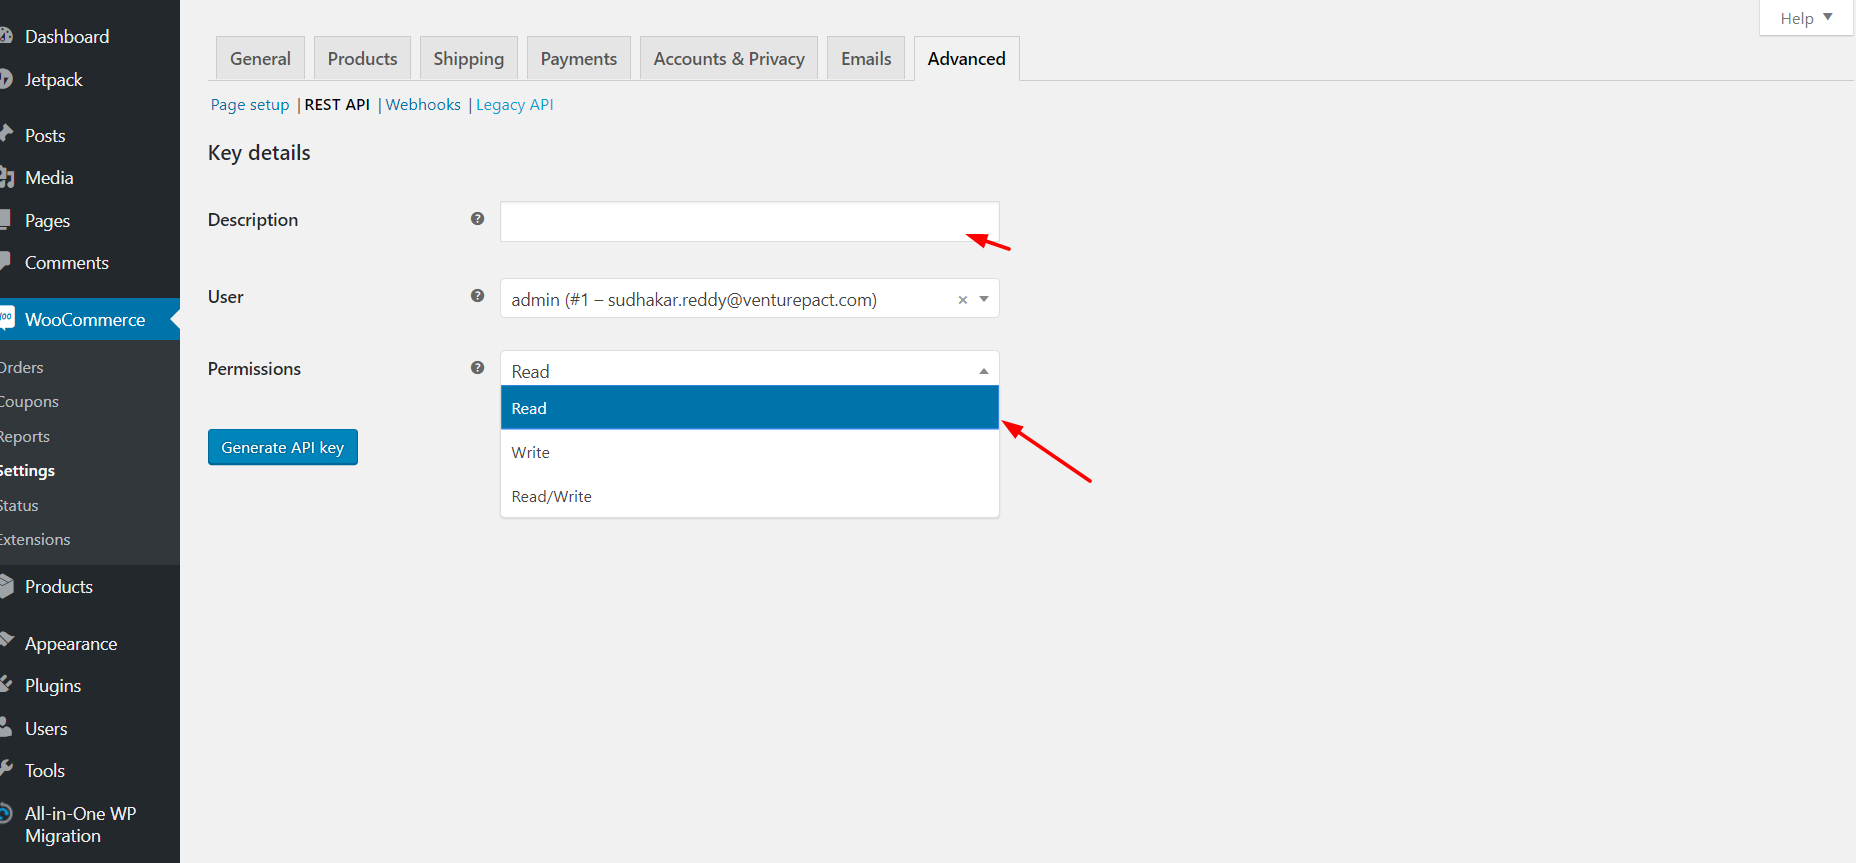
I. You can add the Description and Permissions to Read / Write and click on generate API Key.
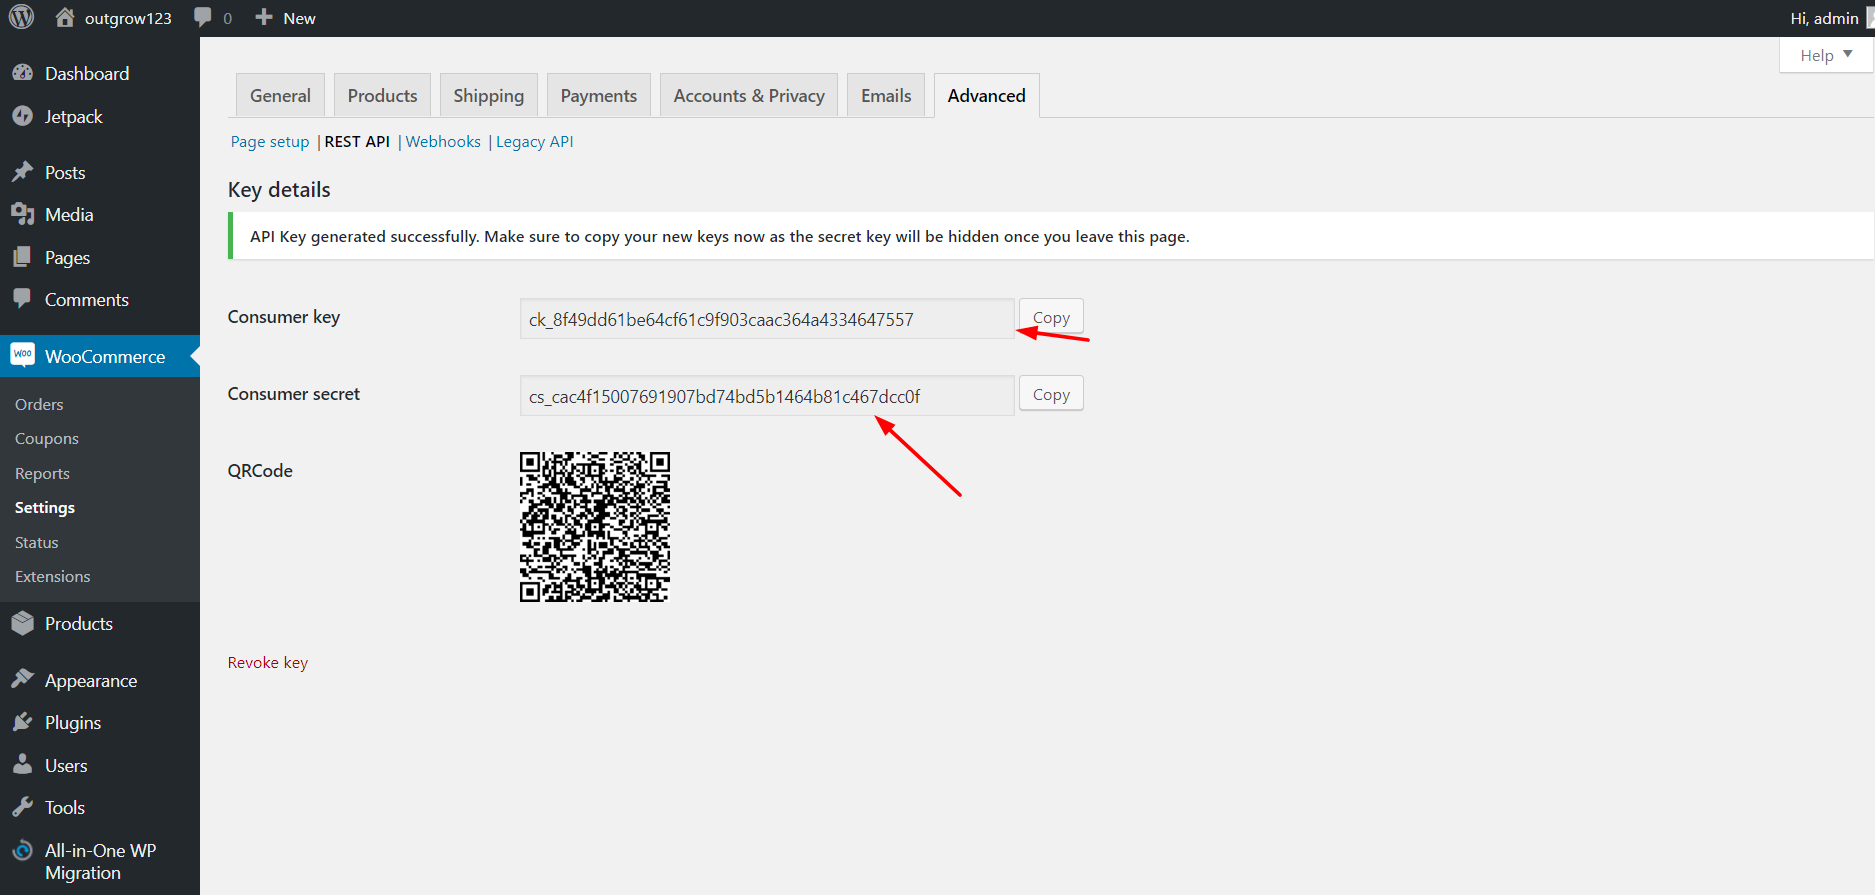
J. You can copy the Consumer Key and Consumer Secret from the dashboard. The Host Name is what you set for your site while hosting it.
NOTE: Host Name is the website address that you have set up but without http or https. For example, if the website address is http://facesmile.com, then the Host Name will be Facesmile.com.
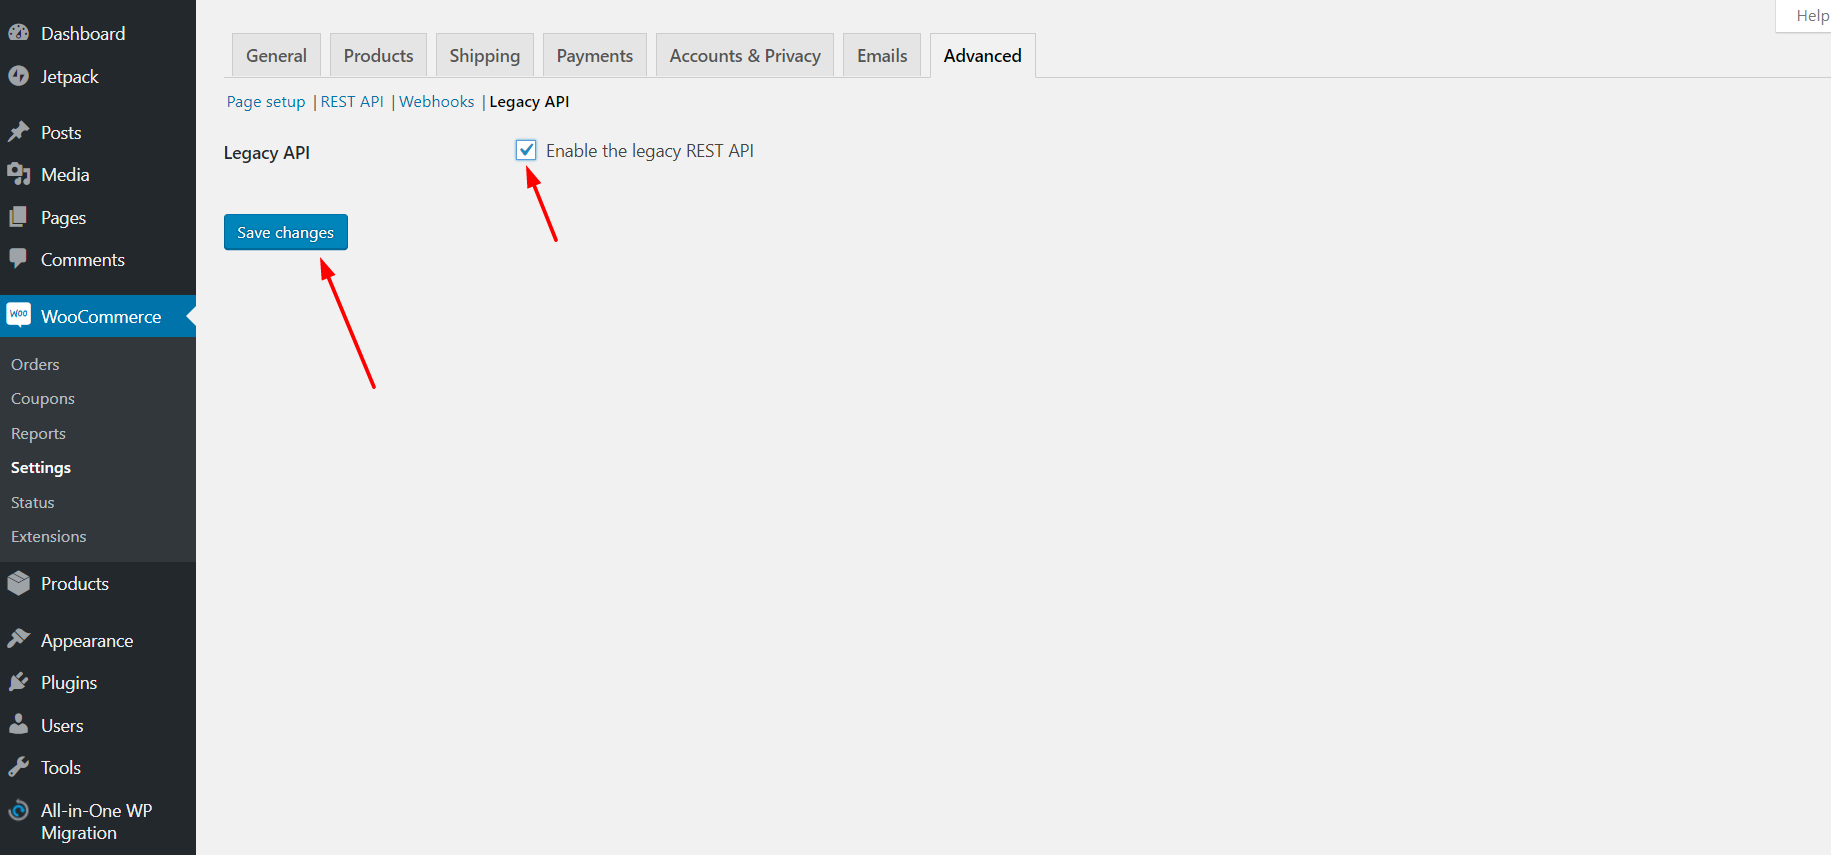
K. In the next step, you need to click on the Legacy API and enable the Legacy Rest API.
L. Click on Save Changes to save the settings.
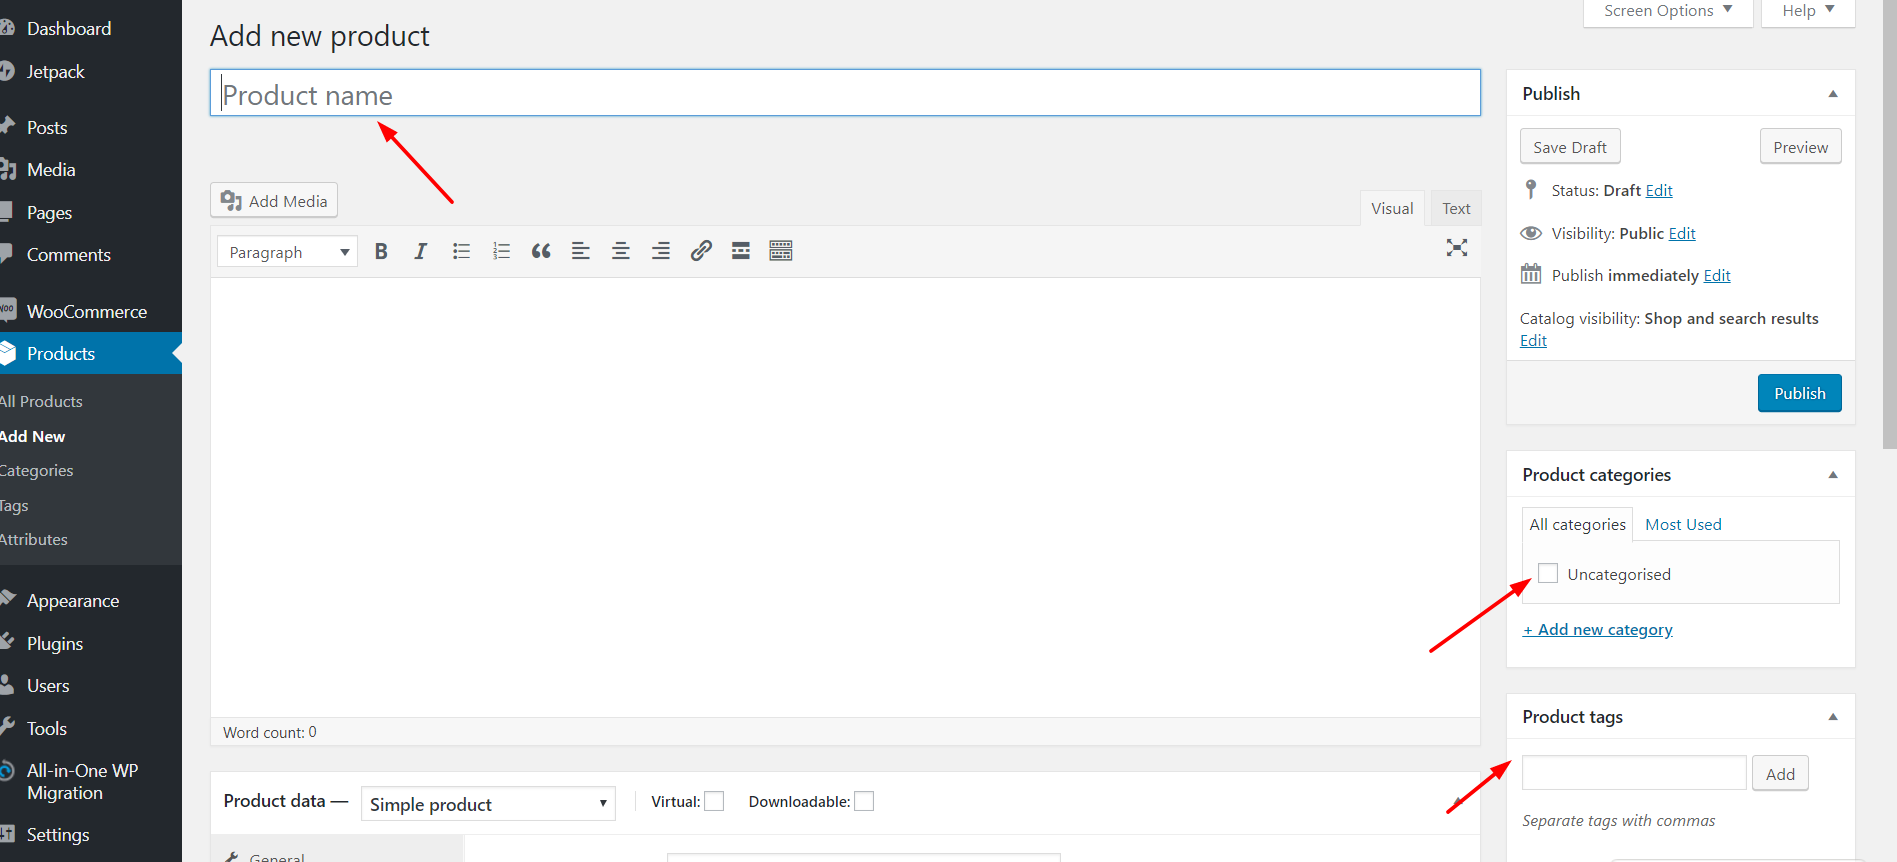
M. For adding products, you need to click on Products, and then click on Add New. Post creating a product click on Publish Product.
Integrating WooCommerce with Outgrow
1. Once WooCommerce and WordPress site is created, you need to login to Outgrow and choose the appropriate Outgrow eCommerce quiz where you want to add products from WooCommerce. Navigate to Add Products.
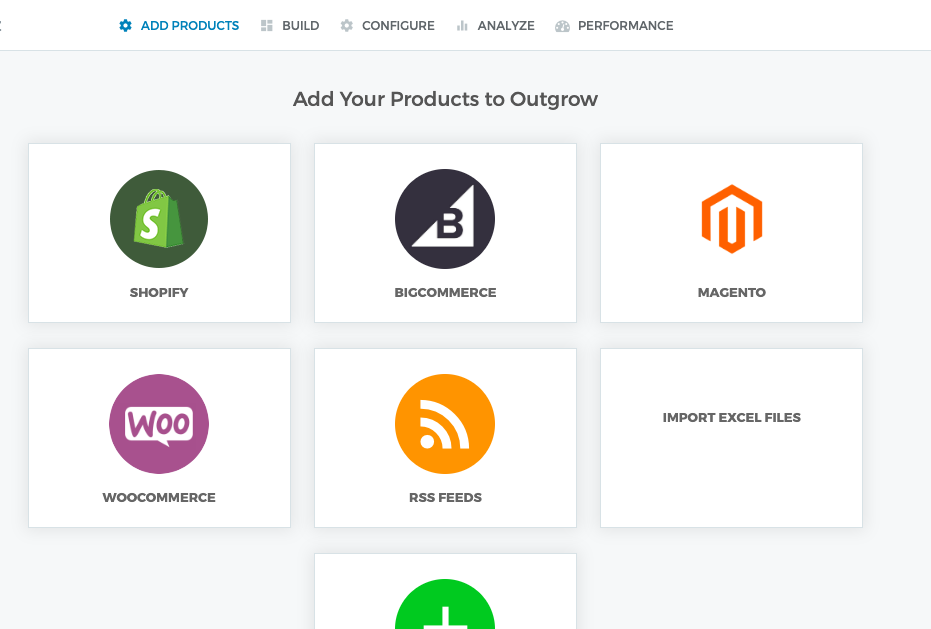
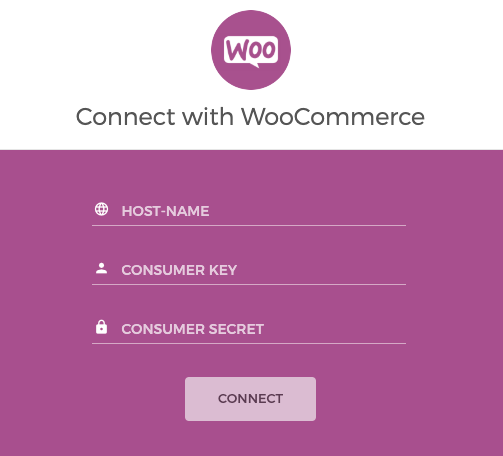
2. Enter your WooCommerce credentials to complete the integration setup and then choose the products that you wanted to add in Outgrow from WooCommerce.
Feel free to use our chat tool on the bottom right or reach out to us at [email protected] in case you have any questions and our team can help you with a quick solution.
Updated over 1 year ago