Allowing users to Save Results as PDF in Outgrow
Sometimes, users require assistance to navigate the information you provide on the results page all at once. Outgrow now enables you to create a personalised PDF, ensuring that the intended message for users is effectively communicated. This PDF can be downloaded directly from the results page or attached to the User Notification email for easy access. Using this document, you can understand how to design this PDF effectively.
How To Create Your Customised PDF
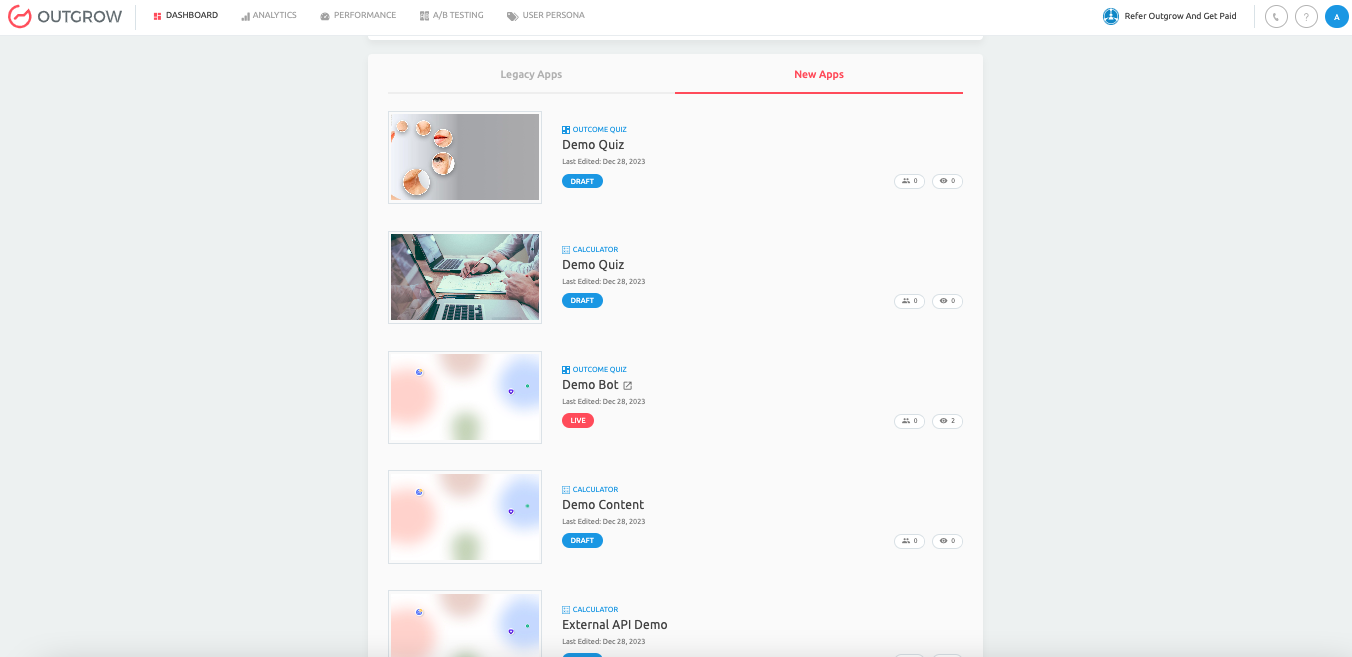
- Log in to your Outgrow account and open the respective content in Build mode.
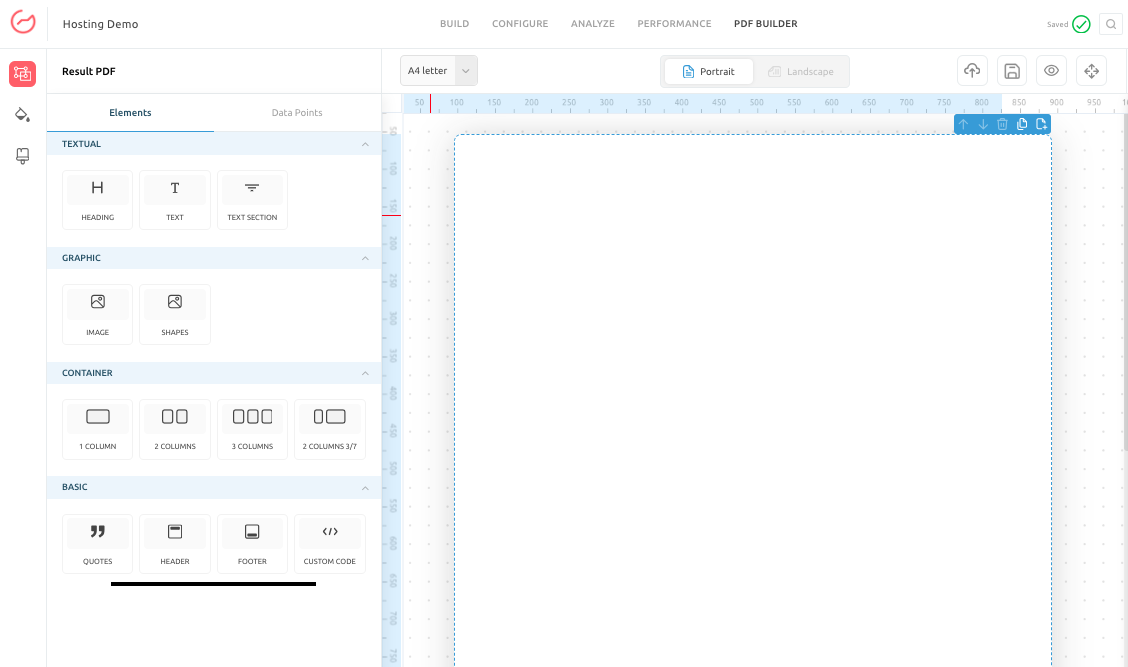
- Now, navigate to the PDF Builder tab. In this tab, you will configure your PDF's design and style elements and choose the data elements that will be included in your PDF. NOTE: Using our innovative drag-and-drop builder, you can add the required elements to the canvas.
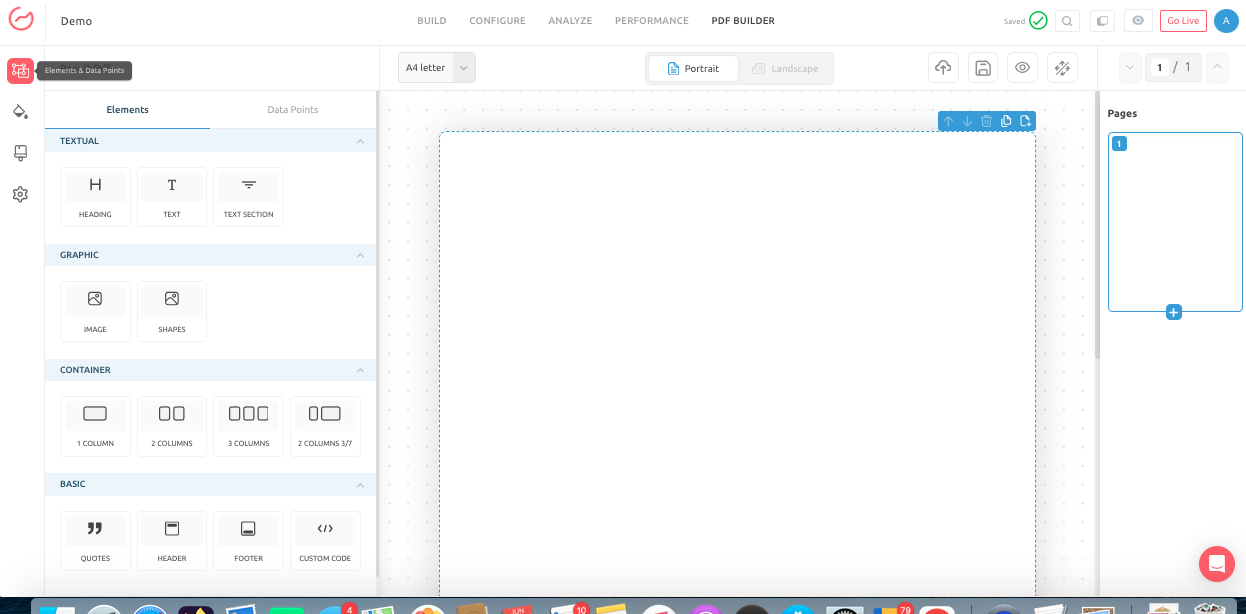
- To begin the design process, you first need to choose the PDF orientation and page size that you would like to use. You can choose between Portrait and Landscape mode.

- Now, to start the setup process, using the Elements sub-tab under Elements & Data Points, you can drag and drop textual, graphic, container, and basic elements on the PDF canvas.
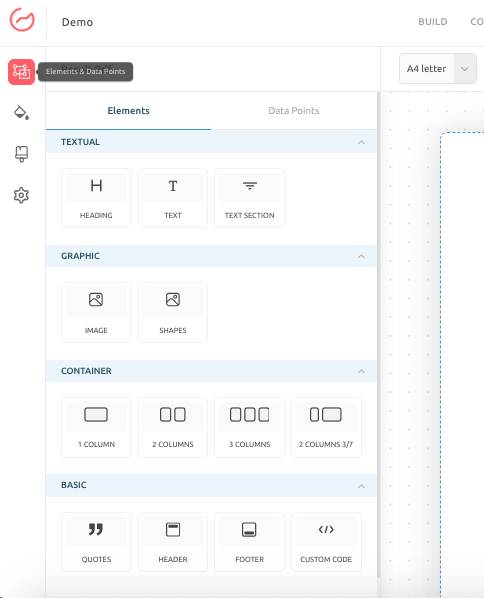
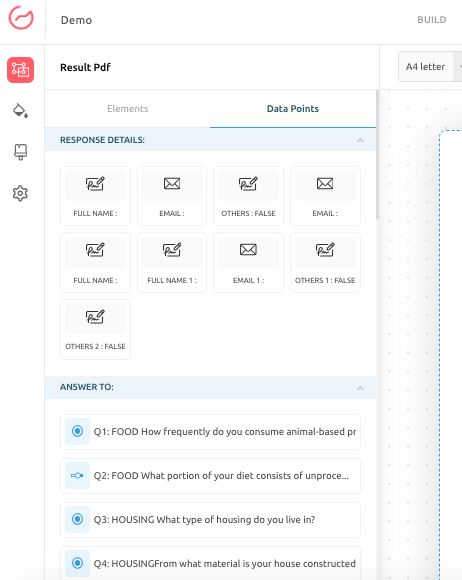
- Using the Data Points sub-tab, you can add data points like Lead Details, Response Received, Outcome Received, Result Page Snapshot and UTM Parameters.
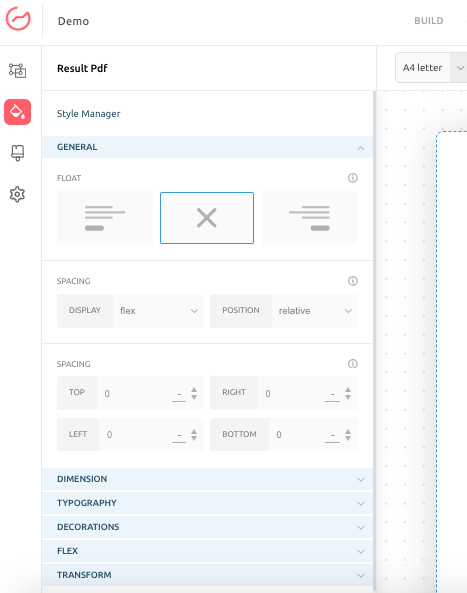
- Once the elements and data points are added to the PDF, you can proceed to configure the style aspects of the PDF. These settings can be configured in accordance with your organization's branding guidelines.
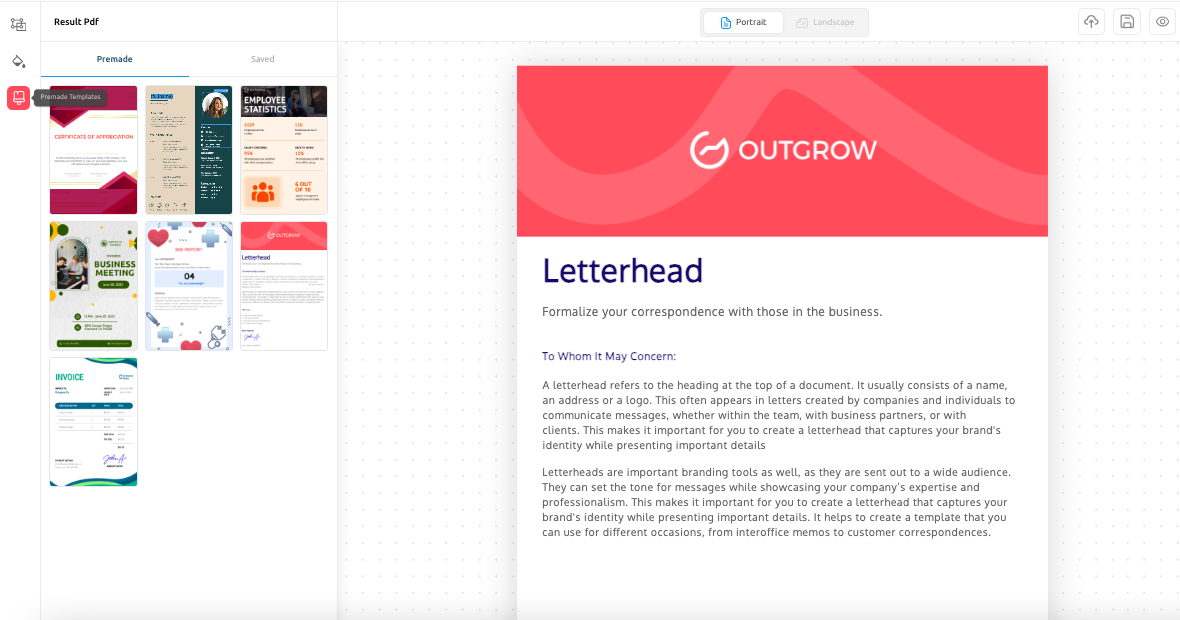
- You can also navigate to our Premade Templates section and choose to use one of our premade templates. Also, if you have saved a PDF template in your account, you can access the template under the Saved sub-tab.
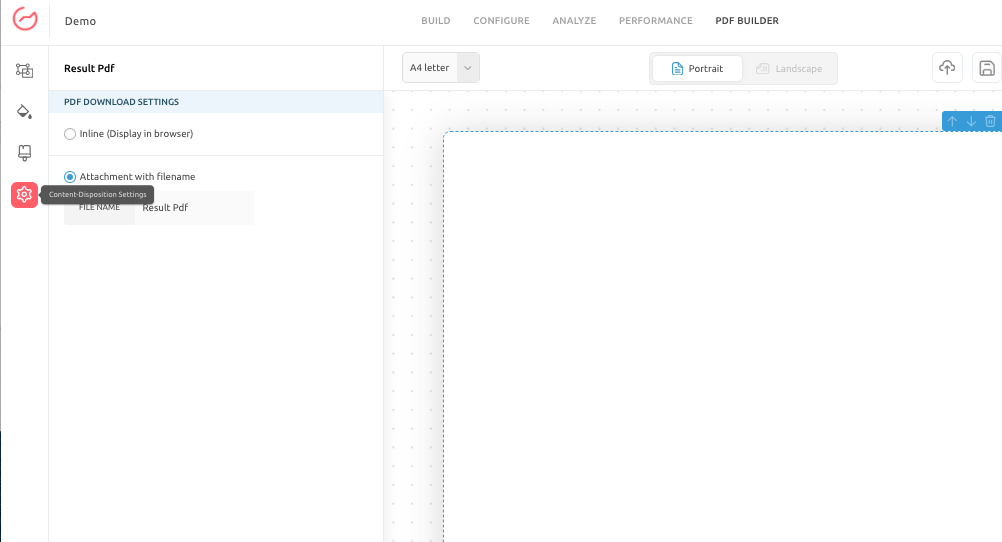
- You can also customize how the PDF behaves when the user clicks on it on the results page.
- Make sure you click on Publish to save the change made to the PDF.
- You can also choose to upload an editable PDF template that you might have, using the Upload PDF option.

- To save the newly created PDF, click the Save PDF option. Once the template is saved, it will be visible under the Saved Templates section.

- Click on Preview to see how the PDF will look for the end user.

- Lastly, you can add absolute positioning for the design elements used in the PDF.

NOTE: To add a new page in the PDF, click on the Add Page icon.

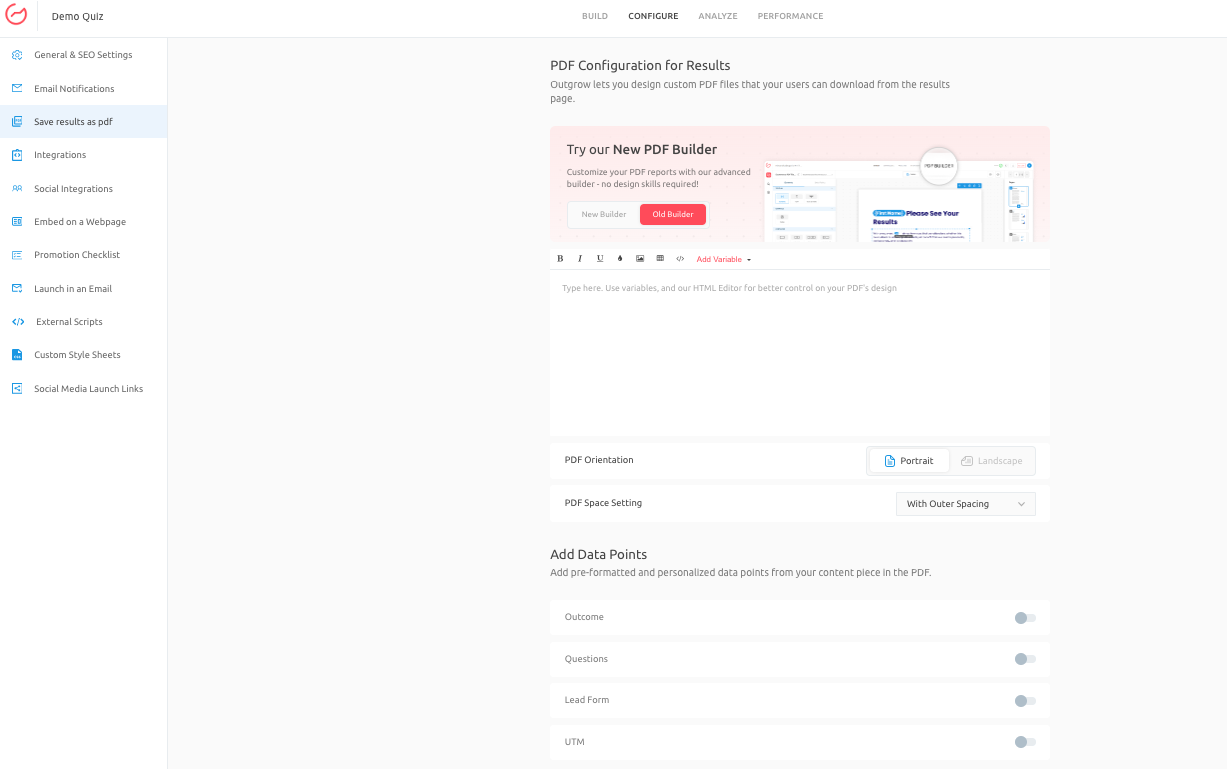
- You can also opt to use Old PDF Builder instead of the New PDF Builder. From the "Save Results As PDF" sub-tab, located under the "Configure" tab, you can choose to use the old builder for designing the PDF.
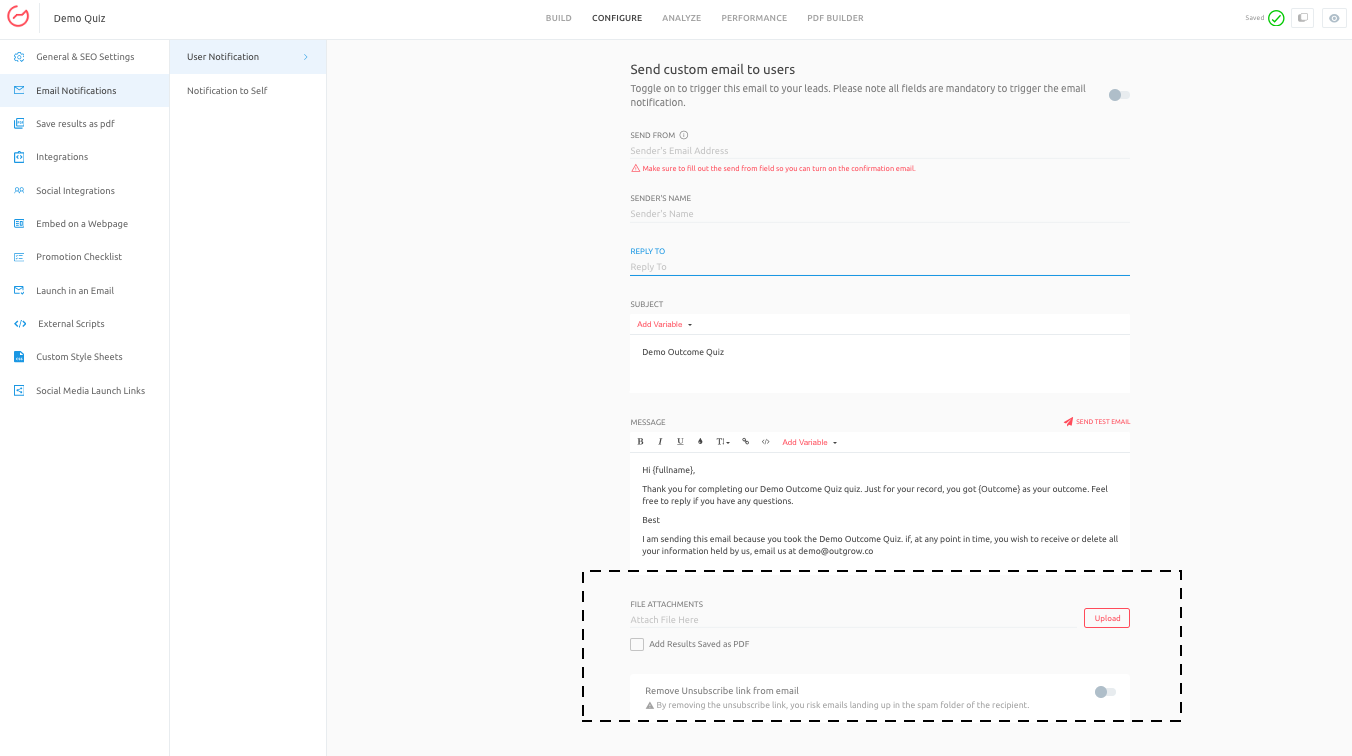
- Once the PDF is ready, you can choose to attach the PDF as an attachment to the User Notification Email. Each user will receive a customized version of the configured PDF.
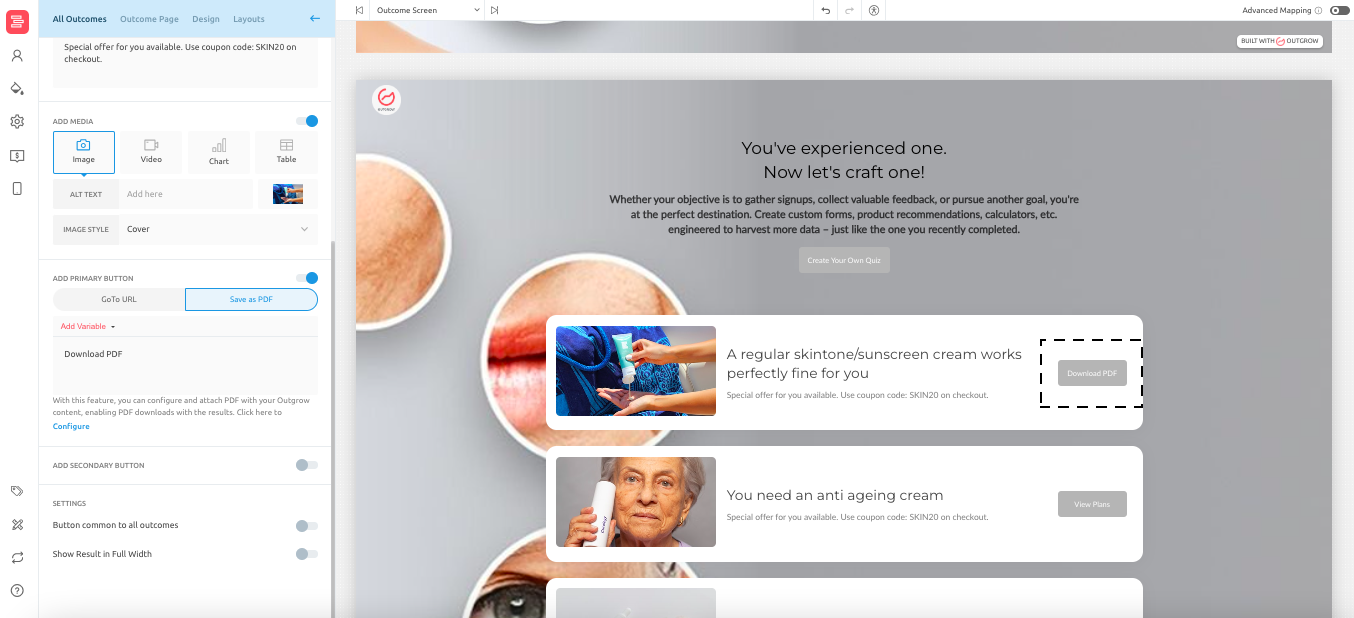
- You can also allow the users to download their own customized PDF from the results page by clicking on the CTA button.
Important Note
Outgrow's PDF Builder, now offers an extra attribute, using which users can add Header, Footer and Page Number in the PDF.
Outgrow Empowers Customization: Upload Your PDF Templates
Outgrow takes personalization to a new level with its enhanced Save Results as PDF feature. Now, you're not limited to pre-designed templates. Upload your own branded PDF, and tailor it directly within Outgrow to perfectly match your needs. Here are the key benefits of uploading your own PDF template in Outgrow:
A. Brand Consistency: Maintain a cohesive look and feel across all your customer interactions.
B. Flexibility: Customize layouts, fonts, colours, and more to create a unique PDF experience
C. Efficiency: Streamline your workflow by generating professional PDFs directly from Outgrow.
D. Enhanced User Experience: Deliver personalized, branded results that leave a lasting impression.
To upload your PDF, here are the steps that you need to follow:
A. Upload Your Template: Simply upload your existing PDF template into Outgrow.

B. Customize with Ease: Use Outgrow's intuitive editor to add, remove, or modify elements within your template.
C. Dynamic Data Integration: Seamlessly insert user data, quiz results, or any other relevant information from your Outgrow content.
D. Generate & Share: Create beautifully branded PDFs on the fly, ready to share with your audience.
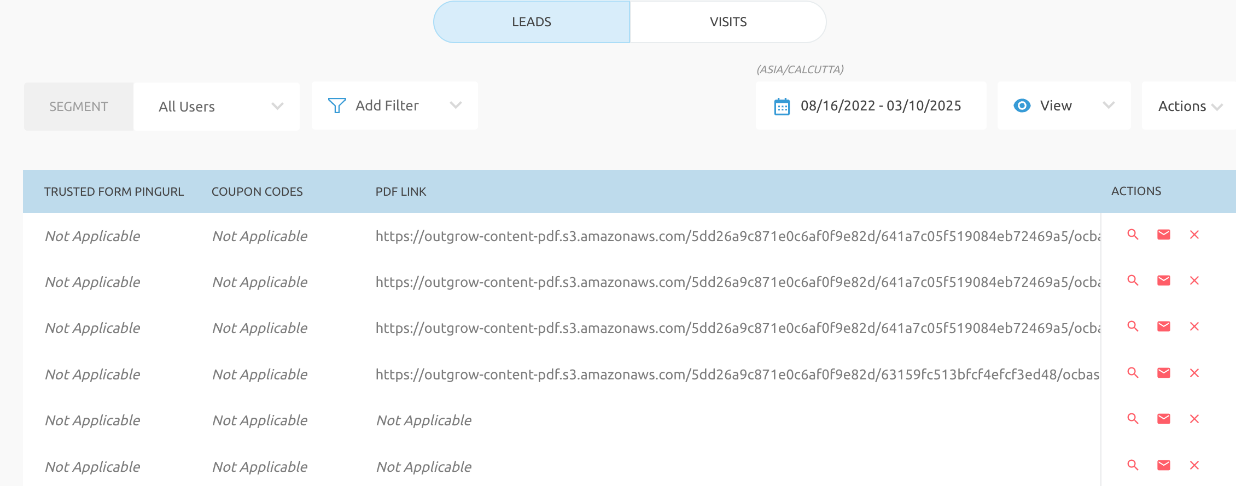
Ability to access the PDF link for each user under User Details
When a user completes his/her journey through Outgrow content, a unique PDF report is generated containing information specific to that user's interaction, such as their answers, scores, personalized recommendations, or any other data captured and processed during their session. The system is being extended to integrate these user-specific PDFs into the Analytics section to enhance administrative access and data management. This provides a centralized location for administrative users to view and manage all generated reports.
The PDF is tied to each lead's record, and when the admin user navigates to the User Details section under Analytics, this link will be present for each user for whom the PDF is generated. Clicking this link will directly download the PDF report specific to that user.
IMPORTANT NOTE
When you will export the Lead data from the Export section, the links will be availabe in the downloaded data as well.
If you still have any questions, feel free to use our chat tool on the bottom right or reach out to us at [email protected], and our team can provide a quick solution.
Updated 8 months ago
