Using Call API Feature to Fetch Data From Third Party Tool
Outgrow now lets you use the Call External API feature to fetch data from a 3rd party tool and use the fetched data in Questions, Results, PDFs, or User Notification Emails. Users can choose the Get & Post method for fetching or pushing the data to the external tool.
You can learn more about configuring this feature in your Outgrow content using this document.
How to configure the Call API feature in your Outgrow Content
To configure the functionality in your Outgrow content, you can follow the below-mentioned steps:
1. Login to your Outgrow dashboard and open the respective content in Build mode.

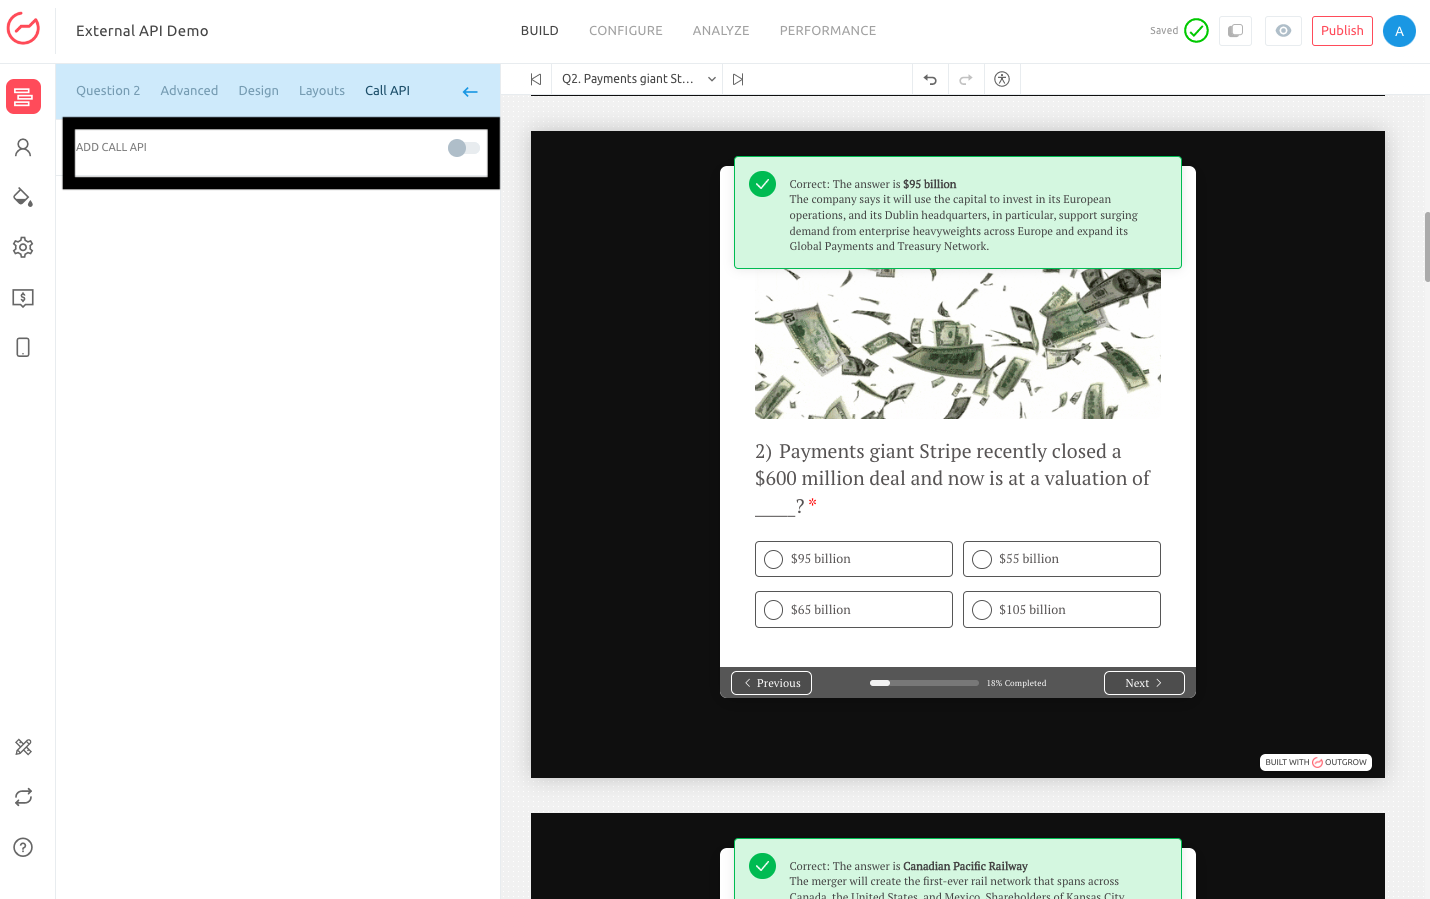
2. In the Build tab, go to the respective question, and navigate to the Call API sub-tab. Enable the setting for the Add Call API feature.
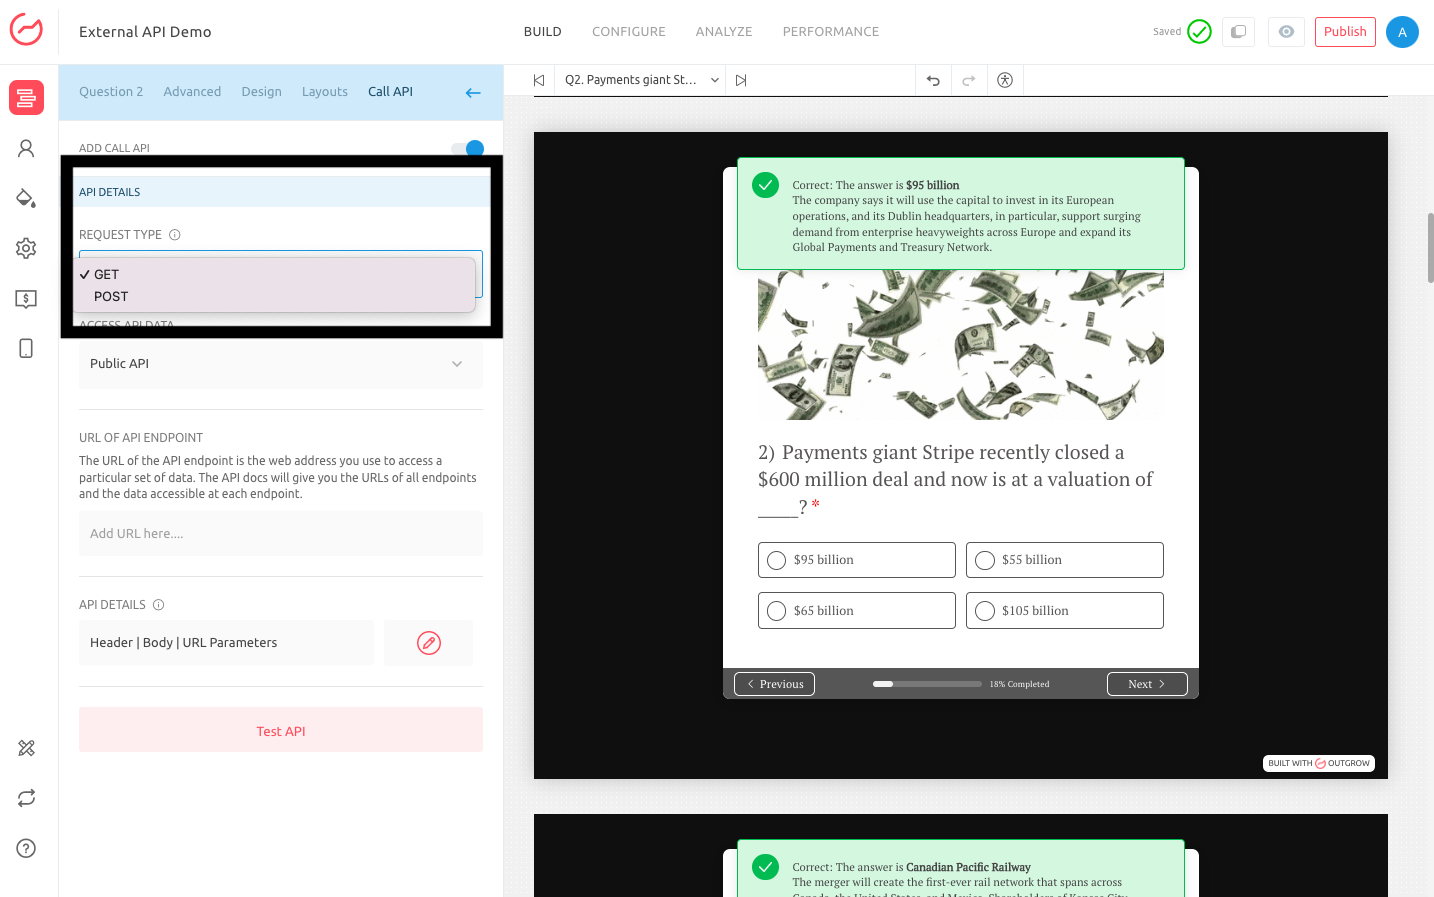
3. Once the feature is enabled, you can choose the API Request Type per your requirement. This tells the API what to do when the API is called. You can choose between:
A. GET: This Request Type is used when you want to retrieve information from the API, like what is the weather forecast for the day.
B. POST: Post Request Type is used when you want to send information, like creating a new user account.
IMPORTANT NOTE
You can refer to the API docs provided by the 3rd party tool, to learn more about the request type supported for each API endpoint.
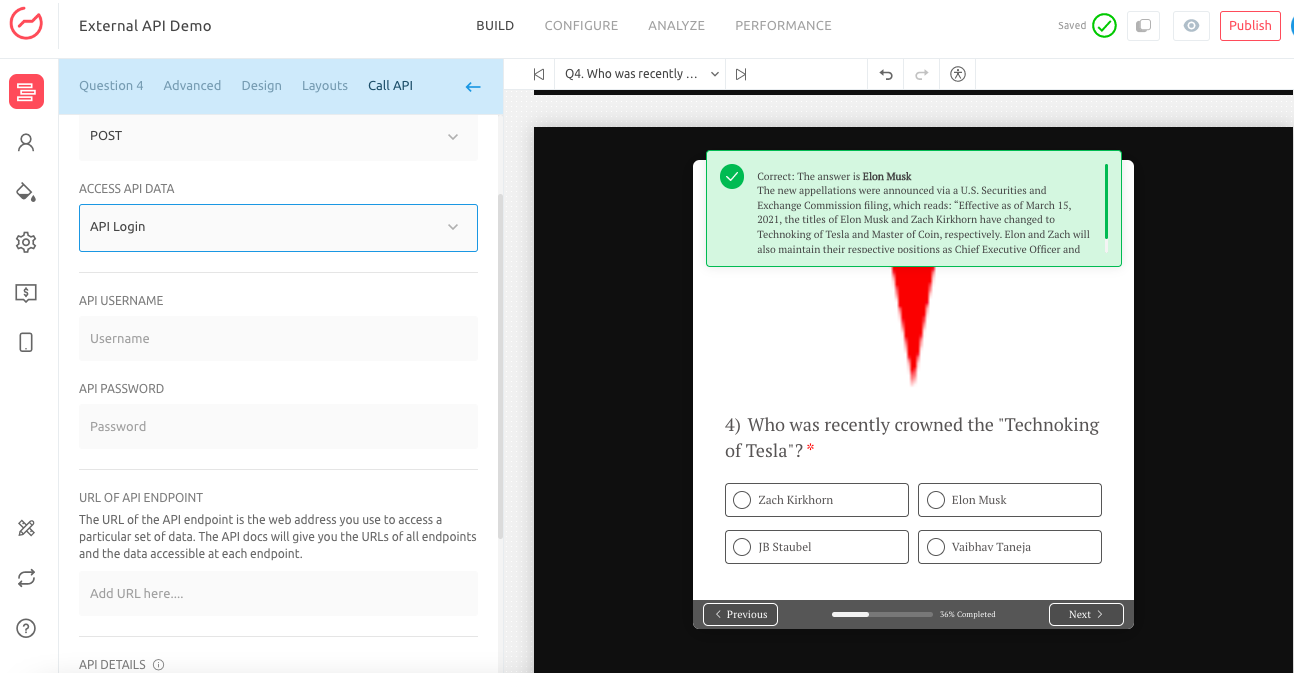
4. After selecting the appropriate Request Type, you can choose the mechanism for accessing the API Data. You can choose between:
A. Public API: While using Public API, you will have to specify the Key as a part of the Body parameters under the API Details section.

B. API Login: When you opt for API Login, you will have to specify the API Username and Password.
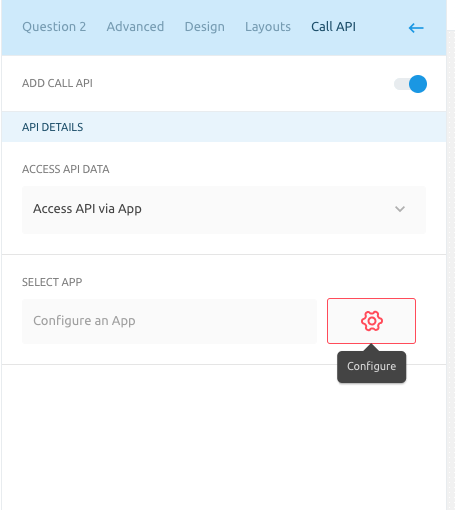
C. Access API via App: When you opt for accessing API data using an App, you can follow the below-mentioned steps to configure the app:
C.1. You can click on Configure (Gear Icon) for Configure An App option under Select App.
C.2. Click on Configure to connect Outgrow with the respective app for which you want to use the CallAPI feature.
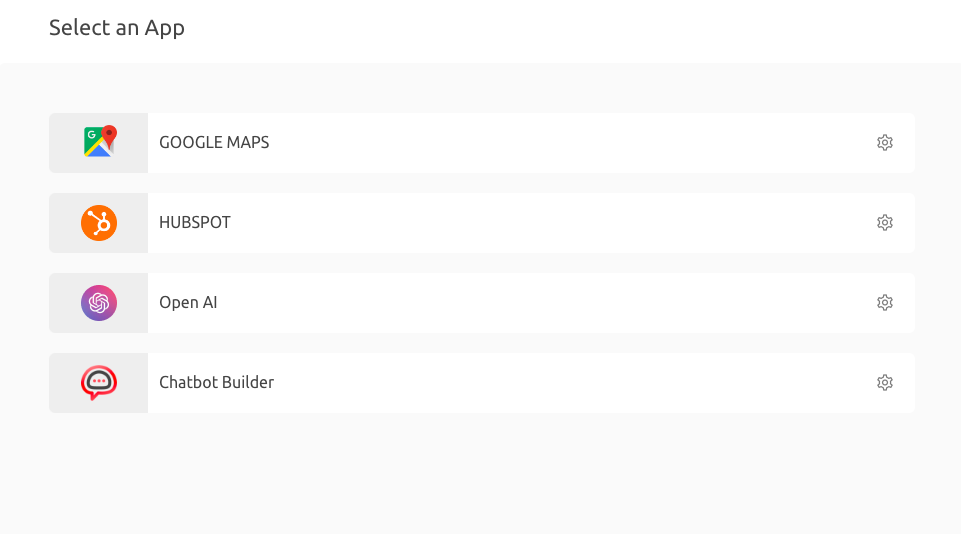
IMPORTANT NOTE
In this document, we are using Open AI as the app that we will be connecting with Outgrow
C.3. Click on Configure for the Open AI app. In the next step, add your OpenAI API Key in Outgrow to connect your OpenAI account with your Outgrow account. Once the key is added, click on Authenticate with OpenAI.
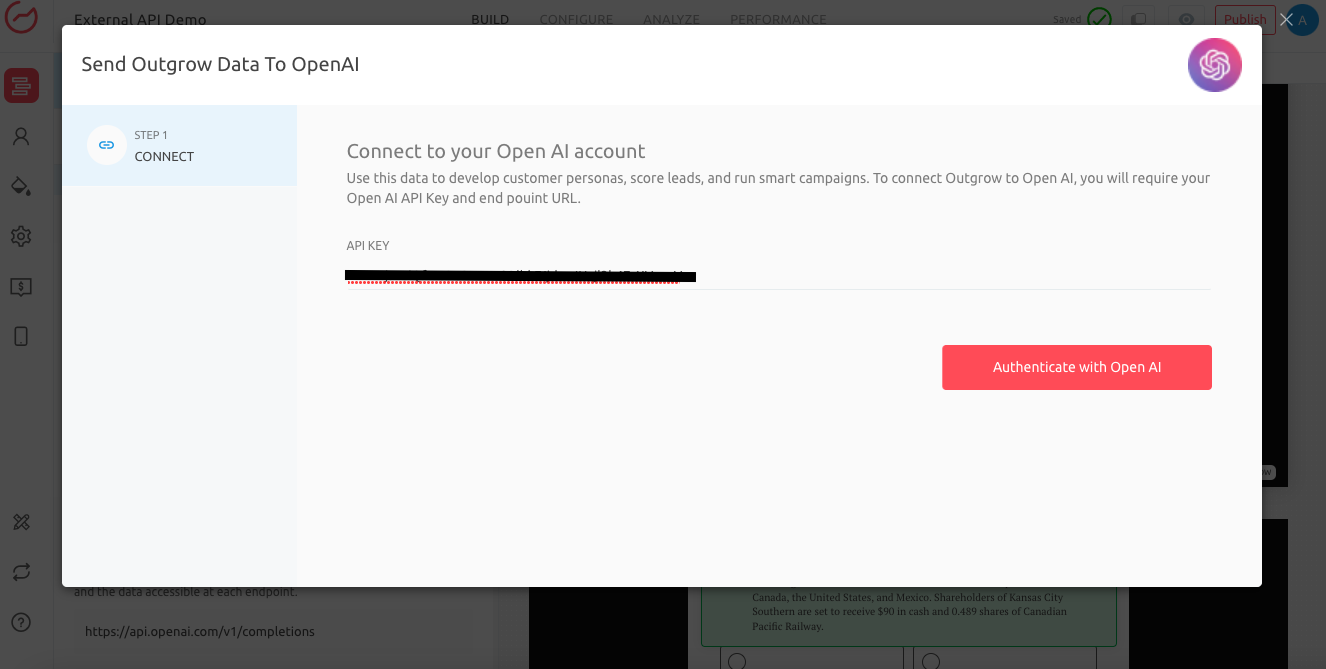
Once the key is added successfully in Outgrow, you will see OpenAI as the app listed under the Select App tab.
IMPORTANT NOTE
We will be adding more apps that you can choose from under Access API via App section in the future.
5. Once the appropriate API Data access mechanism is configured in your content, you can now add the API Endpoint URL that will be used as the Source or Destination for the data accessed using API.
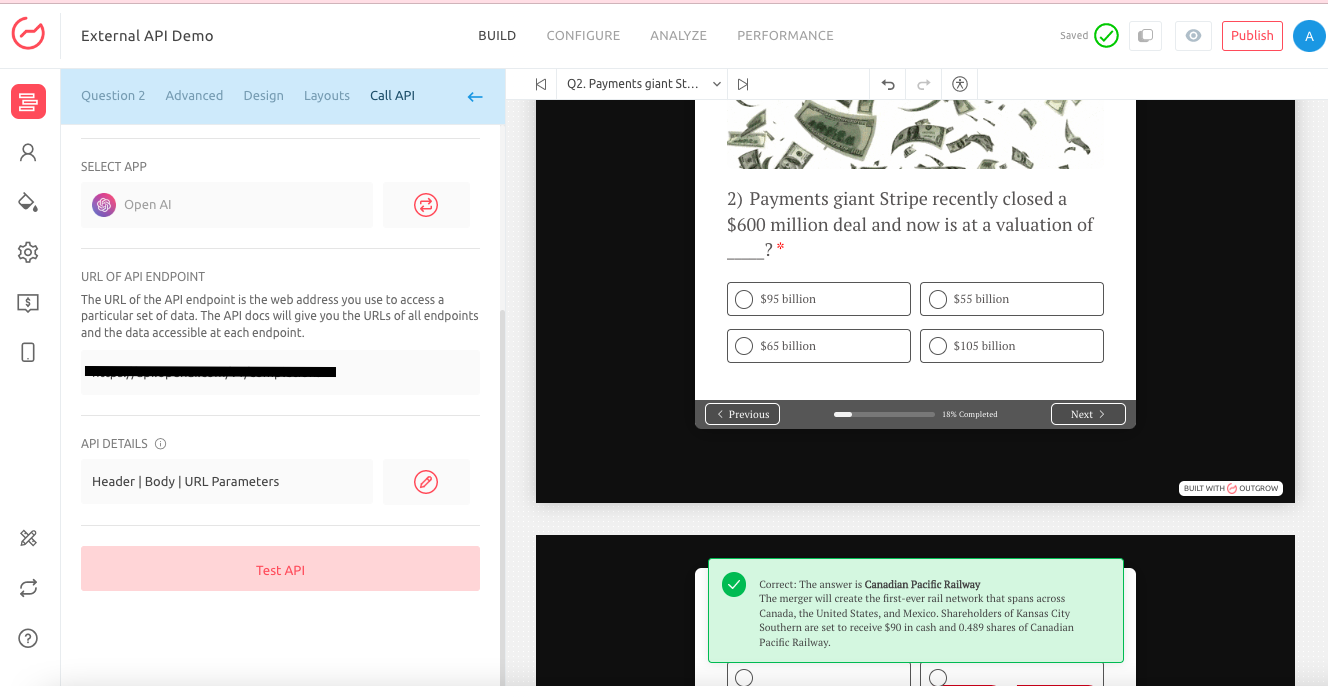
IMPORTANT NOTE
When you connect the respective Outgrow content with your OpenAI account, you need to use this API Endpoint URL.
6.Now, under API Details, click on the Edit icon, and in the Body section, add the message prompt that would be sent to the 3rd party application to post or get the data.
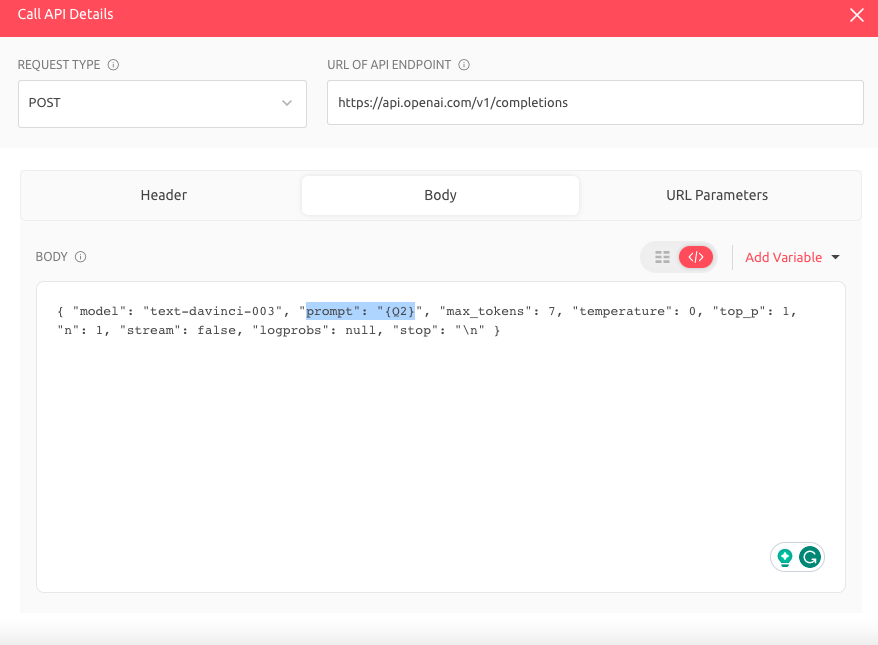
IMPORTANT NOTE
You can choose to send the response of a previous question as the prompt message to OpenAI/3rd Party App that you are using, by clicking on Add Variable and adding the respective question as the Prompt Parameter. For example, as you can see in the screenshot above, answer for Q2 has been sent as the Prompt Parameter from our side to OpenAI.
7. Now you need to click on Test API. You can select the variables you want to use in Outgrow from the list of fetched variables. Click on the Move (+) icon to move the respective fetched variable to be used in Outgrow.
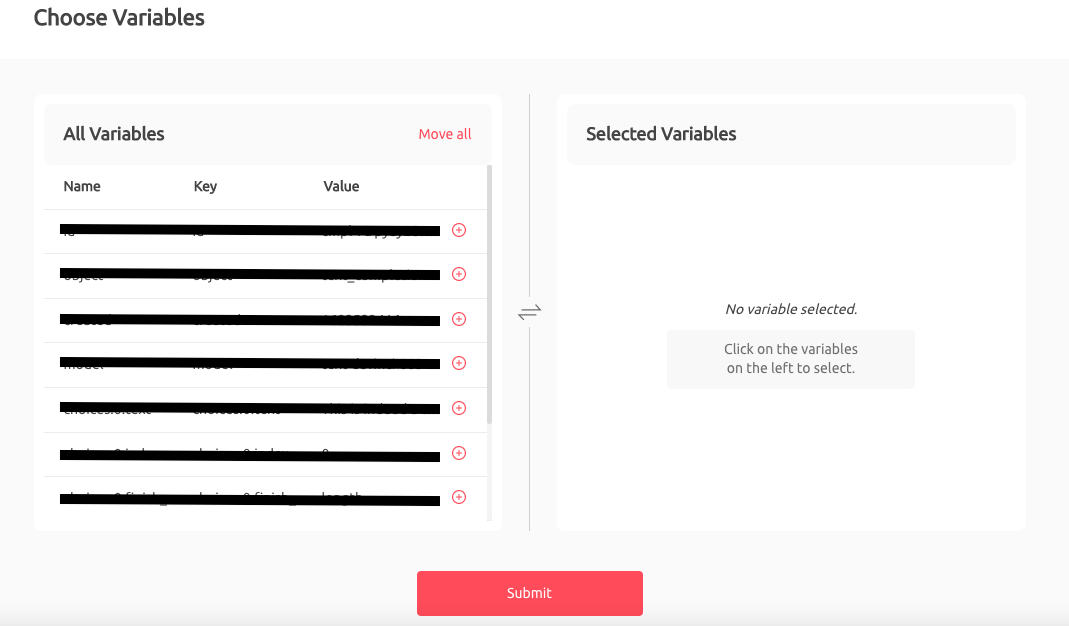
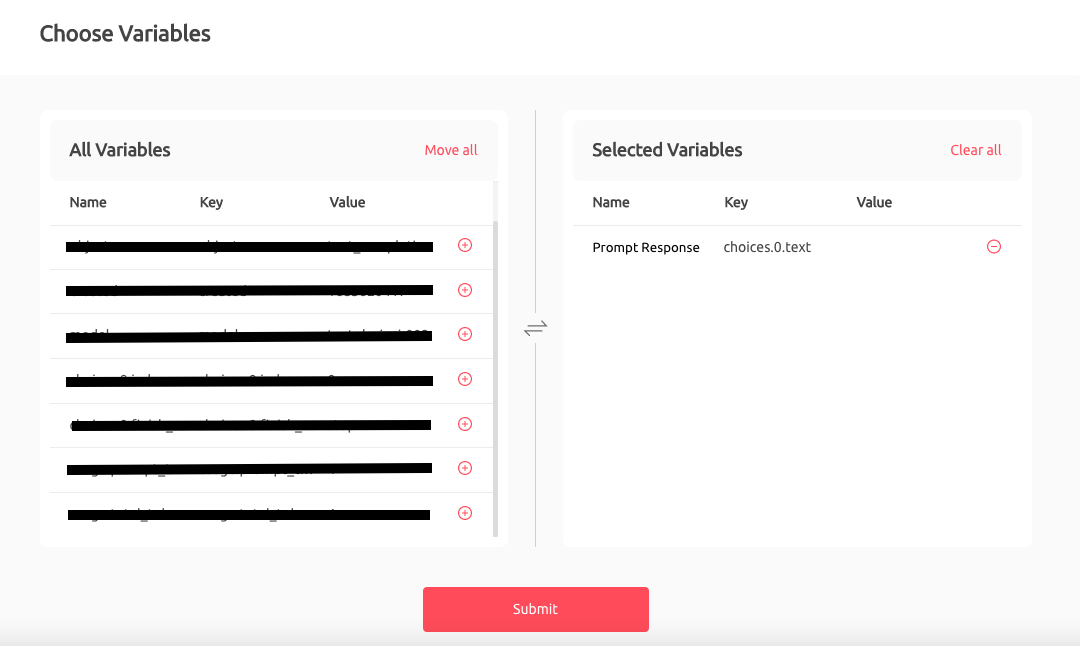
7. A. One thing we would like to highlight here is that in the case of OpenAI, you need to move the choices.0.text variable from All Variables to Selected Variablesin order for you to use the response received from OpenAI as a part of the following Questions, Results, User Notification Email, and PDF. NOTE: Once the required variable is moved to Selected Variable, you can rename it as required. We renamed the choices.0.text variable in the screenshot below to Prompt Response.
8. You can now use the fetched variables in Questions, on the Outcome/Result page, in the Formula Builder, in User Notification Email, and PDF. The variable can be added by clicking the Add Variable option.
9. Make sure you click on Publish to save the changes made to the content. Once the changes are saved, you can use only the live link of your content to test the changes.
If you still have any questions, don't hesitate to contact us at [email protected], and our team can help you with a quick solution.
Things to keep in mind
1. You can enable Call API feature for each question seperately, and can fetch or post data to seperate 3rd party tool.
2. While specifying the prompt in the body, make sure that you do not set the Temperature as 0 and the Max Token as 7, as this value is too low, and because of this OpenAI will return an empty Value Text. Value for temperature needs to be between 0.2 and 2, and for max token the value needs to be between 16 and 2048. Also, Stop value needs to be null in your prompt to ensure the answers that are received from OpenAI are more focused. NOTE: Value of Temperature parameter needs to be around 0.2.
Updated about 2 years ago