Keap Small Business CRM and Outgrow Integration
Keap is the leading small business CRM and automation platform built exclusively to help small businesses save time and grow without chaos. You can now push the leads you have collected using Outgrow experiences to Keap (Formerly known as Infusionsoft) using our Outgrow - Keap native integration.
To configure the native integration between Outgrow & Keap, you will need:
A. An active Outgrow account.
B. An active Keap account with API access.
C. Live Outgrow content.
This document will help you understand how to configure the integration between Outgrow and Keap.
Follow two simple steps to start sending the leads you collect on Outgrow to InfusionSoft:
- Configure
- Map fields and Test connection
Step 1: Connecting your Outgrow & Keap account
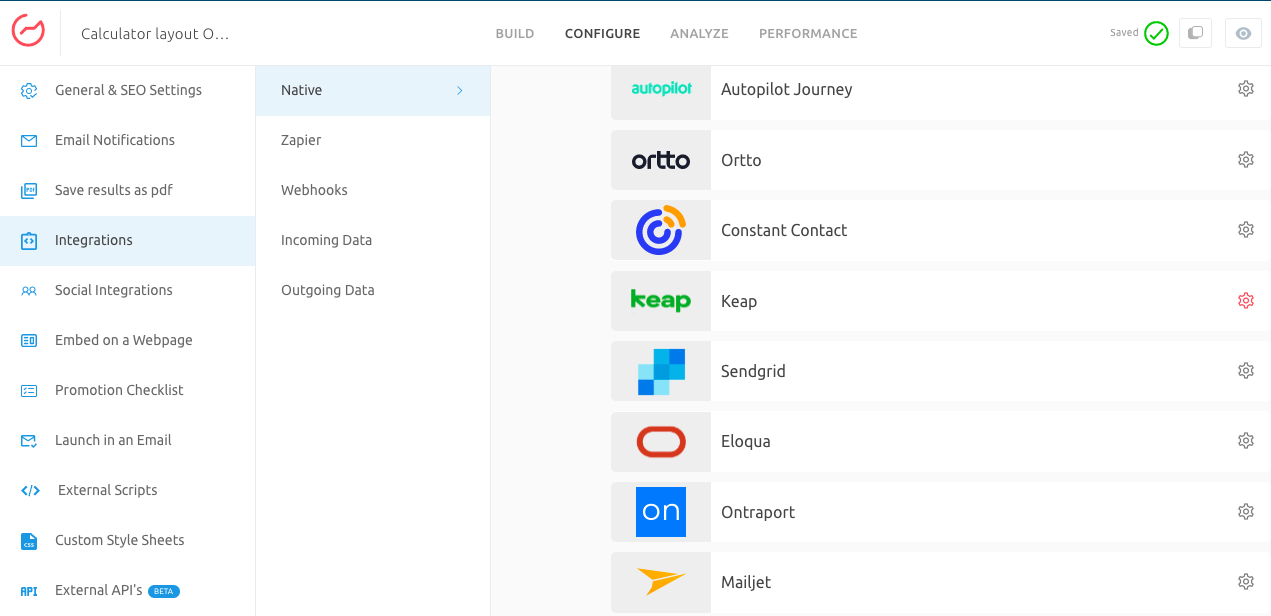
1. To access the integration section, open the respective content in Build mode, and then go to the Configure tab in your Outgrow experience builder dashboard. Click on the Integrations sub-tab and then click on Configure Integration icon (Gear Icon) for Keap Integration.
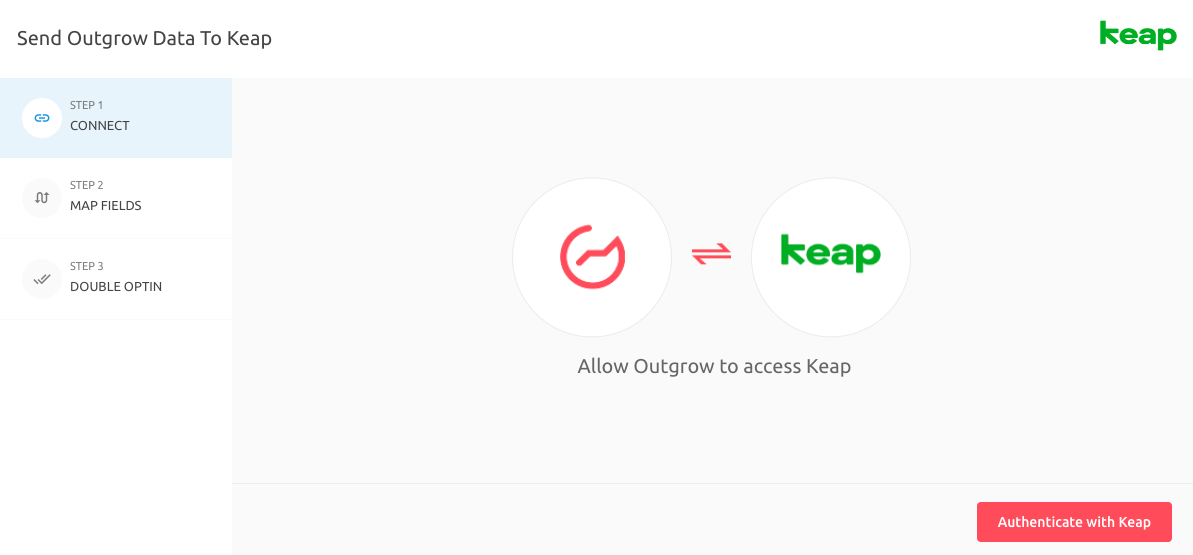
2. Click on Authenticate With Keap and enter the account details for your Keap account.
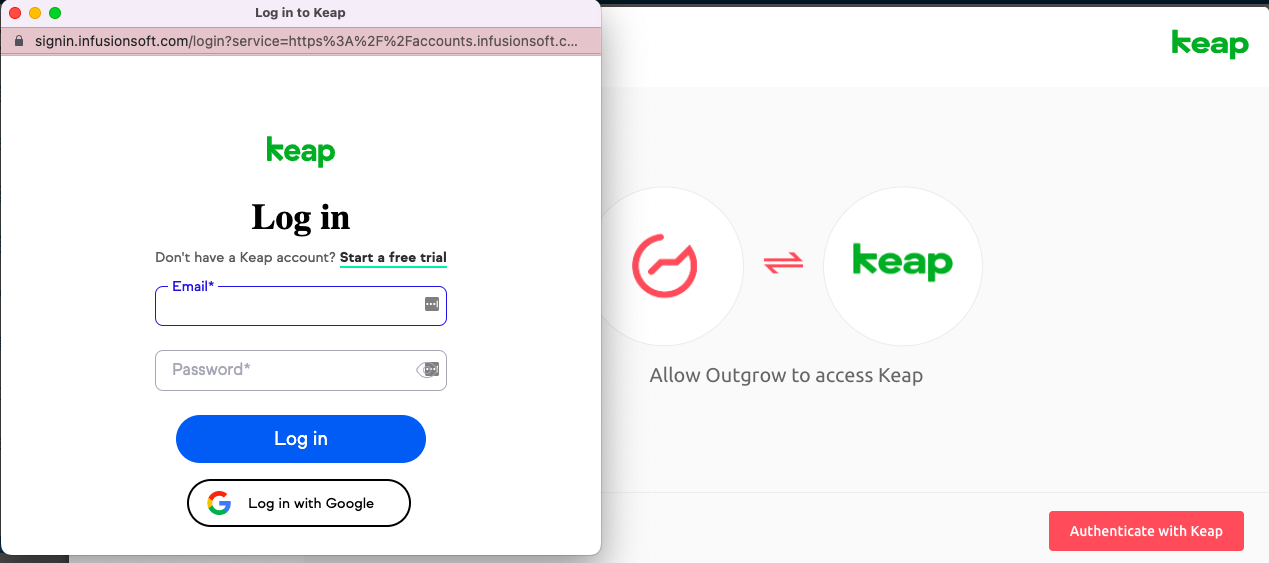
2.A. Add your Keap Username and Password to authenticate your account connection.
3. Once account configuration is done, you have the option to Proceed With Segments or Proceed With Tags.
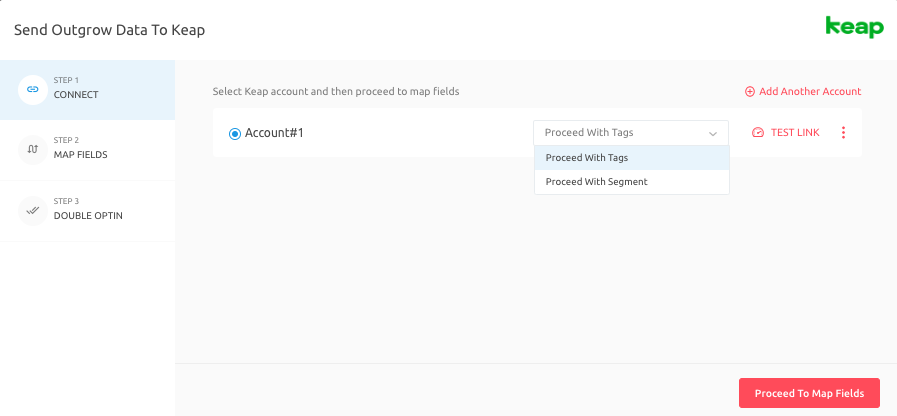
3. A. When you choose to Proceed With Segment:
3.A.1. Click on Proceed With Segment.
3.A.2. Specify the Segment whose leads you would like to transfer to Keap using Integration. Also, specify the tag that you would like to assign to these leads.
3.A.3. Click on Save Conditions to save the tag and segment settings. Post that map the fields between Outgrow and Keap and click on Test Connection. We will push a test lead to Keap with sample values. If connection and mapping are successful you will see this test lead in your Keap list.
3. B. Proceed With Tags:
3.B.1. Once you connect your Outgrow account with your Keap account, you need to click on Proceed With Tags.

3.B.2. Choose the appropriate tags that you would like to assign to the leads that will be transferred from Outgrow to Keap.
3.B.3. Once you have selected the appropriate tags, move on to the field mapping stage and map the appropriate Outgrow fields to Keap fields.
3.B.4. Once you are done mapping the fields, click on Test Connection. We will push a test lead to Keap with sample values. If connection and mapping are successful you will see this test lead in your Keap list.
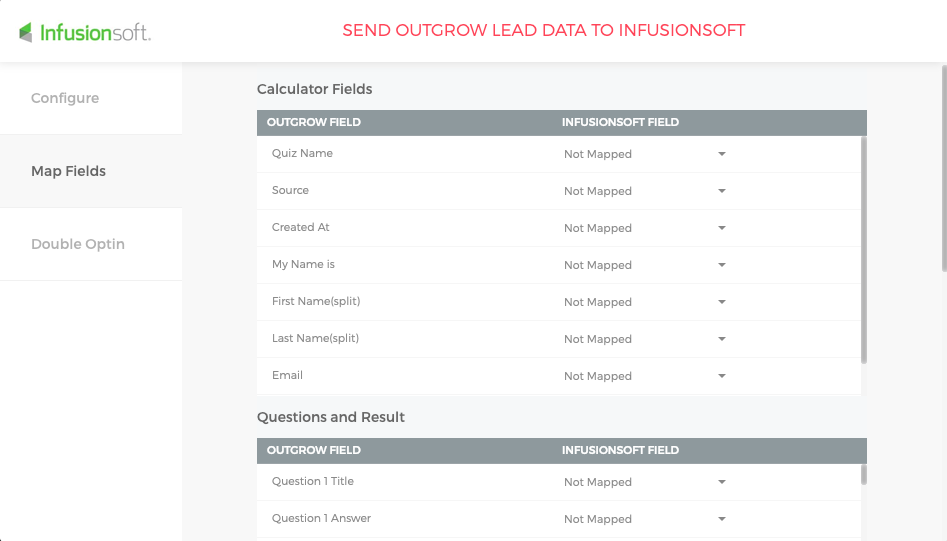
4. If your connection is successful you will see Active Status on Keap Integration which indicates that new leads collected using your Outgrow content will be sent to your Keap account.
More actions
Once the integration is configured and active, you can navigate to the Keap block to see more actions that can be performed on Keap integration after it has been set up:
A. Re-configure: In case your Keap credentials have changed or you want to connect Outgrow with a different Keap account, then you will have to Reconfigure your Keap integration to continue getting Outgrow leads in your Keap account.
B. View Mapping: If you need to go over which fields you have mapped to configure your Outgrow & Keap integration, you can click on View Mapping. You can then toggle between tabs to view the mapping across all fields.
C. Task History: This contains the list of all the leads sent to Keap. The leads which are in queue to be synced will have the status Waiting and those which have failed to sync due to some reason will be shown as Failed. If due to some error in connection, your leads from a content piece have not been sent to Keap then you can Sync the leads to your Keap account after re-configuring. All the leads not sent to your account will be sent to Keap when you sync. If, for some reason, you do not see your lead on your Keap account, reconfigure once and then Sync.
D. Filter: In case you would like to set up a quick filter using First Name, Last Name, and Email Address, to see if the lead was sent to Keap or not, you can use this feature.
Important
For every Outgrow experience you create, you will have to activate or deactivate the integration from the Configuration section in the builder, in order to start or stop sending leads collected on Outgrow to Keap.
When everything is set up, we suggest you test out the integration and ensure everything is working as you expect. Publish your calculator or quiz, submit a lead in your Outgrow content, and check that the new lead shows up in Keap (it can take up to a couple of minutes).
You can learn more about managing tags in Keap here.
Any custom field added in Keap will automatically show up in the mapping section in Outgrow.
In case you have any questions or concerns, please feel free to reach out to us at [email protected], and we will be happy to assist you further.
Updated over 1 year ago