Outgrow And Segment: Transfer data collected by Outgrow to Segment
Segment is a Customer Data Platform (CDP), which means that we provide a service that simplifies collecting and using data from the users of your digital properties (websites, apps, etc). With Segment, you can collect, transform, send, and archive your first-party customer data. Using this document you learn more about how you can send data collected using Outgrow to Segment for collection and analysis purposes.
For connecting your Outgrow account with your Segment account, you will need access to:
A. An active Outgrow account with a Freelancer plan subscription or above.
B. An active Segment account.
C. A live Outgrow content piece.
Connecting your Outgrow and Segment account
1. Log in to your Segment account and click on the Connections tab.
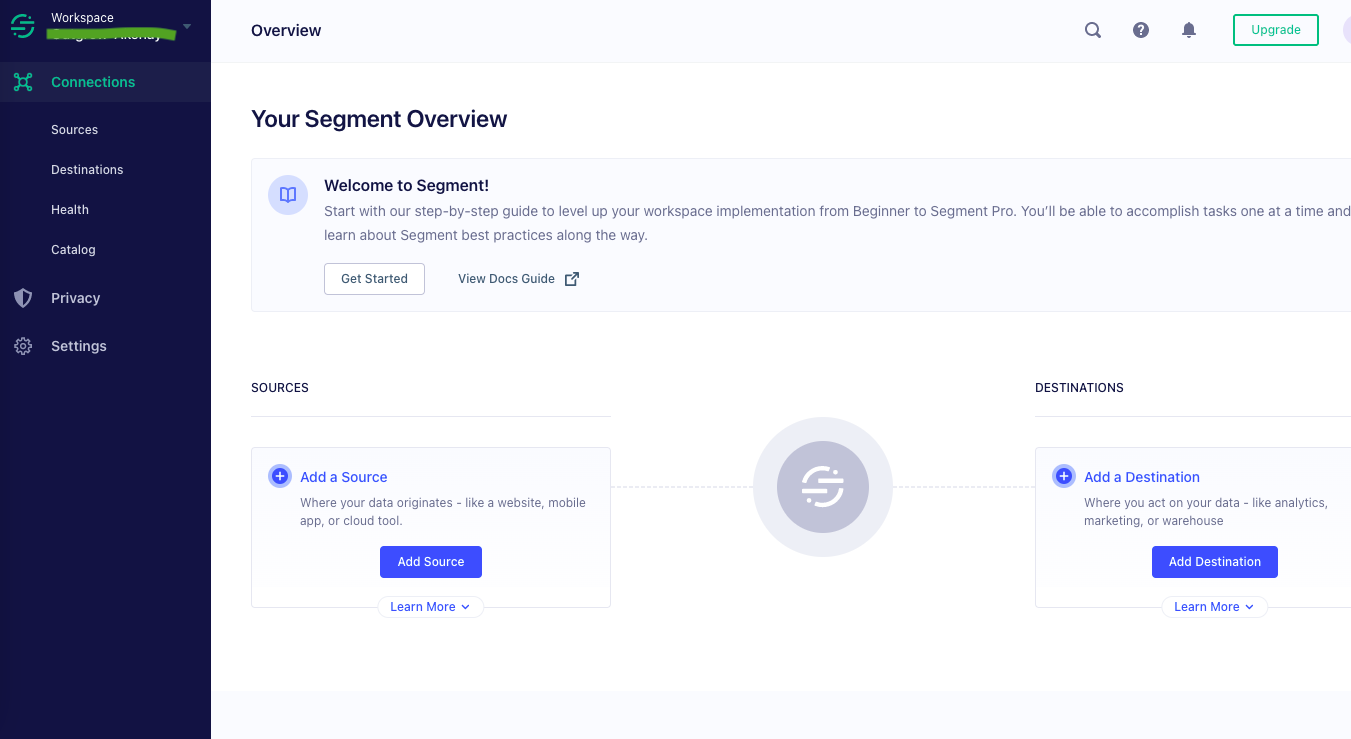
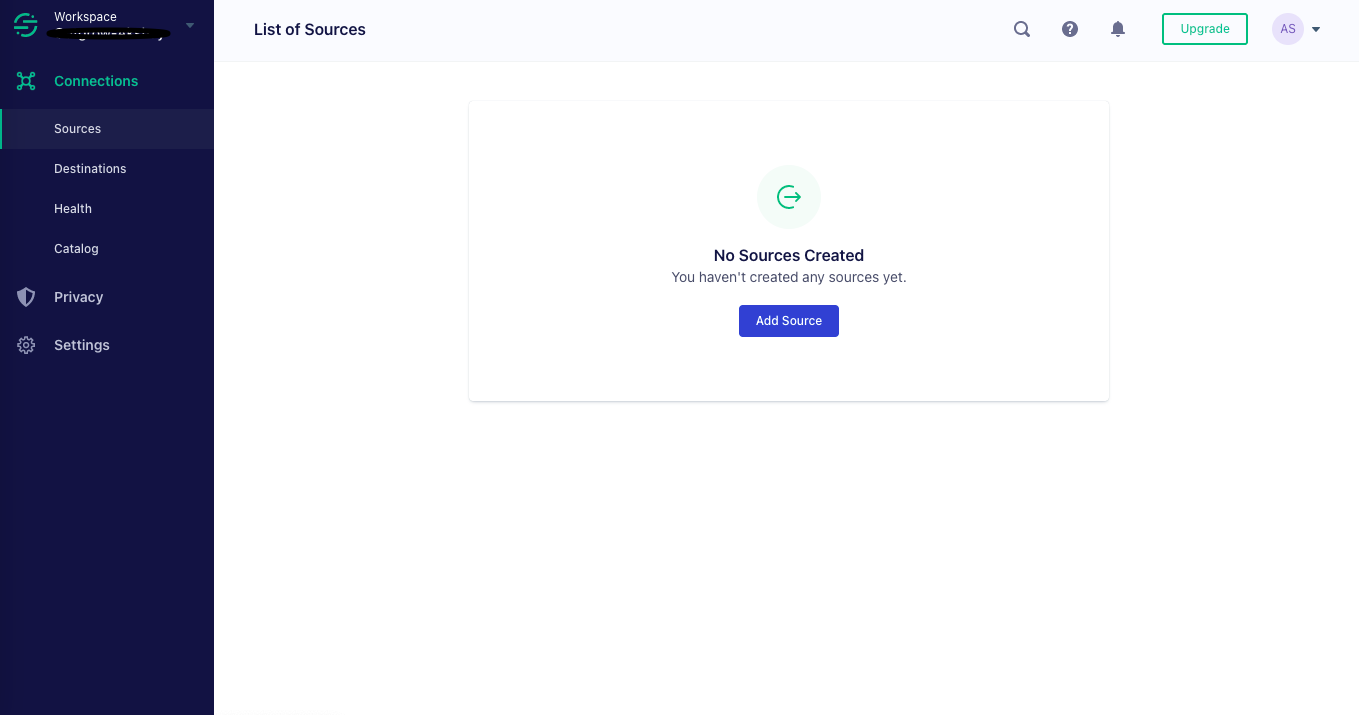
2. Under Connections click on Sources and click on Add Source.
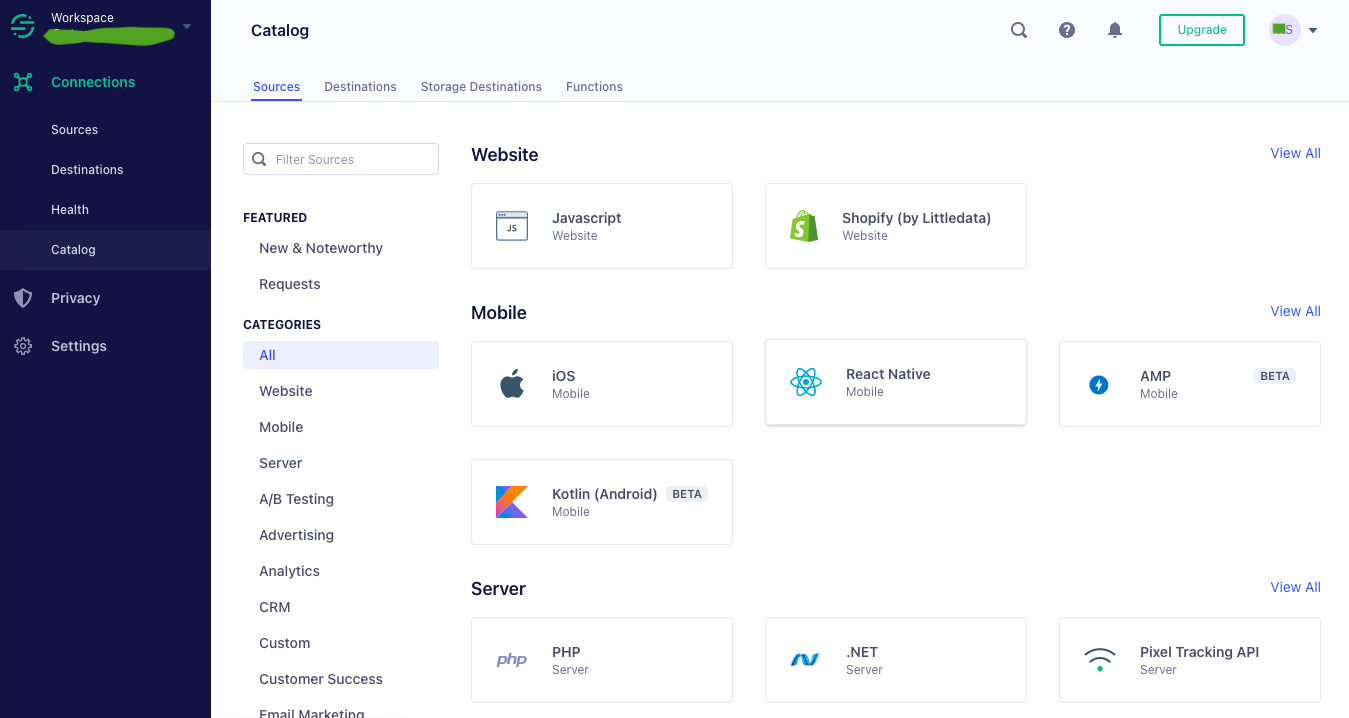
3. Once you click on Add Source, you need to click on the Javascript source.
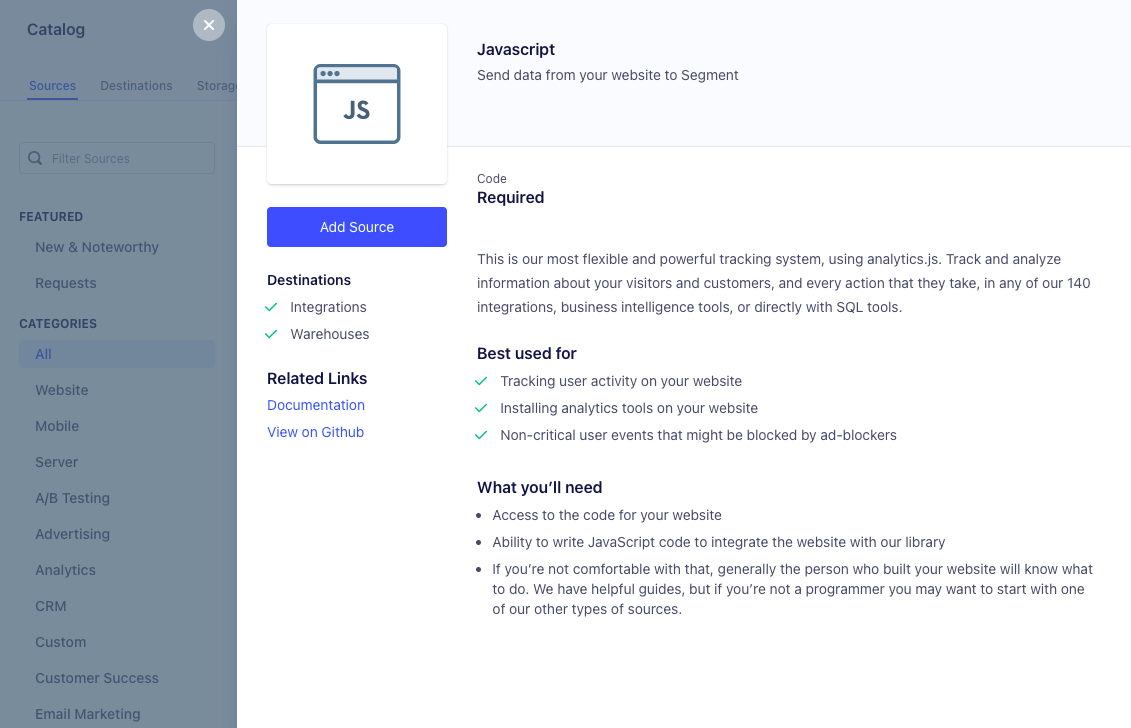
4. Click on Add Source to begin the Source setup process.
5. Specify the Name, Labels, and Website URL for the source and click on Add Source.
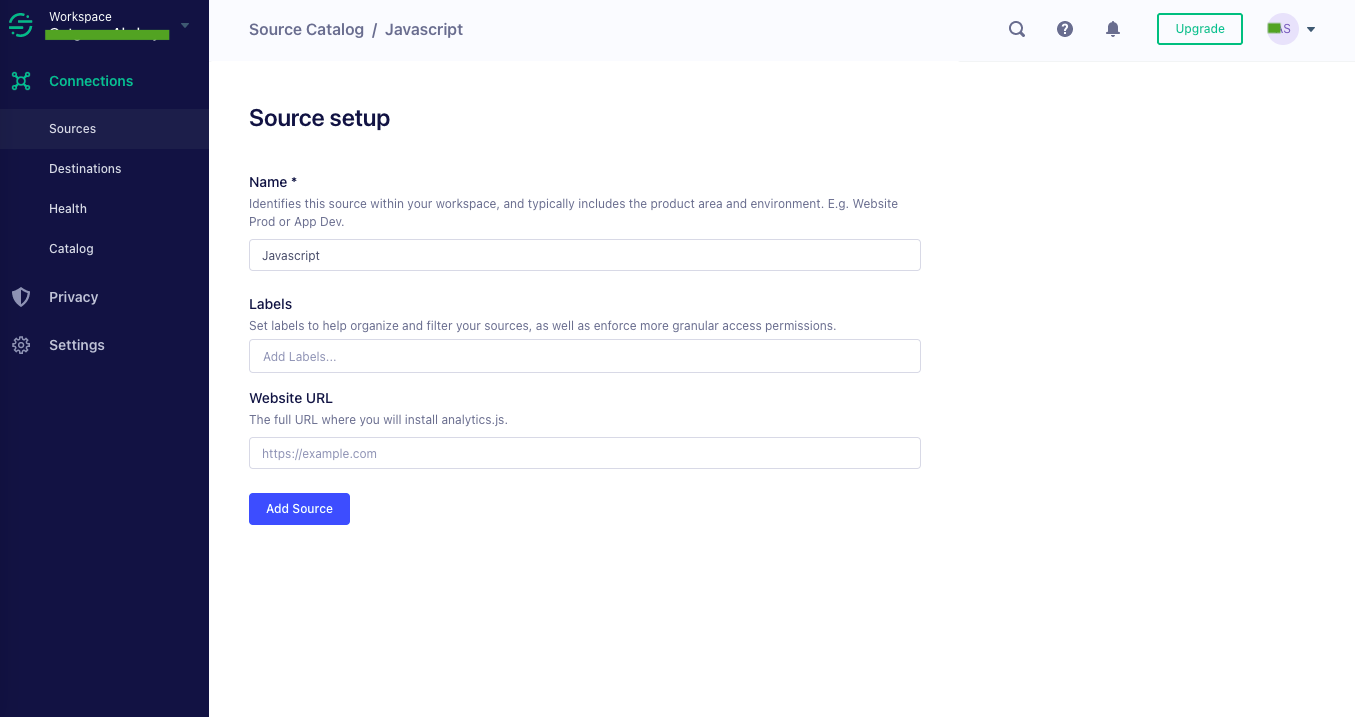
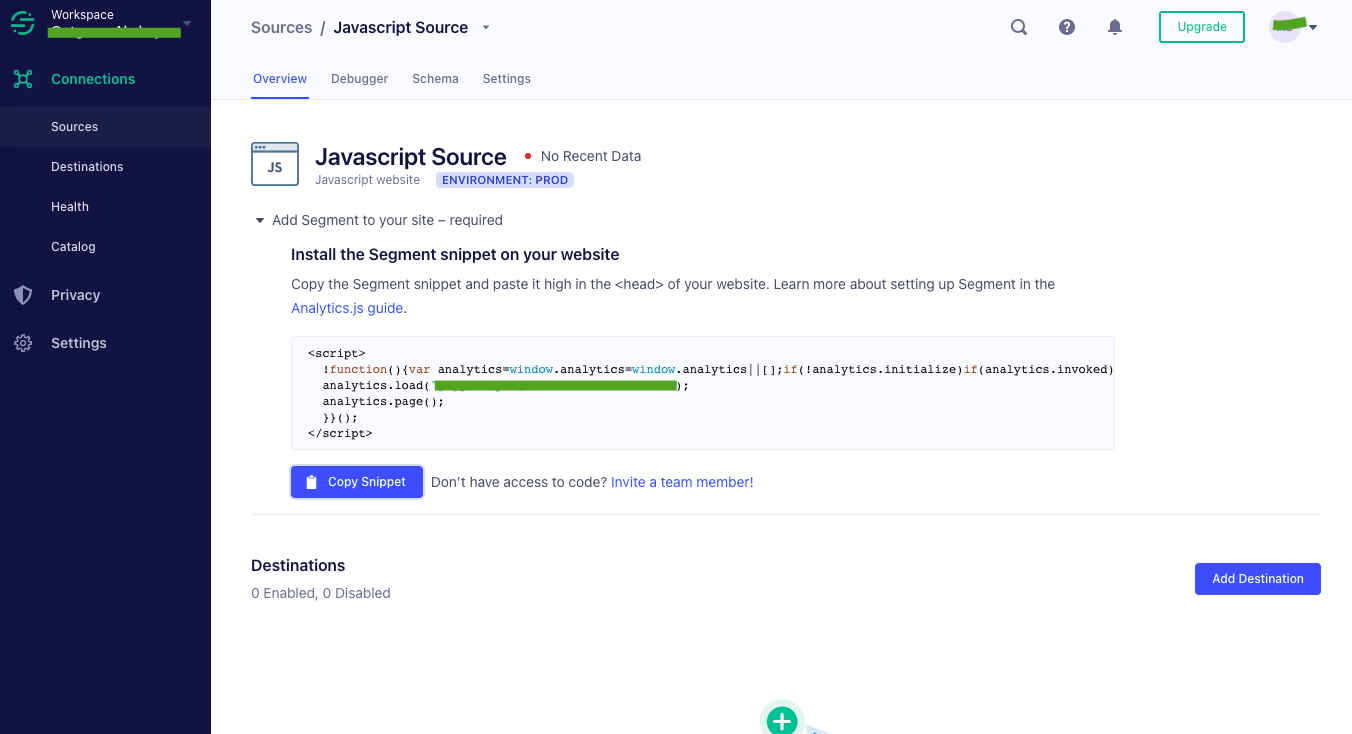
6. Once the source will be created you will be redirected to the Javascript Source window.
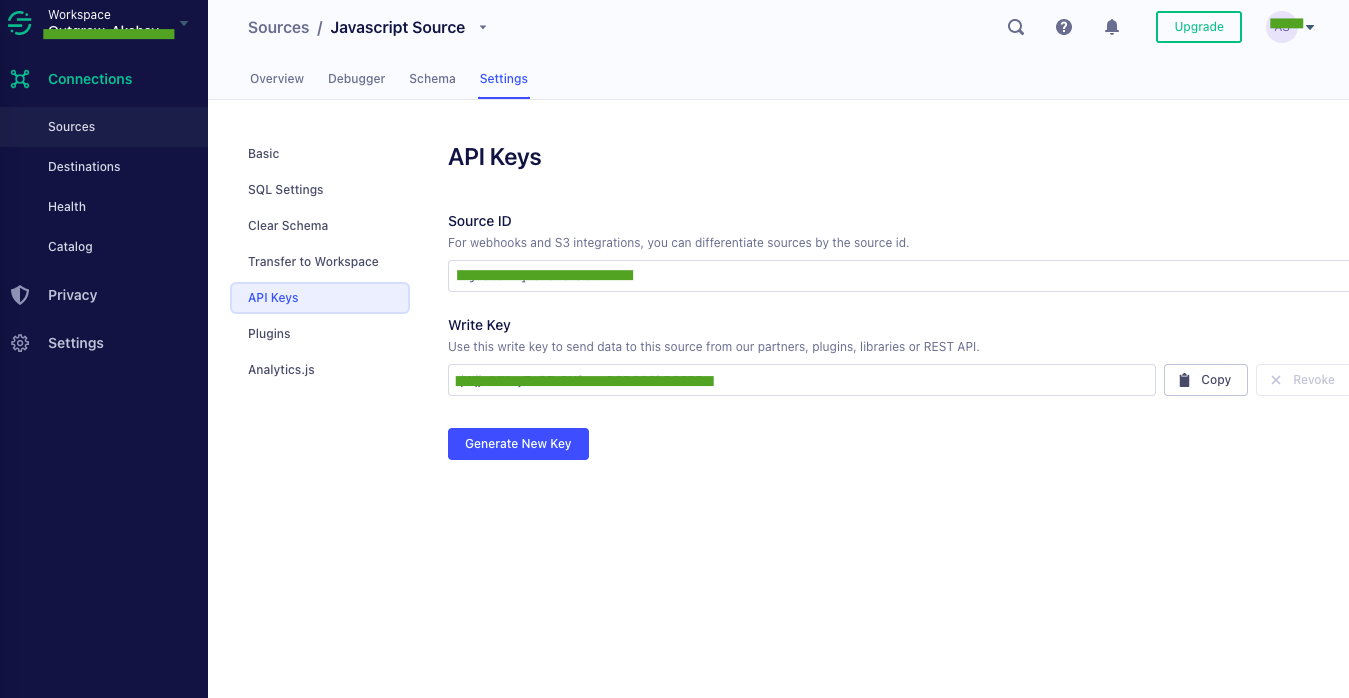
7. In the Javascript Source window, you need to click on the Settings tab and then you need to navigate to the API Keys sub-tab. You need to copy the Write Key from this sub-tab, as this key needs to be added in Outgrow for capturing analytics data.
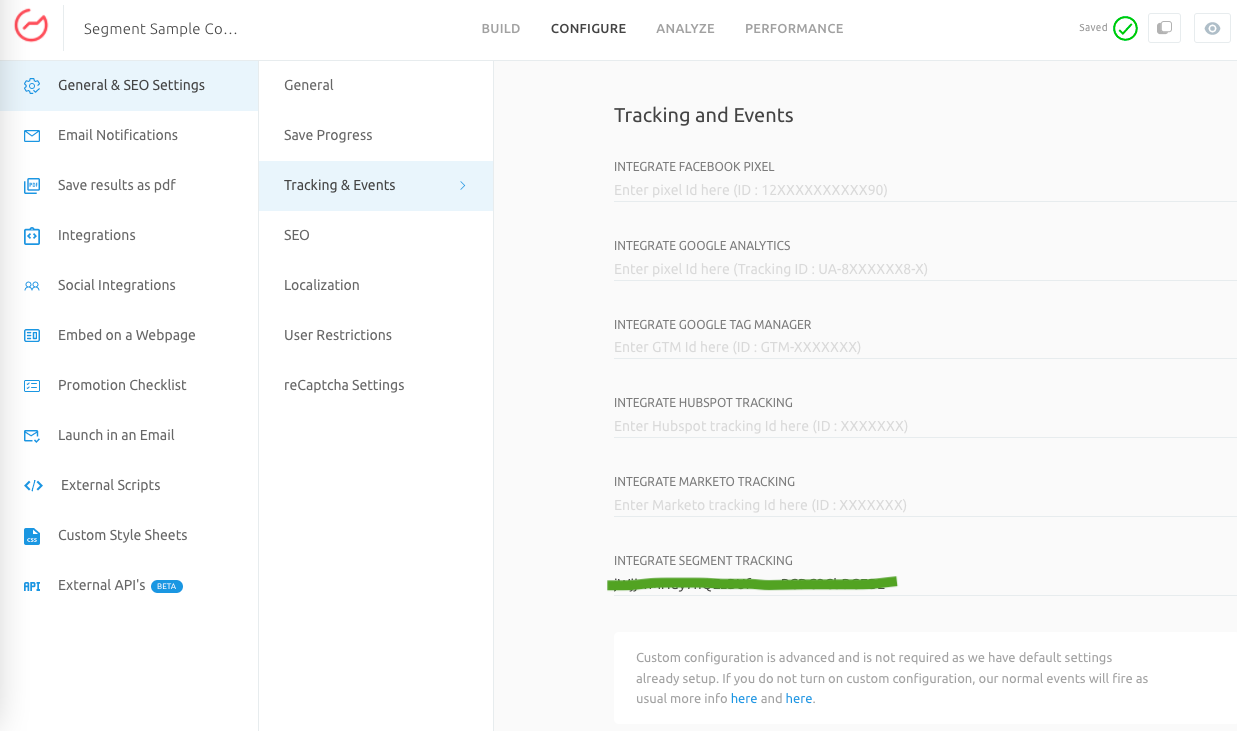
8. Now in your Outgrow account, open the respective content in Build mode. Navigate to the Configure tab and go to the General & SEO Settings sub-tab. Here, under Tracking & Events, add the Write key for the respective source that you copied from Segment in the Integrate Segment Tracking field. Make sure you click on Publish to save the changes.
Setting up an integration between Outgrow & Segment
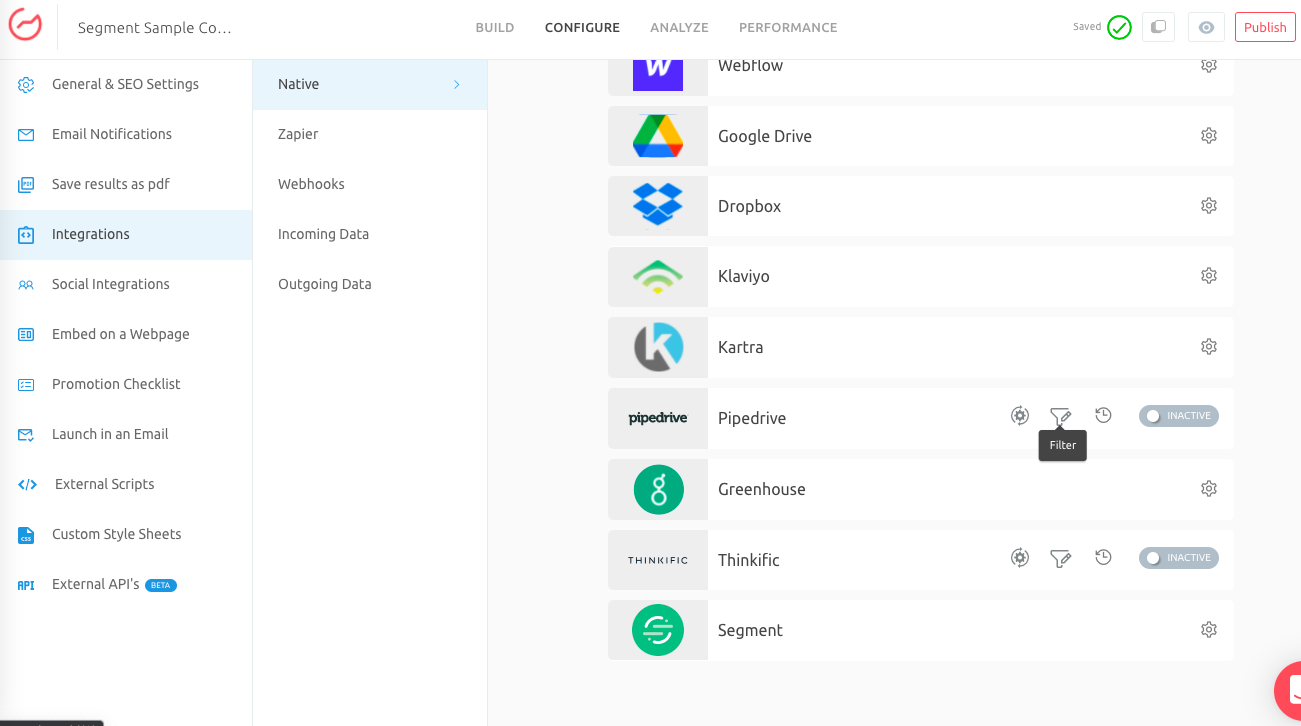
9. In case you want to configure integration between Outgrow and Segment, you need to navigate to the Configure tab and then under Integrations click on the configure icon (Gear Icon) for Segment integration.
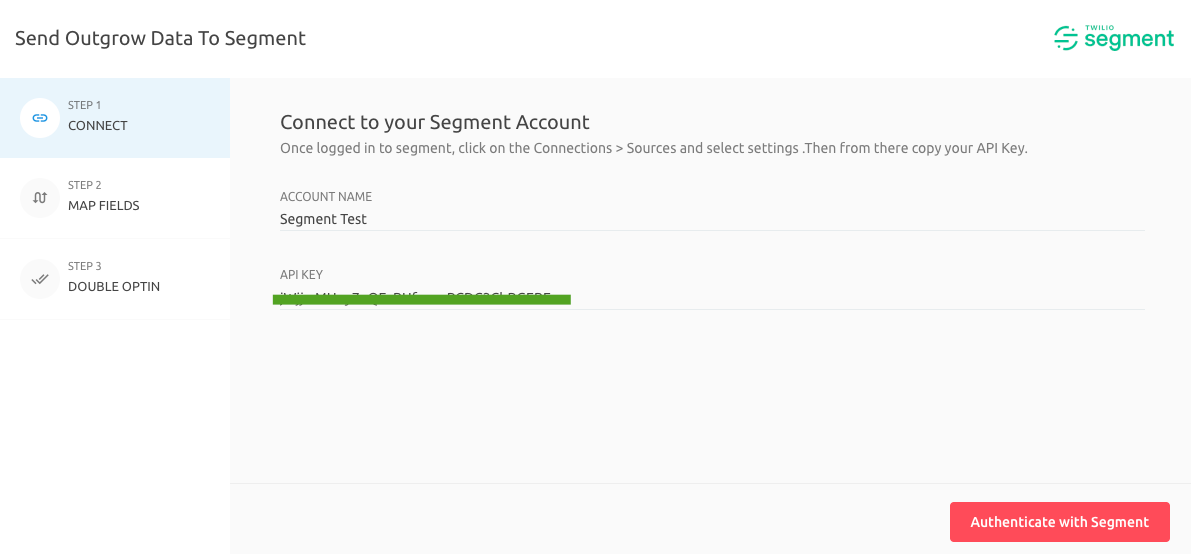
10. To connect your Segment account with your Outgrow account, specify an Account Name and add the Write Key that you copied from the Segment Source in the API Key field. Then click on Authenticate with Segment.
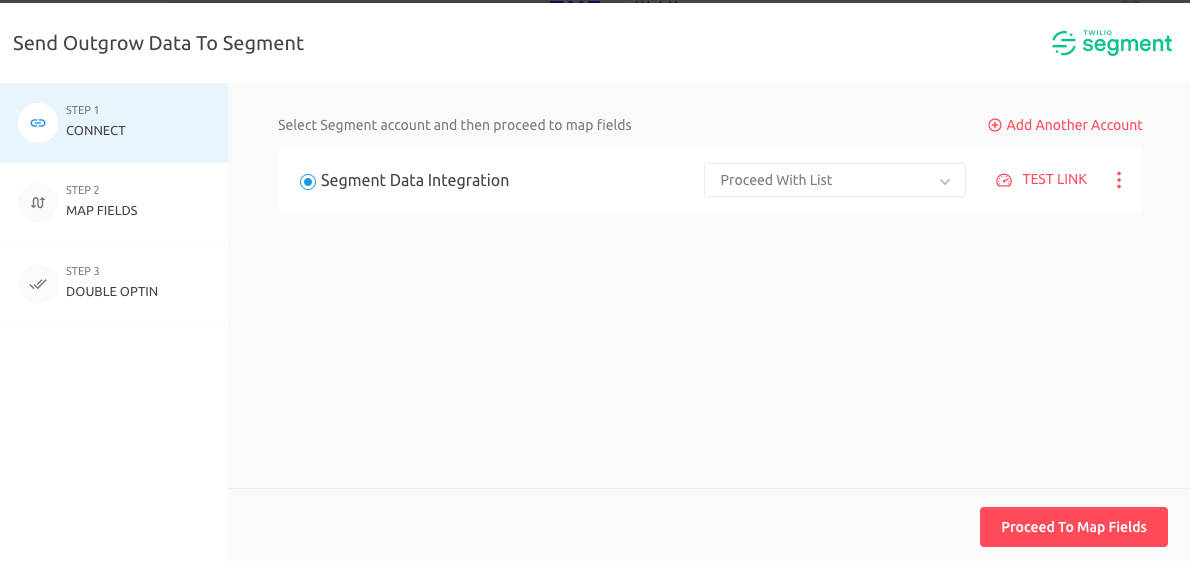
11. In the next step choose whether you want to Proceed with List or Segment.
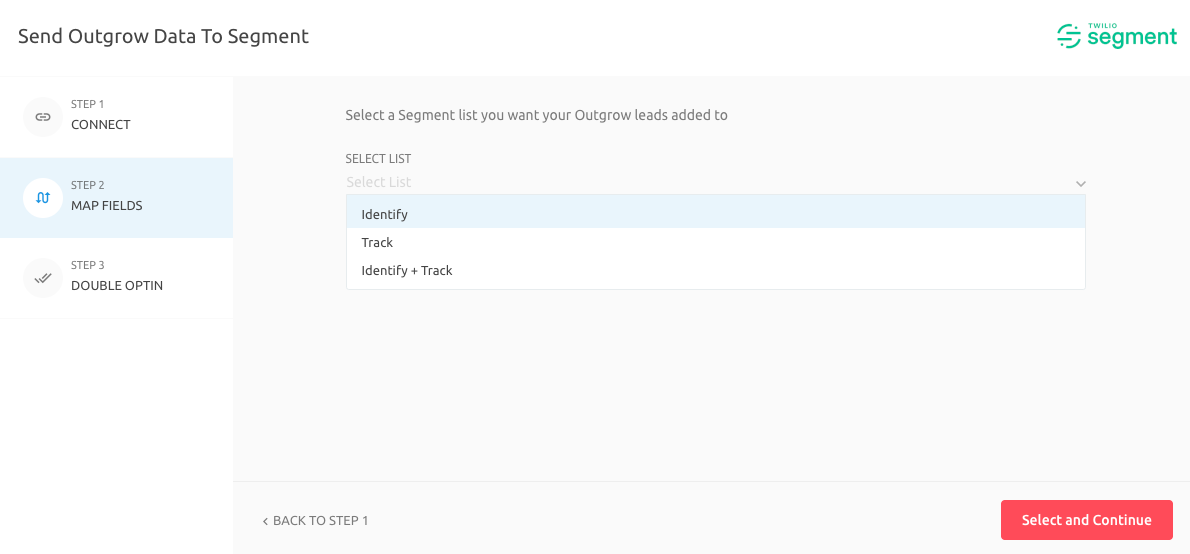
12. Now in the Map Fields section select the appropriate Segment list in which the Outgrow leads will be added.
IMPORTANT NOTE
Under Select List, you can choose an option from either of the 3 operations mentioned below:
A. Track: When you opt for this operation, an event will be sent to the source in Segment with New Lead as the name.
B. Identify: When you opt for this operation, it sends an Identify request to the respective source in Segment with all the data for which the fields have been mapped.
C. Track + Identify: When you opt for this operation, it will send both Track and Identify requests to the respective source in Segment. As a part of the Identify request, lead details such as Name, Email, etc will be sent. As a part of the Track request, all other traffic-related data will be sent.
13. Post selecting the list, map the appropriate Outgrow fields with the respective fields in Segment and finish configuring the mapping. Once the integration will be active, you will see an Active sign in the Segment integration bar.

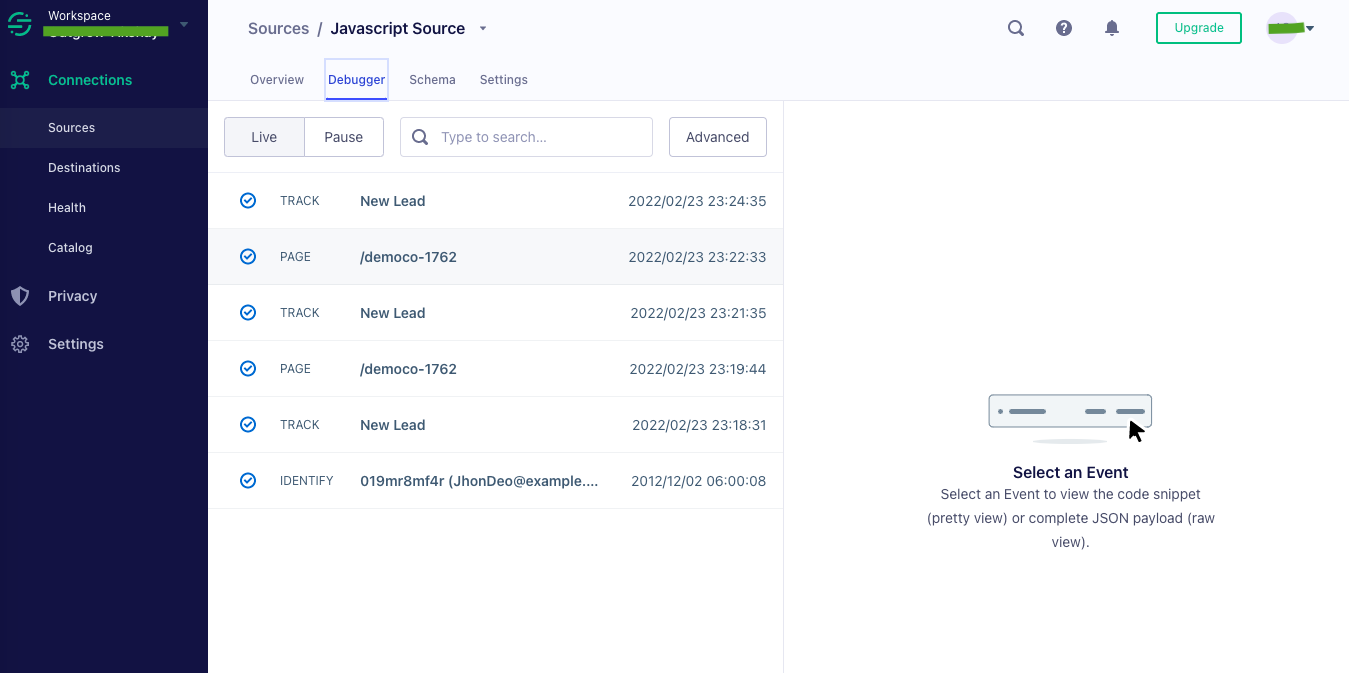
14. Now whenever a new lead will be submitted or traffic will be captured, the information will be sent to Segment and will be available in the Debugger section for the respective source.
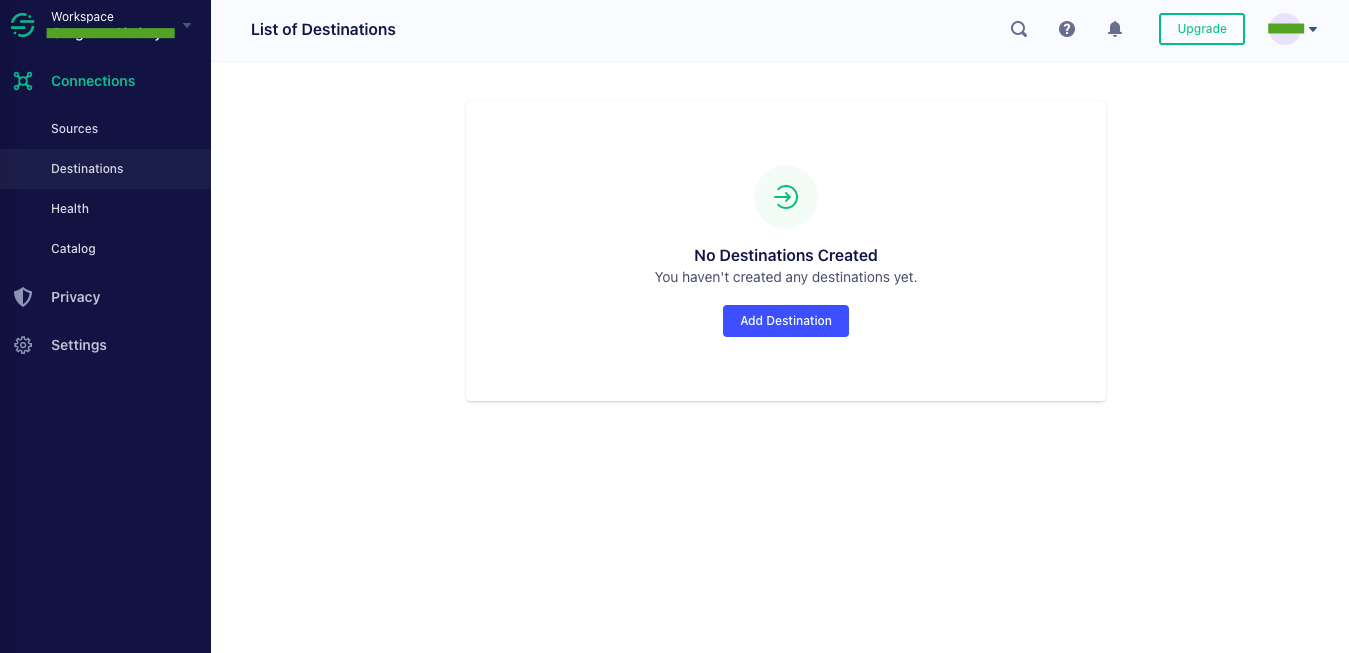
15. You can then specify a destination where you want the information to be sent, by clicking on Add Destination under the Destinations sub-tab.
More Actions
Once the integration is configured and is active, you can navigate to the Segment block to see more actions that can be performed on the Segment integration after it has been set up.
Re-configure- In case your Segment credentials have changed or you want to connect Outgrow with a different Segment account, then you will have to Reconfigure your integration to continue getting Outgrow leads in your Segment account.
Filter: You can opt to filter failed leads using various filters such as First Name, Last Name etc.
View Mapping- If you need to go over which fields you have mapped to configure your Outgrow-Segment integration, you can click on view mapping.
Task History- This contains the list of all the leads sent to Segment. The leads which are in queue to be synced will have status Waiting and those which have failed to sync due to some reason will be shown as Failed. If due to some error in connection your leads from a content piece have not been sent to Segment then you can Sync the leads to your Segment account after re-configuring.
IMPORTANT
- For every Outgrow content piece you create, you will have to activate or deactivate the integration from the Configuration section in the builder, in order to start or stop sending leads collected in Outgrow to Thinkific.
- Email field is a required field and needs to be mapped in order for the integration to be configured.
In case you have any questions or concerns, please feel free to reach out to us at [email protected], and we will be happy to assist you further.
Updated over 1 year ago