How to Create Outcome Quiz: Adding Questions, Outcomes & More
Outcome Quiz content type is used when you want to display specific outcomes to users without using any mathematical calculations based on the responses that they have provided for the questions. This document will teach you how to create and customise an Outcome quiz in Outgrow.
How to get started with creating an Outcome Quiz
Once you decide to make an Outcome Quiz, here are the steps that you need to follow:
A. The first thing you need to do is choose whether you want to select a design layout and build everything from Scratch or use a premade template from the design library.
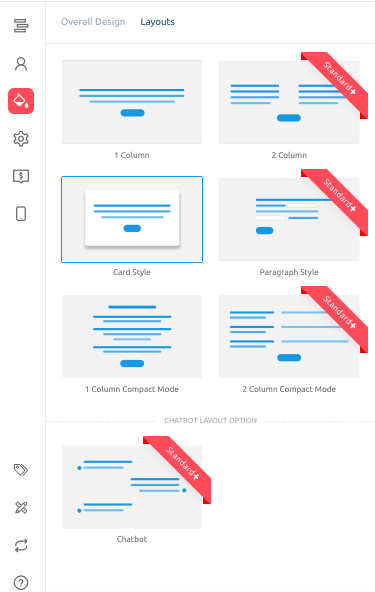
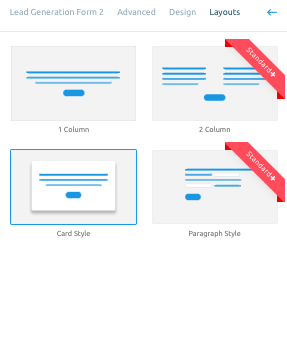
A.1. You can choose the type of design layout that you want to use for your Outcome Quiz. You can choose between 1 Column, 2 Columns, 1 Column Compact, 2 Column Compact, Card Style, Paragraph Style and Chatbot style layout.

A.2. You can also explore our Premade Template Library to find a design template that fits your requirements. NOTE: We have categorised our templates based on different industries and use cases.

B. Once the layout/template is finalized, the next thing you need to do is configure the overall design of the quiz according to your branding guidelines.
B.1. In the Overall Design section, you can customise the following settings according to your branding guidelines:
- Logo
- Color including Background Color, Question Text Color, Components Color and Answer Text Color
- The quiz will show Background Images on desktop and mobile devices. You can choose the slides on which this image will be shown and select the background image's fit.
- Font Type & Font Size
- Button Style
- Text Alignment
B.2. Under the Layout section in the Overall Design tab, you can modify the quiz layout.
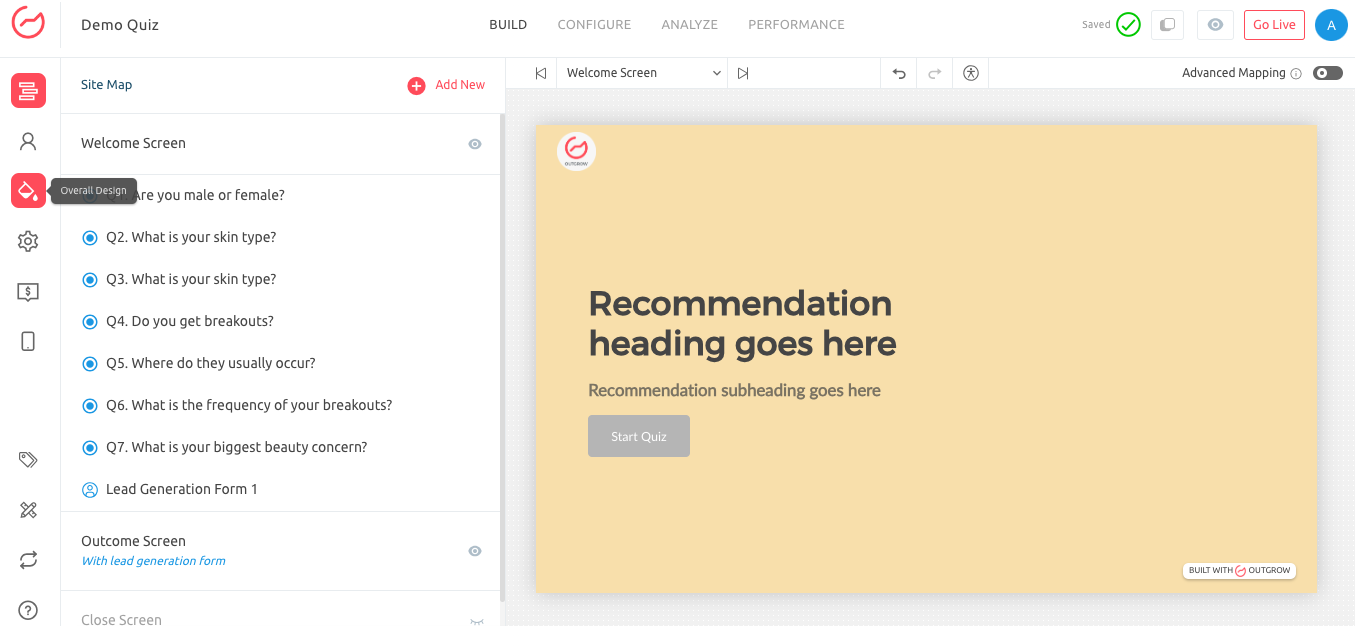
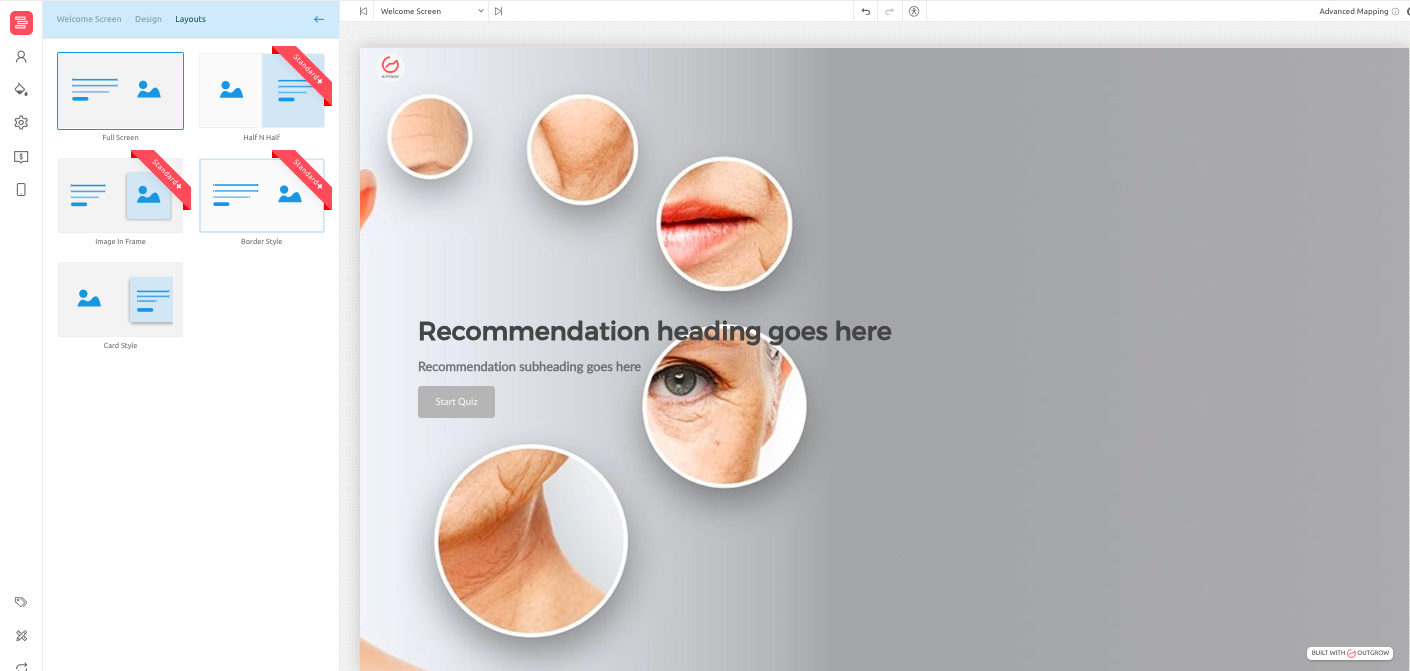
C. Setting up the Welcome page of the quiz: Once the overall design of the quiz is finalised, you can now move on to customising the Welcome page of your quiz. For the welcome page, you can start by customising the Heading and Subheading of the page.
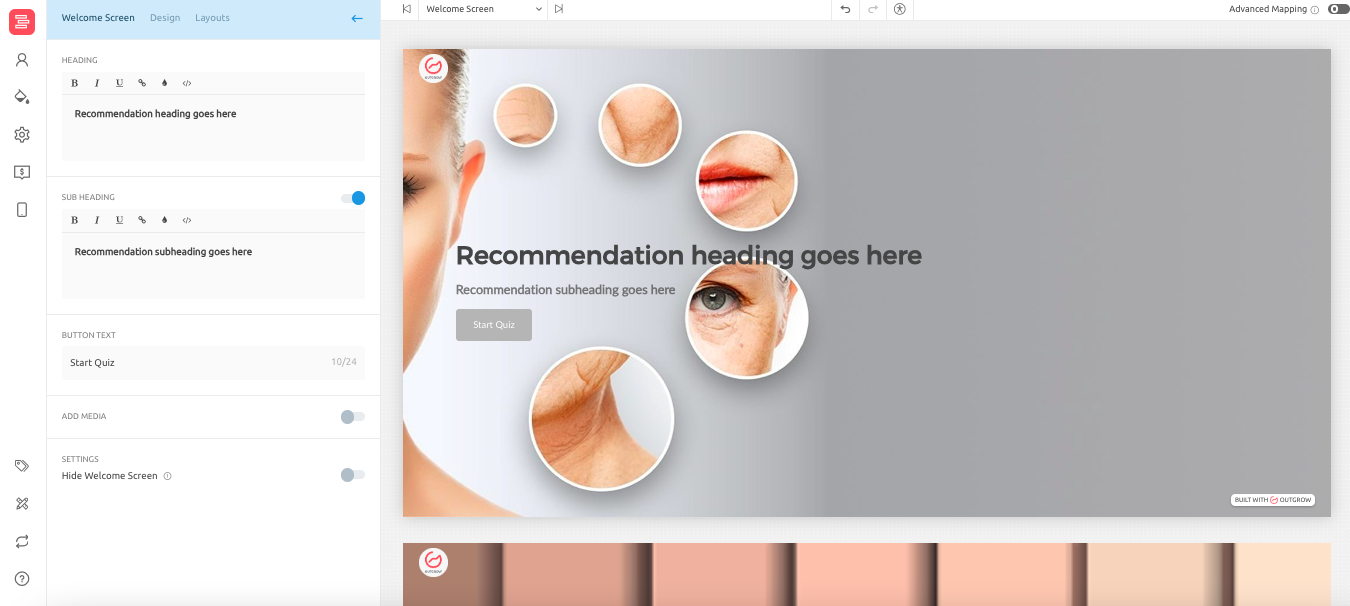
NOTE: If you want to add an Image or a Video on the welcome page, you can toggle on the Add Media setting. You can also hide the welcome screen if you need to enable the Hide Welcome Screen setting.
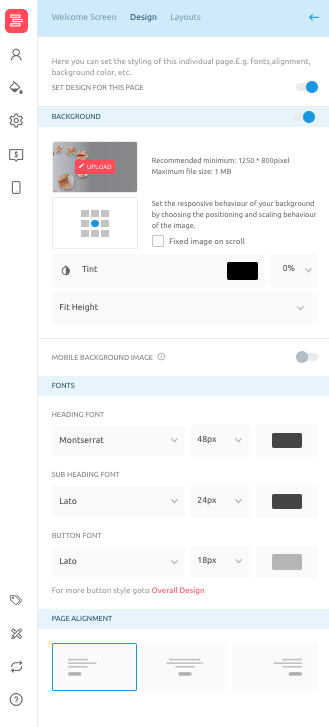
C.1. In case where for the Welcome page, you want to upload a different background image or wish to use a different font style or text alignment, you can navigate to the Design sub-tab and enable the Set Design For This Page setting.
C.2. From the Layouts sub-tab, you can select the layout where text and media will be shown on the welcome page.
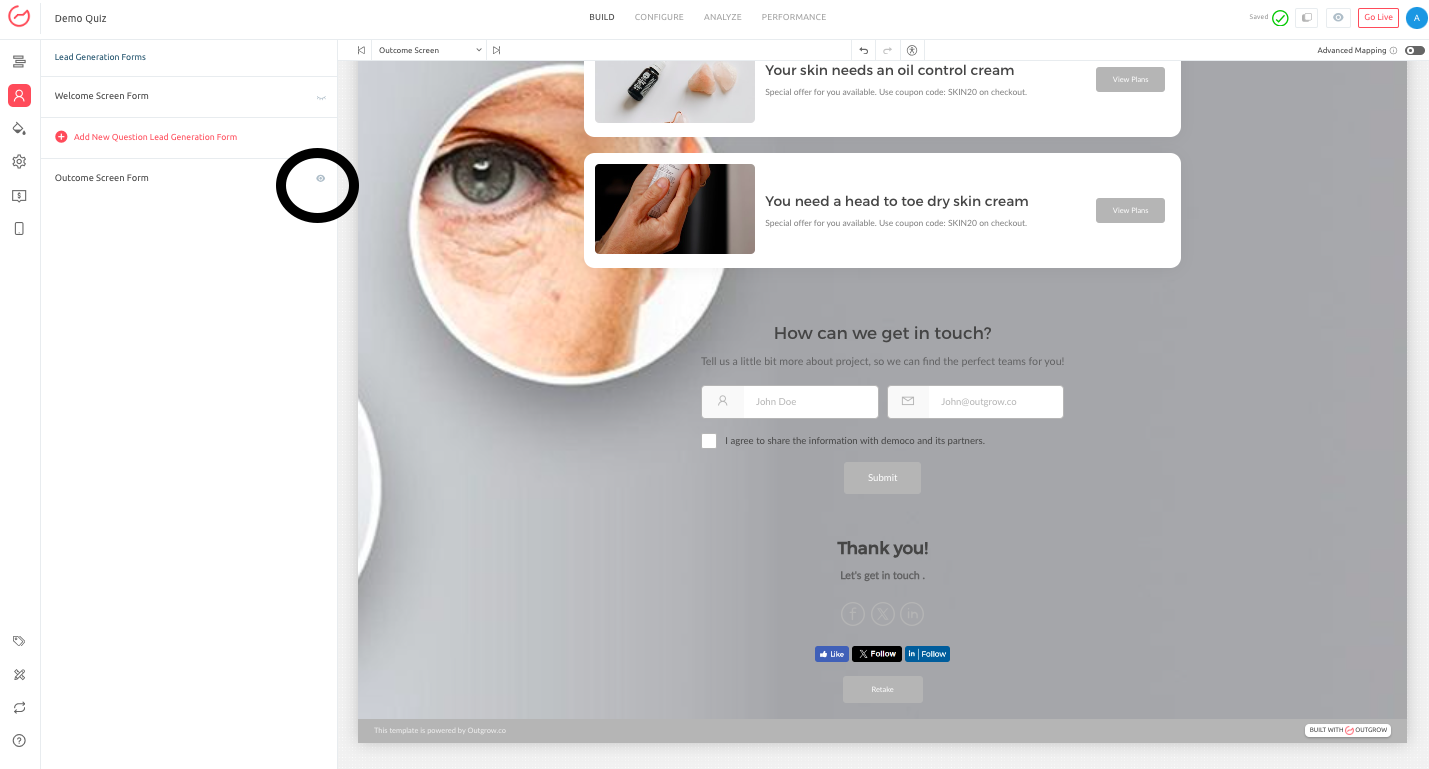
D. Setting up your Lead Form: Once the design aspect is finalized, you can customize how your Lead Form will be displayed in the Quiz. From the Lead Generation Form tab, you can customize:
1. The position where the Lead Form will be placed. NOTE: The highlighted icon depicts the page on which the lead form is displayed.
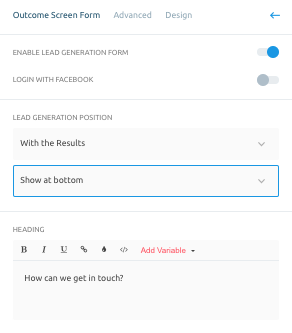
2. If you want to allow users to use their Facebook details for the Lead Form, you can toggle on the Login With Facebook setting.
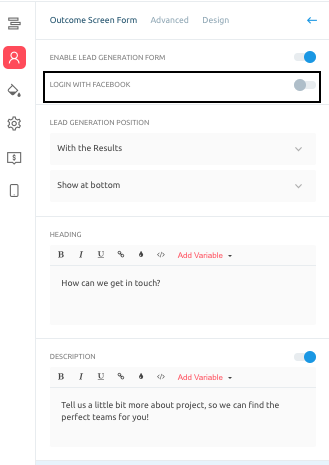
3. Depending on the location of the lead form, you can choose the placement of the form on the respective page as well.
4. You can choose the fields displayed in the Lead Form. You can add new fields in the form by clicking the Add Form button.
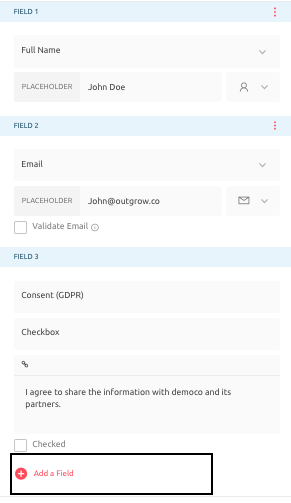
5.For the Email and Phone Number field, you can also enable field validation. You can restrict the user from submitting Personal, Disposable or Low Deliverability Emails for the Email field. In contrast, for the Phone Number field, you can enable the validation that ensures that a user cannot add more than the specified number of characters.

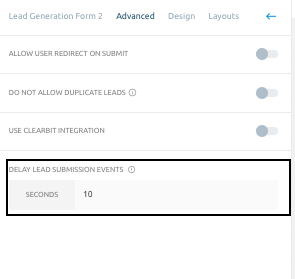
6. From the Advanced tab, you can configure if you want the user to be redirected to a different URL when lead details are submitted. You can also configure the criteria for controlling the de-duplication of leads. If you want to opt for lead enrichment, you can opt to connect the respective Outgrow lead form with your Clearbit account using the Clearbit API key.

NOTE: In case you have opted to display the lead form in the middle of your quiz, i.e., Questions not on the Welcome or Results page, you can opt for:
6.A. Configuring a lead submission time delay using the Advanced sub-tab.
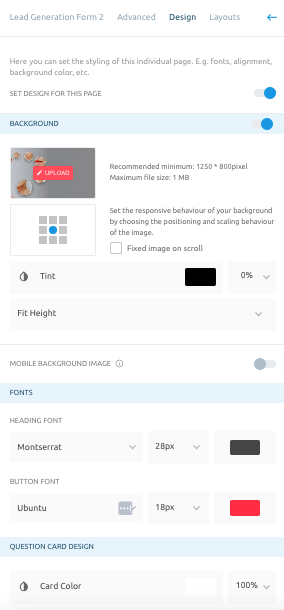
6.B. Configuring the design aspect of the lead form using the Design sub-tab.
6.C. Configuring the layout in which the information will be displayed in the lead form using the Layouts sub-tab.
E. Setting up Questions and Responses: After setting up the overall design and the welcome page, you now need to focus on adding the actual content that will be shown to the users. Here, you need to:
E.1. Firstly, for setting up the Questions, you must select the appropriate Question Type you want to use. You can choose Single Select, Multi Select, Drop Down, Text Input, Text Area, Numeric Slider, Numerical Range Slider, Opinion Scale, Ranking Grid, Rating, Date/Time Picker, and File Upload.

E.2. Now add the question text and the response values a user can choose from. You can display just the text or add a video or image for the question. You can choose to say a Text value, Icon, or image for each response option.
NOTE: In the Answer Setting tab, you can also choose the Layout in which the options will be displayed, the Shape in which the choice will be displayed, and the Style in which the option is enabled will be shown.

E.3. Now click on the Advanced sub-tab, where you can configure the following settings:
E.3.1. Allow User Redirect on Submit: By toggling on this setting, you can specify whether you want the user to be redirected to a URL, allow the user to make a call, or send an email when the user submits the response.
E.3.2. Add Fallback Value: When this setting is enabled, it lets you configure the default value that Outgrow will fall back on if the question remains unanswered by the user.
E.3.3. Add Feedback: Toggling on this feature will allow you to add feedback displayed to the user when the user selects an answer for the respective question.
E.3.4. Add Countdown Timer: Using this, you can configure a countdown timer that will be displayed on the particular question.

E.4. From the Design sub-tab, you can customise the questions page's design aspects; from the Layouts sub-tab, users can choose the layout where the information will be displayed.
E.5. From the Call API sub-tab, you can connect your Outgrow content with a 3rd party app from which you want to pull data for your quiz.
F. Setting up the Outcomes: Once you have added the questions and options in your Outcome quiz, you can now focus on setting up the Outcomes.
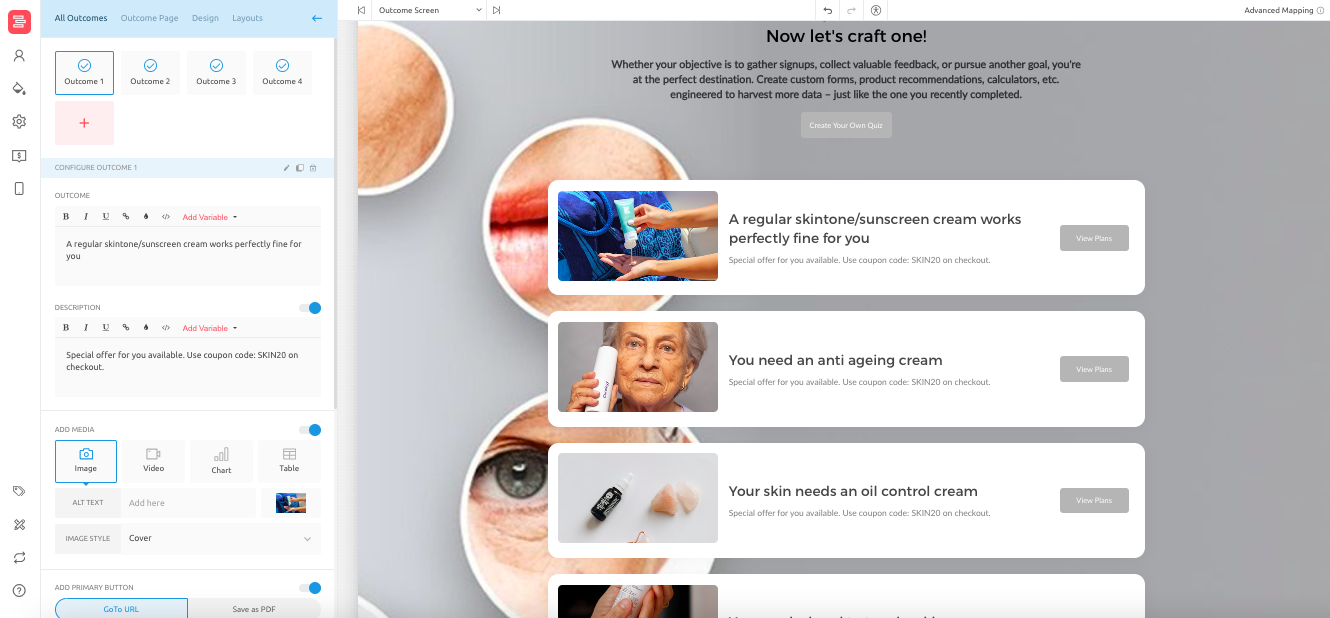
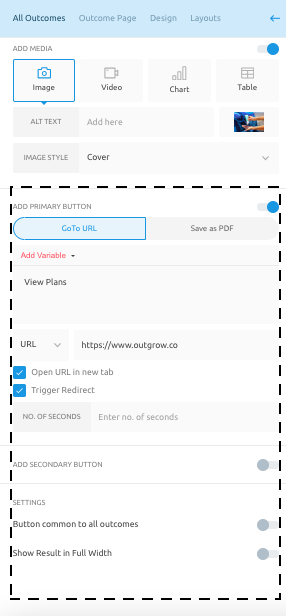
F.1. You can add the Outcome Heading and Description for each Outcome. You can also add the media type you want to show on the page, such as an image, video, charts, etc., and a Primary & Secondary CTA button.
F.2. On the Outcome Page, you can set the overall heading and sub-heading displayed on each outcome page. You can configure the path the user will take upon clicking the CTA button. You can also select the number of outcomes that will be displayed on the results page and configure social share buttons as well.
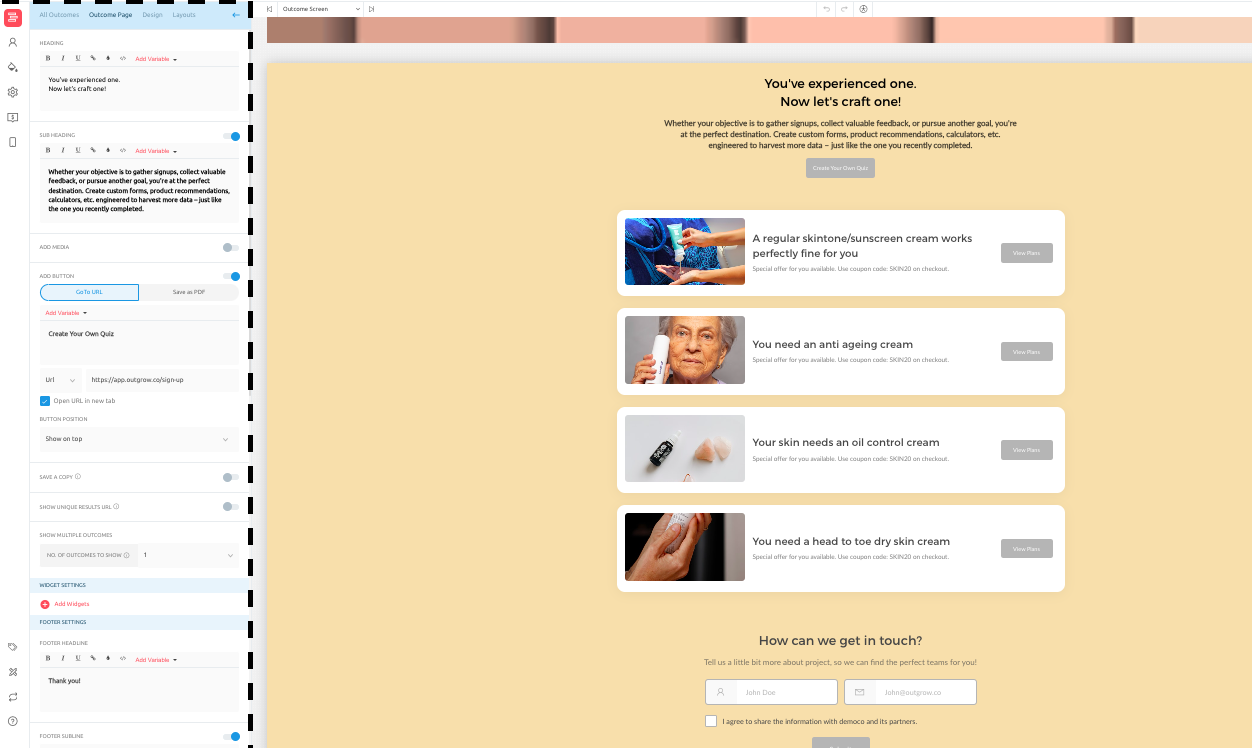
F.3. For the outcome page, you can display a generic Heading and Subheading that will be displayed on all outcome pages. Lastly, using the Design tab, you can configure the outcome page's design aspect.

G. Mapping Outcomes with the Respective Question Responses: The final step of setting up an Outcome Quiz is to map the options available in a Question with the respective Outcomes. You can go ahead and return to each question and map the individual Answer Choice with the separate Outcome using the Map To section.

H. Once everything is finalised, click Publish to save the changes.
IMPORTANT NOTE
Once the information in the Quiz is saved, you can go to the Configure tab and configure the SEO and basic settings of your Outcome Quiz.
Also, before setting the quiz live add a suitable URL, SEO title, Meta Description and Favicon to your Quiz. Add the Google Analytics tracking code to view the Analytics for your Quiz
Feel free to reach out to us at [email protected] and we will be happy to address any questions or concerns that you have.