DataValidation And Outgrow Integration using Zapier
Learn how to integrate your Outgrow Interactive Content with DataValidation.
For Zapier and DataValidation users, who haven't signed up for Outgrow, you can sign up here and follow the instructions below. If you have any questions, please reach out to us via chat on the bottom right of the page.
Here's what you'll need to get started if you choose zapier:
- an Outgrow account
- a DataValidation account
- a Zapier account
Steps:
- Getting your accounts ready
- Connecting your accounts
Getting your accounts ready
To connect your Outgrow account to DataValidation, you will need an active Outgrow account and a live content piece. For help getting started with Outgrow, click here. For more information on how to get started with DataValidation on Zapier.
Connecting your accounts
1. Navigate to the Zapier page where you can set up the Zap between Intercom and Outgrow and click on Connect Outgrow + DataValidation button.
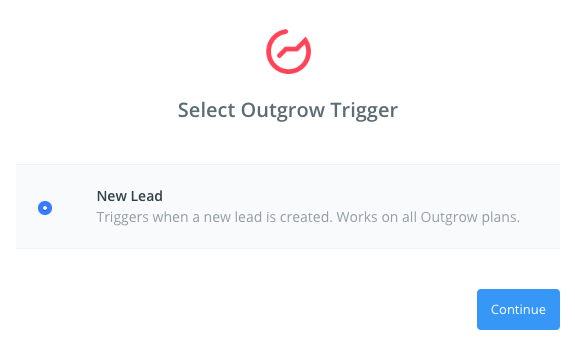
2. On the configuration page select the trigger that will be activated when a new lead is submitted in Outgrow.
3. In the next step, you need to connect your Outgrow account with Zapier. In case you have an existing Outgrow account connected with Zapier, you can choose that account, else you can add a new account.
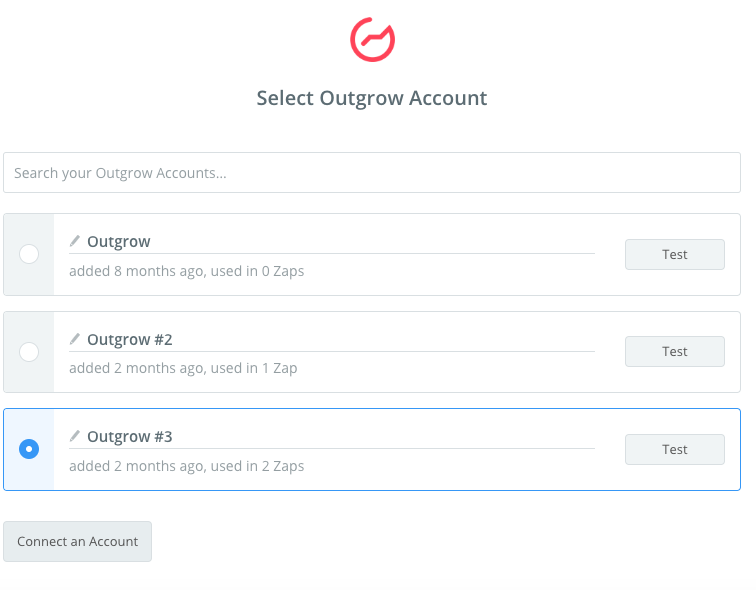
4. To connect a new Outgrow account, you will need to plug in the API key for your account. You'll find the key under the API Key Heading in the Settings section of your Outgrow account.

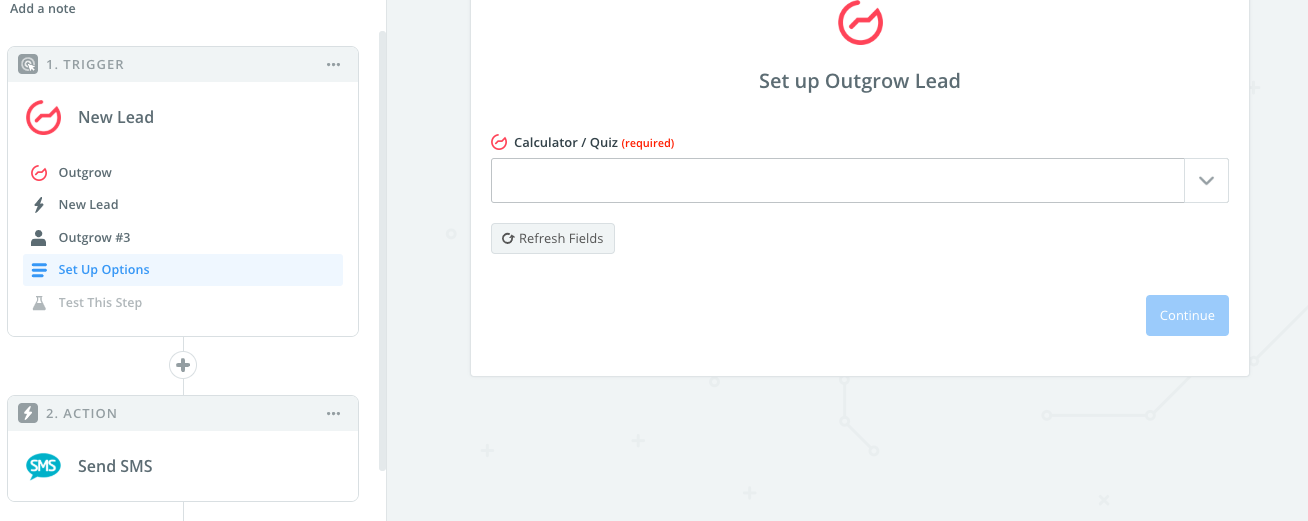
5. Choose the calculator/quiz/poll/graded quiz that you wish to use from the drop-down.
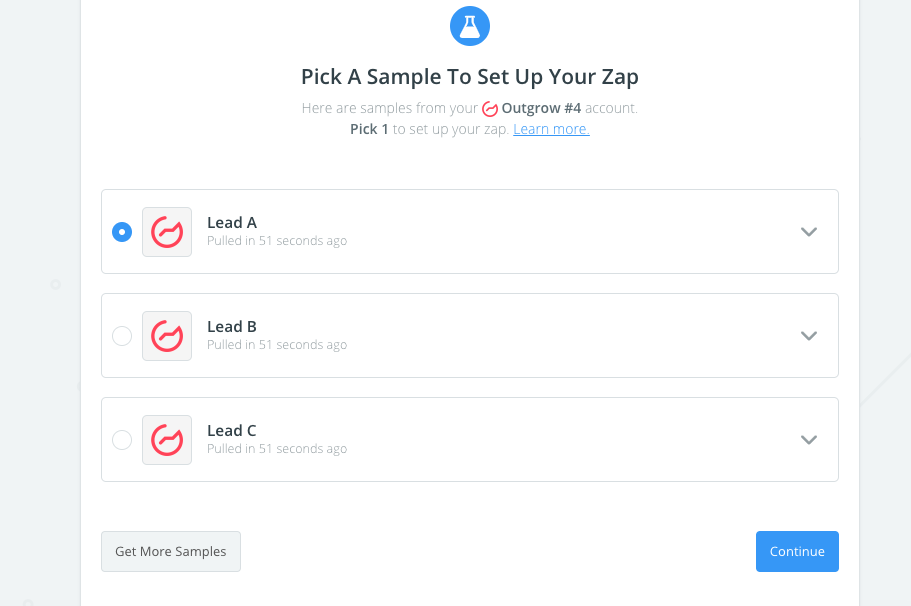
6. Fetch sample leads from Outgrow to test whether or not the connection is successful.
7. In the next step choose the action that needs to be performed when a new lead is sent to DataValidation.
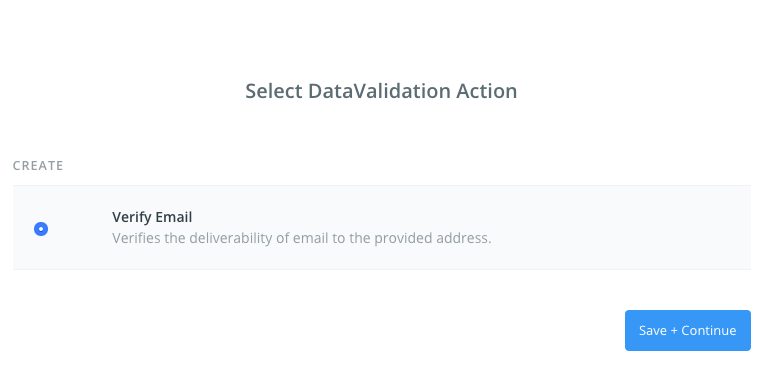
8. To get started with DataValidation on Zapier, first, you will need to click to connect your DataValidation account to use with your Zap.
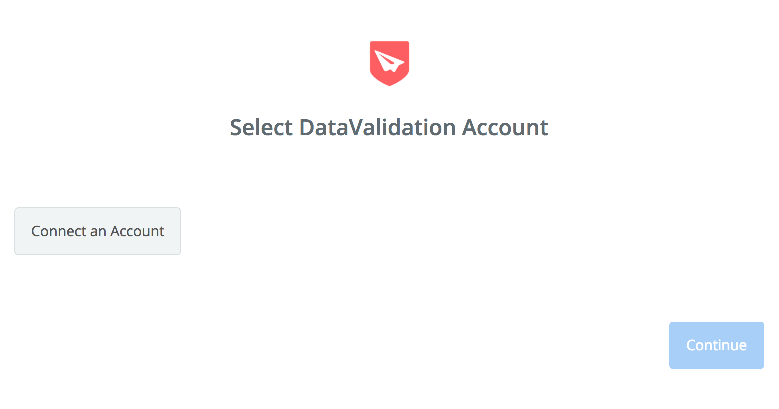
9. Next, you'll be asked to enter your DataValidation API key.
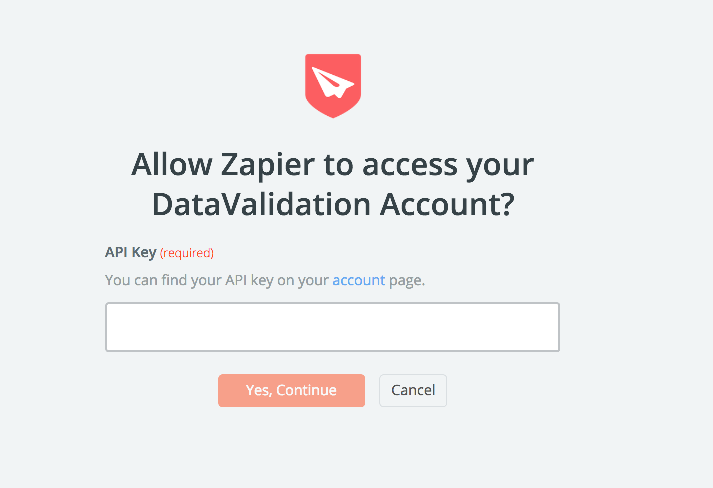
To locate your API Key in your DataValidation account, log into your DataValidation account.
Click on "Profile settings" from the Left Menu and then click on "generate" under the API key heading. Copy the generated API key to your clipboard and then paste your key back into your Zapier account and then “Continue”.
If all steps were successful your DataValidation account will now be successfully connected.
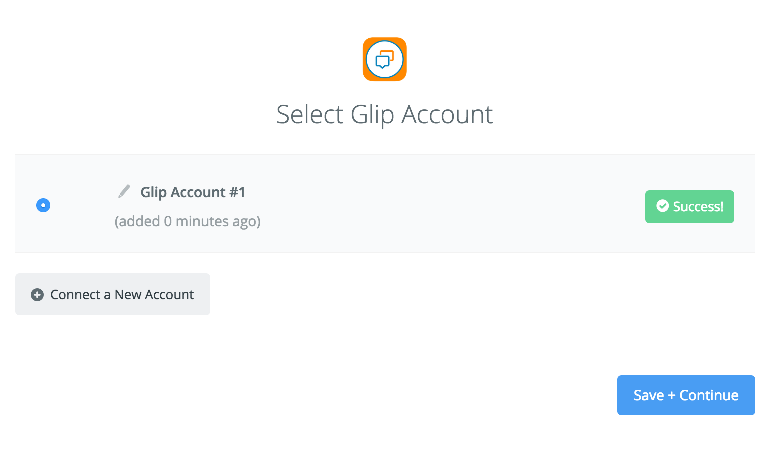
10. Once your account will be linked you can test the connection.
11. In the next field set up the template that you would like to use.
12. Click Save + Continue.
Now, test the Zap to make sure it works. Once you’re satisfied with the results, new entries from your selected Outgrow content piece will automatically get added in DataValidation.
Note: If you ever want to change this Outgrow and DataValidation integration, go to your Zapier dashboard and tweak anything you like.
Updated over 1 year ago