Outgrow & HubSpot - How to add leads to a Workflow in HubSpot
The workflows in HubSpot can help you automate and scale your lead nurturing process and can also be set up for Double opt-in.
What is a Double Optin?
The double opt-in allows visitors who fill out one of your Outgrow quiz or calculator to confirm that they want to receive communication from you. After submitting the lead form on your Outgrow's interactive experience, contacts will be sent an opt-in request email with a link that they can click to confirm opt-in. When double opt-in is enabled, you know that your contacts are more qualified and likely to engage with your content, as they've confirmed that they are interested.
How to create a workflow?
In this article, you will learn how to set up a basic HubSpot workflow to trigger a confirmation email to users who took an Outgrow quiz or poll or used an Outgrow calculator. We'll guide you through choosing a starting condition, setting your workflow criteria, and adding actions and delays.
To illustrate how to perform these actions, the example workflow below is set up to send a confirmation email to a contact who uses an Outgrow calculator. Let's get started.
1. Navigate to Workflows
- In your HubSpot Marketing Professional or Enterprise account, navigate to Contacts > Workflows.
- In your HubSpot Sales Professional account, navigate to Sales Tools > Workflows.
2. Create new workflow
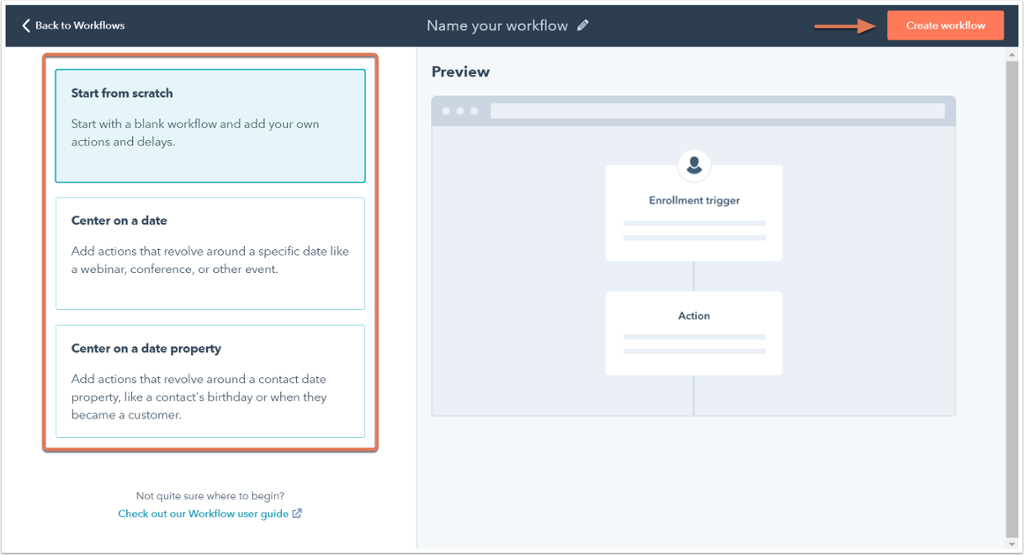
In the HubSpot workflows, click Create workflow in the upper right.
Note
You can create up to 500 workflows in your HubSpot account. If the New workflow button is grayed out, delete some of your unused workflows.
3. Name your workflow and select workflow type
On this screen, enter a name for your workflow at the top and select a workflow type. Since this example workflow will be based on a contact filling out a lead form on Outgrow and then sent to HubSpot using integration, we'll select Start from scratch.
When you're done, click Create workflow in the upper right.
4. Set enrollment triggers
Next step will be to set up triggers to automate the workflow enrollment. Click Set enrollment triggers, then select the type of triggers you'd like to use to enroll contacts. There are several starting conditions you can choose from, all of which are outlined here. In this example, we want to enroll contacts who have a specific property(Source='Outgrow') in one of their Contact Properties. So select Contact Property. Click the drop-down and select the contact property you'd like to use to segment and enroll your contacts.
Set the property Source and enter value 'Outgrow' to filter your contacts. Click Done.
If you'd like to enroll contacts who already meet the criteria you've set, check the Enroll contacts who already meet these criteria box.
Click Save.
Build out the workflow actions and, when ready, activate your workflow by toggling the OFF button near the top to ON.
5. Add an action to your workflow
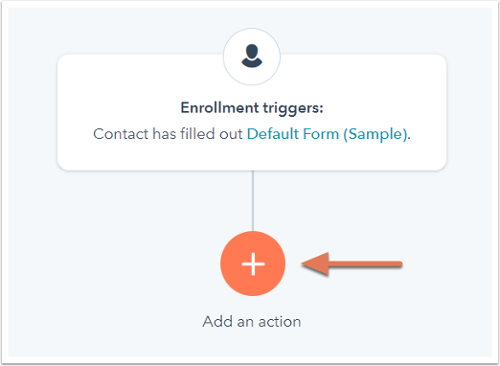
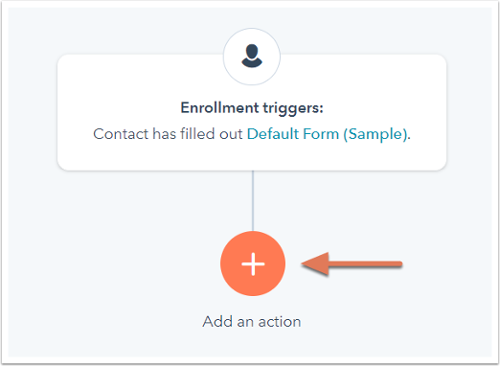
Now you should add an action to the leads with contact property Source='Outgrow', click the + icon.
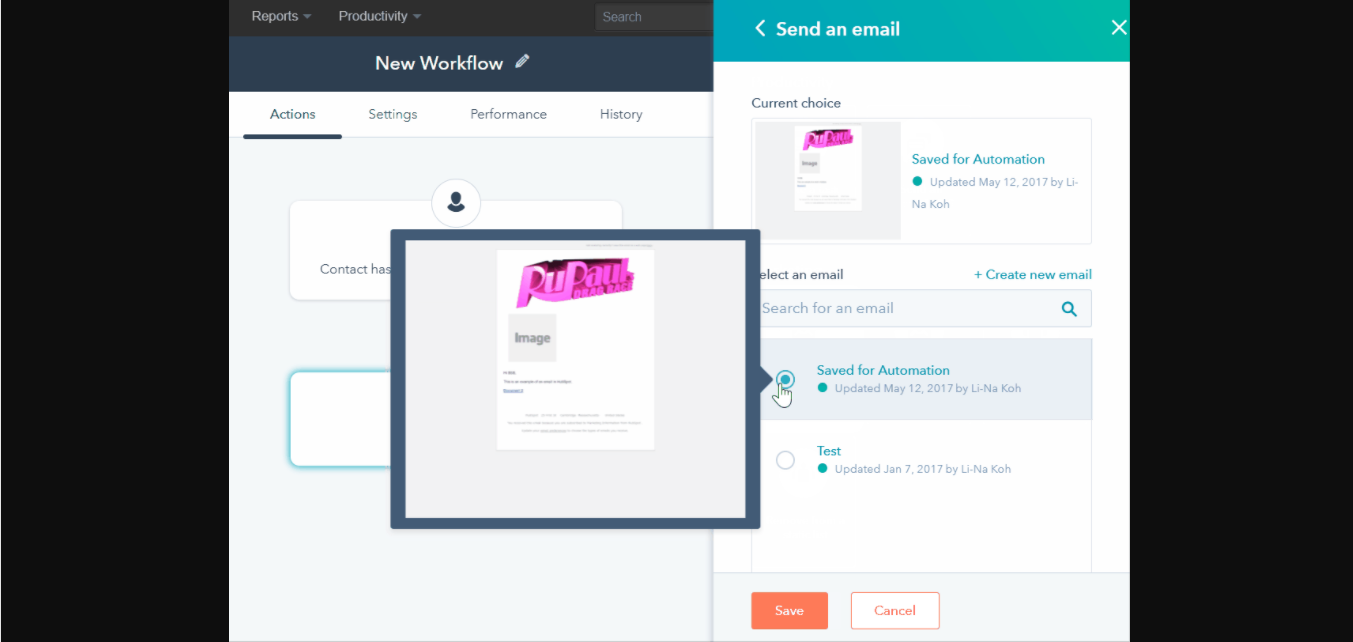
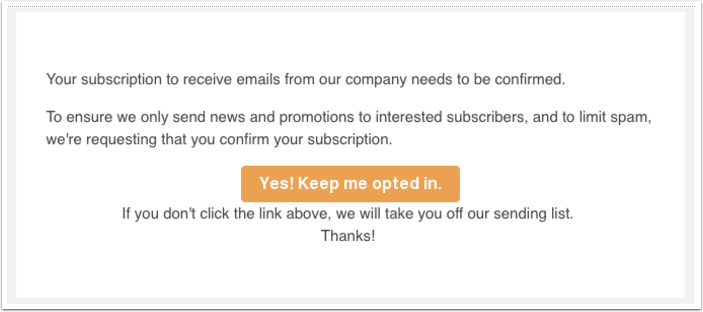
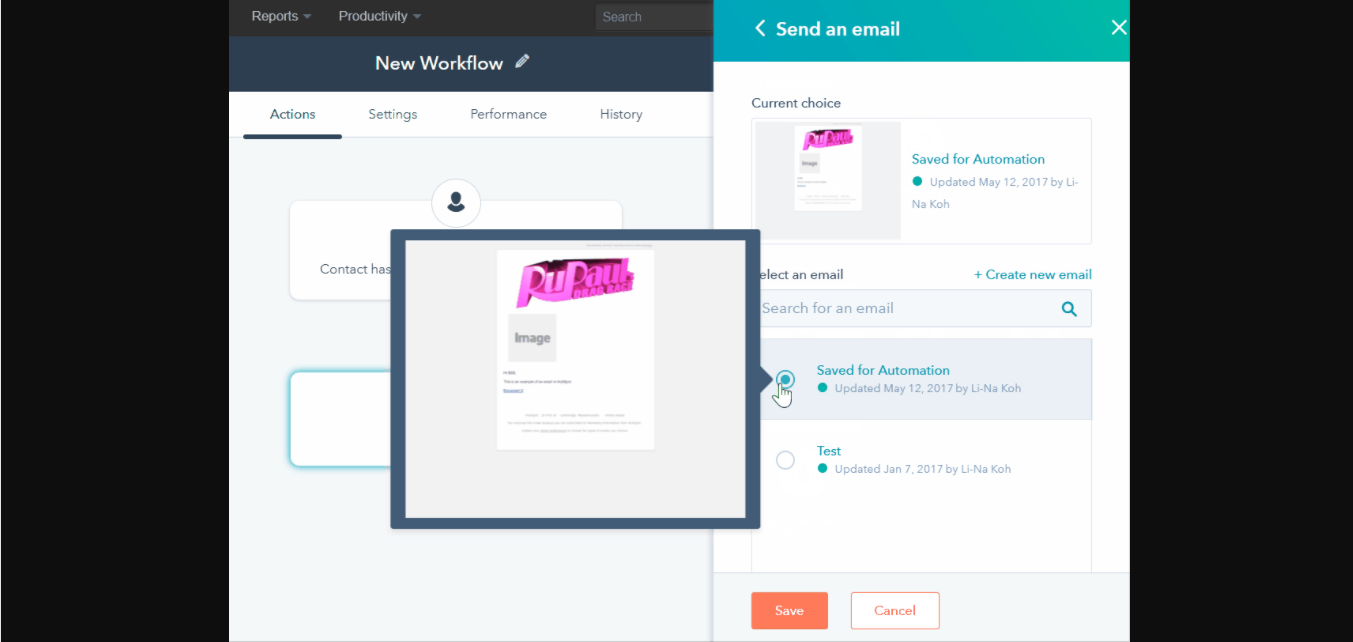
Here's a list of actions which you can choose for your workflow. Choose Send email from the list of actions. Add a confirmation email to be triggered where users can opt in or opt out. The objective of this email is to contact all the people who have used Outgrow interactive experience and ask them to confirm they are happy to continue receiving mailers.
Create a new optin email to send to your list. Include a CTA to encourage your recipients to confirm their subscription.
In your HubSpot Marketing, navigate to Content > Email.
Click Create new email in the upper right corner.
Select a template, name your email, then click Create.
When editing your email content, include a CTA that users can click on to stay opted in. You can link your CTA to a simple thank you page, where you can thank users for confirming their status or even present them with a new offer.
When setting up the standard opt-in email you have to insert an 'email confirmation link' on the CTA which creates a bit of code like following:
<a target="_blank" href="{{subscription_confirmation_url}}" style="undefined" data-emailoptin="true">confirm your subscription</a>
To figure out which contacts should be opted out, create two smart lists using the below criteria:
List 1 - Email | Contact clicked a link in [Double optin email]
List 2 - Contact was sent [Double optin email] and IS NOT a member of List 1
6. Test and Activate workflow
Test the workflow and activate. After you choose to turn on your workflow, you'll see an overview of your workflow settings. Click Edit next to any of these settings to make changes. Once you've reviewed your settings and are ready to begin enrolling contacts, click Turn workflow on. The contact should also get added to your smart lists based on whether they clicked on the link in Optin email or not.
Updated 6 months ago