Single Sign On Using Okta - Integration b/w Okta & Outgrow
Okta provides cloud software that helps companies manage and secure user authentication in modern applications and allows developers to build identity controls into applications, website web services, and devices.
Configuring SSO using Secure Web Authentication (SWA) mechanism
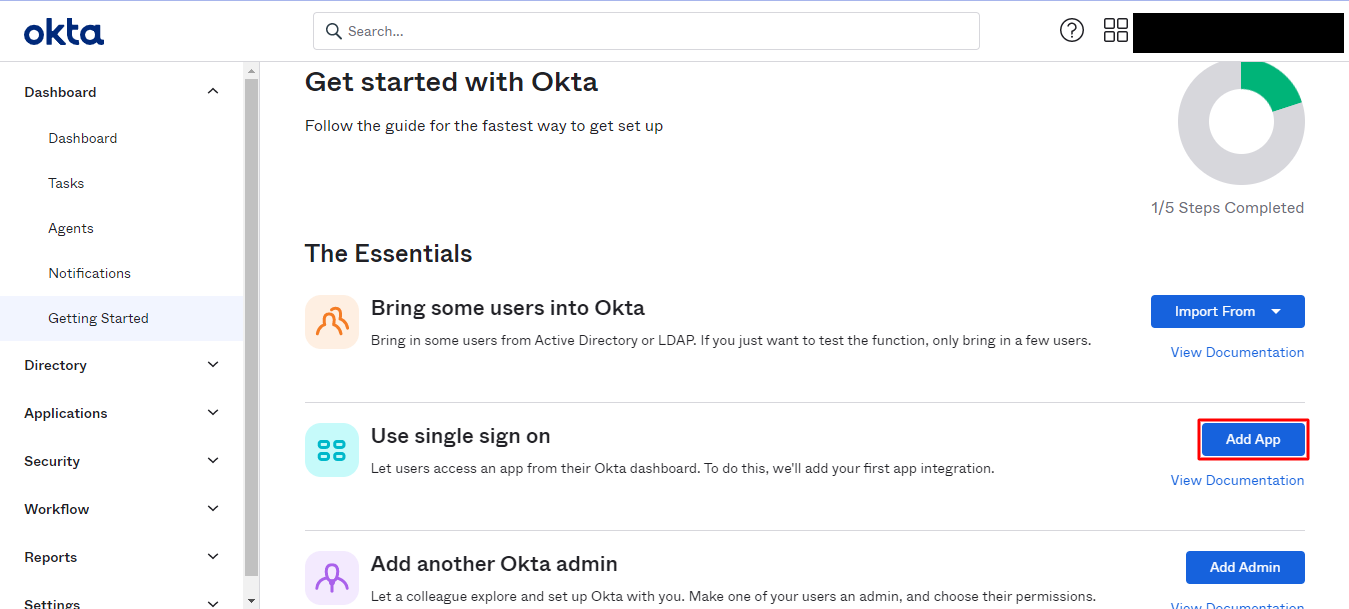
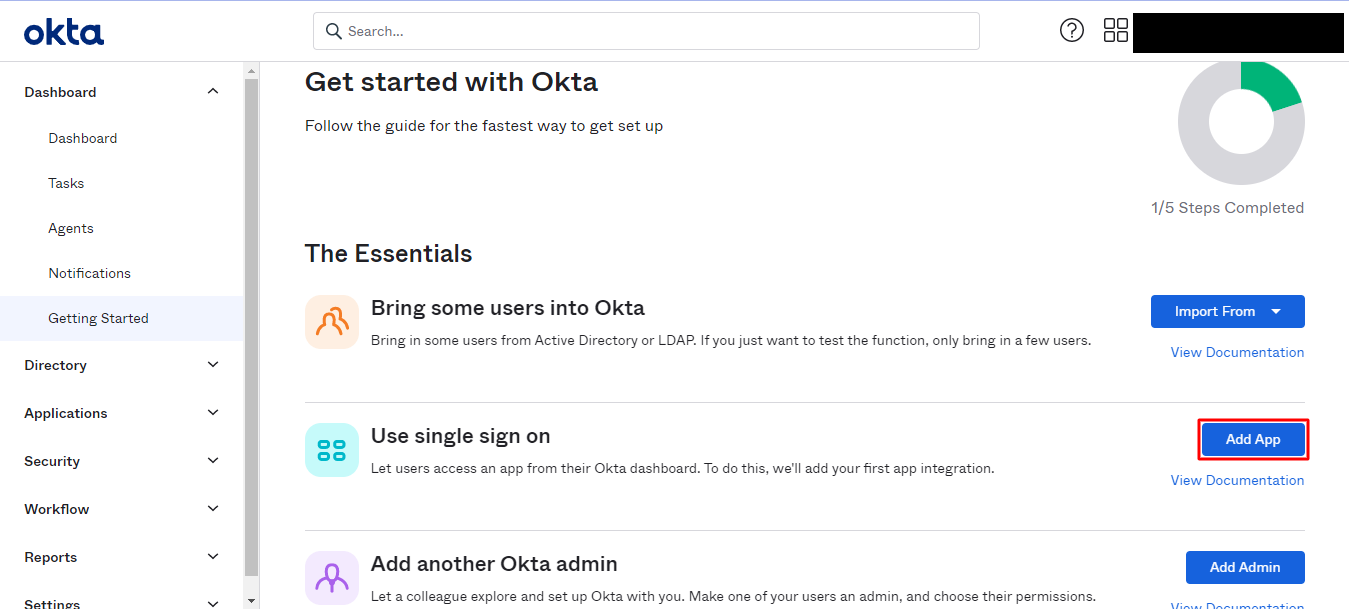
1. The first step is to add Outgrow as an app in Okta. To do this, you need to login to your Okta dashboard and click on Add App under The Essentials.
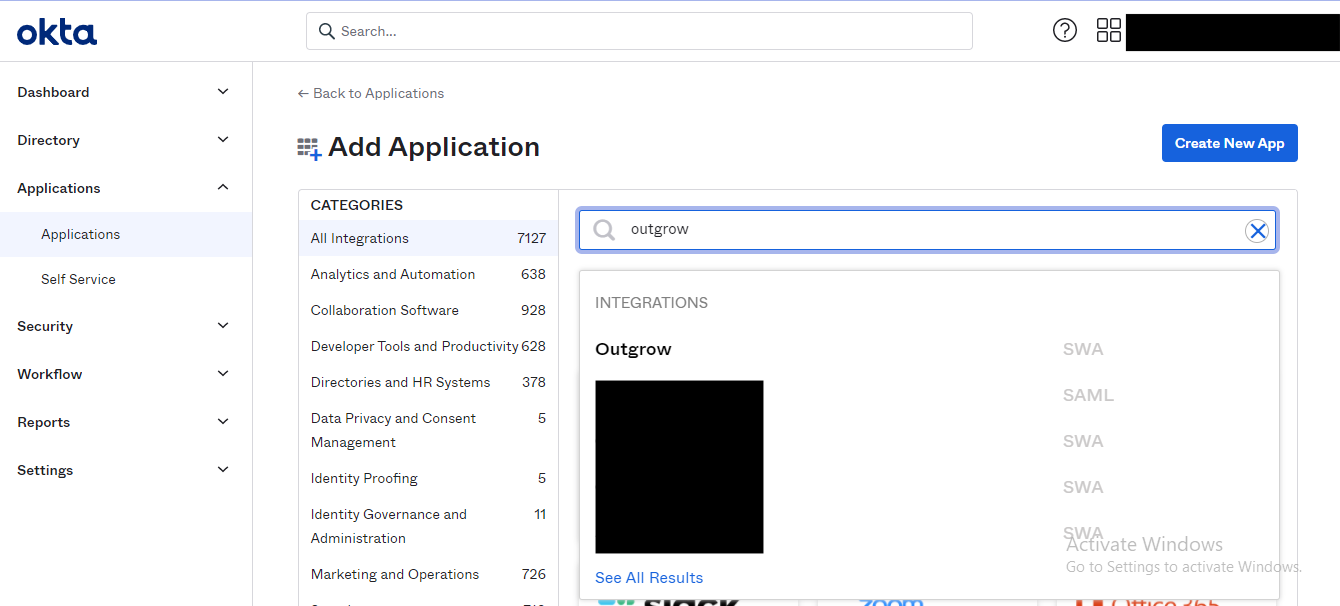
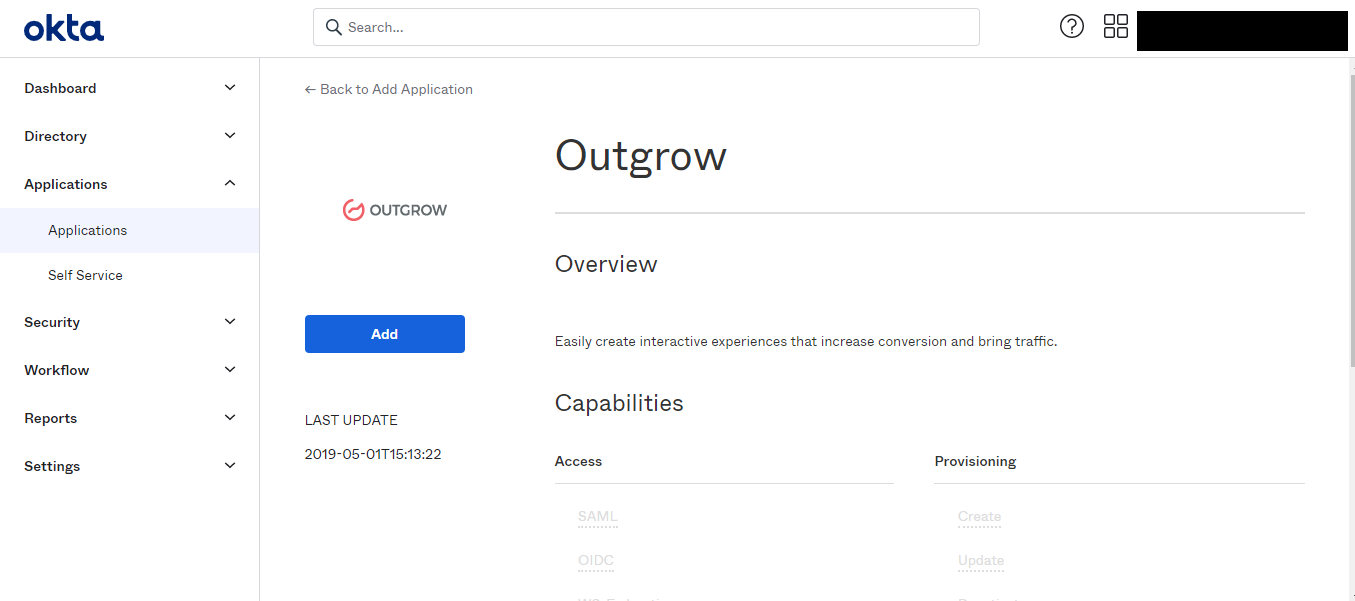
2. In the Add Application dashboard, you can search for Outgrow app from the app store and then click Add.
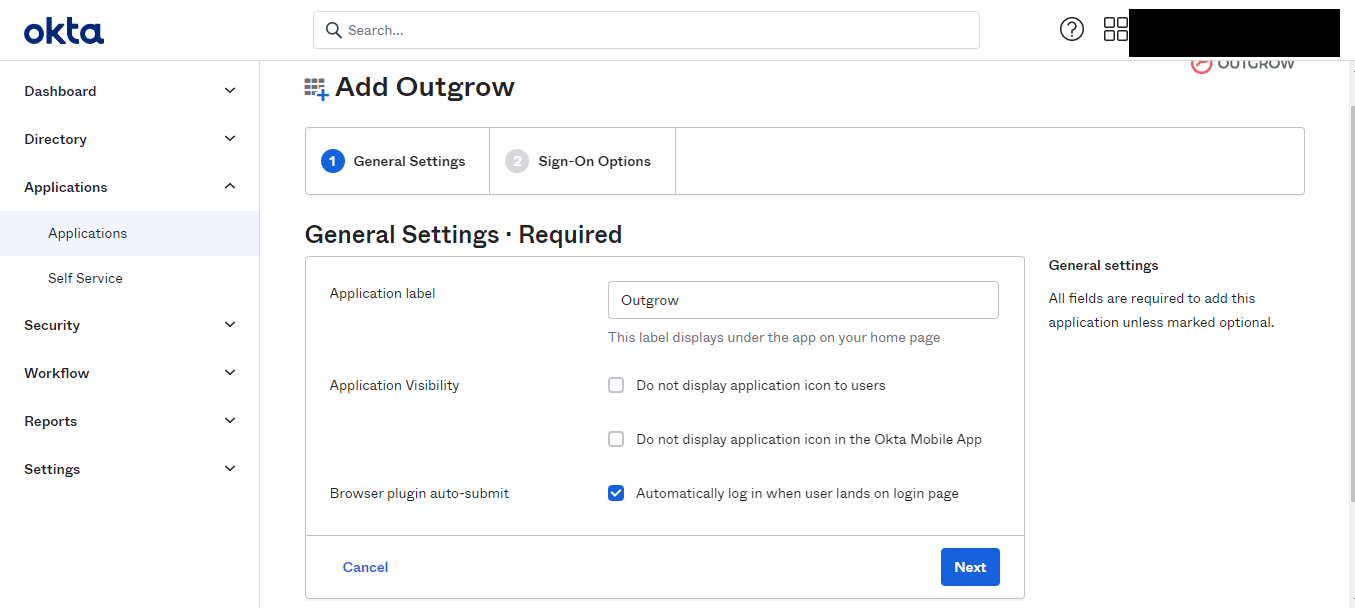
3. In the first step for adding Outgrow as an app, specify the Application label, visibility, browser plug-in auto submit.
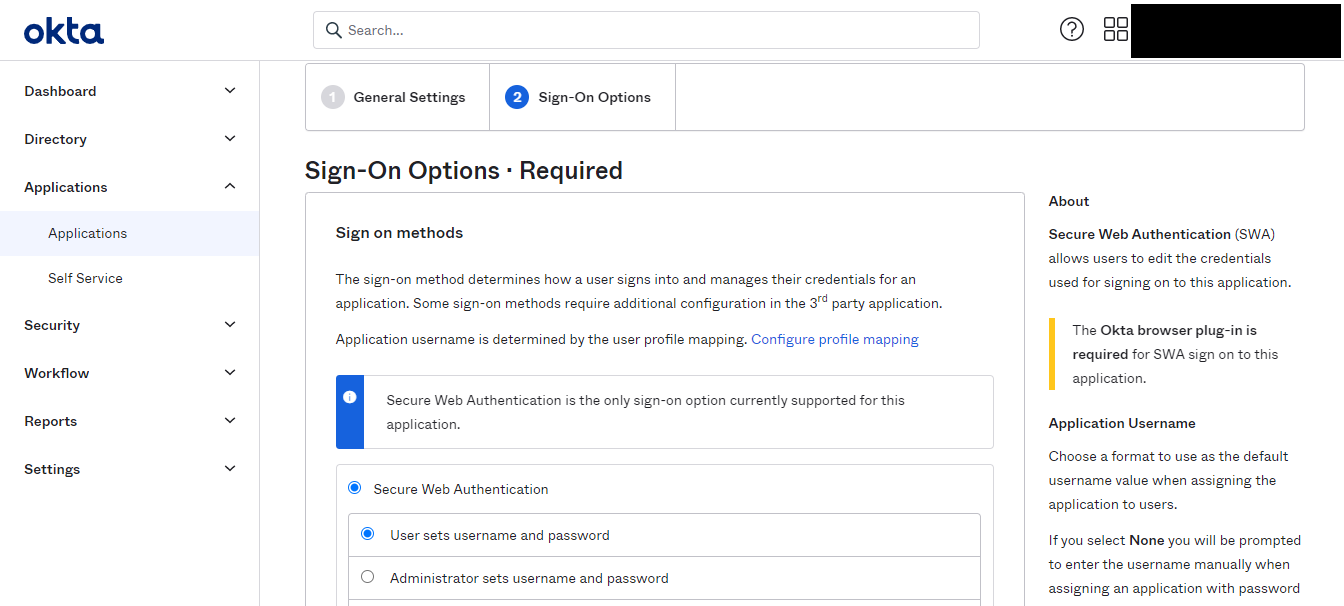
4. In step 2, you must set up how the login authentication will happen. You can choose whether a user will set up their account credentials on Outgrow or whether you will be setting up the credentials.
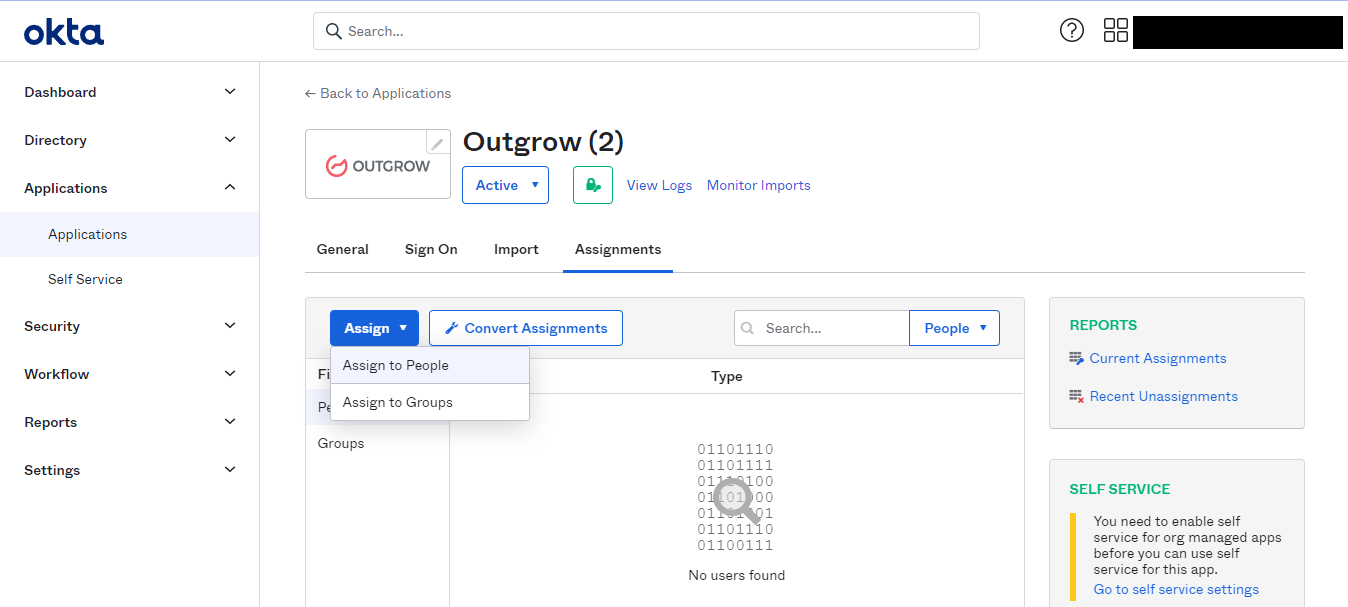
5. In the next step, specify the users or groups of users who will have access to the Outgrow app within the Okta dashboard.
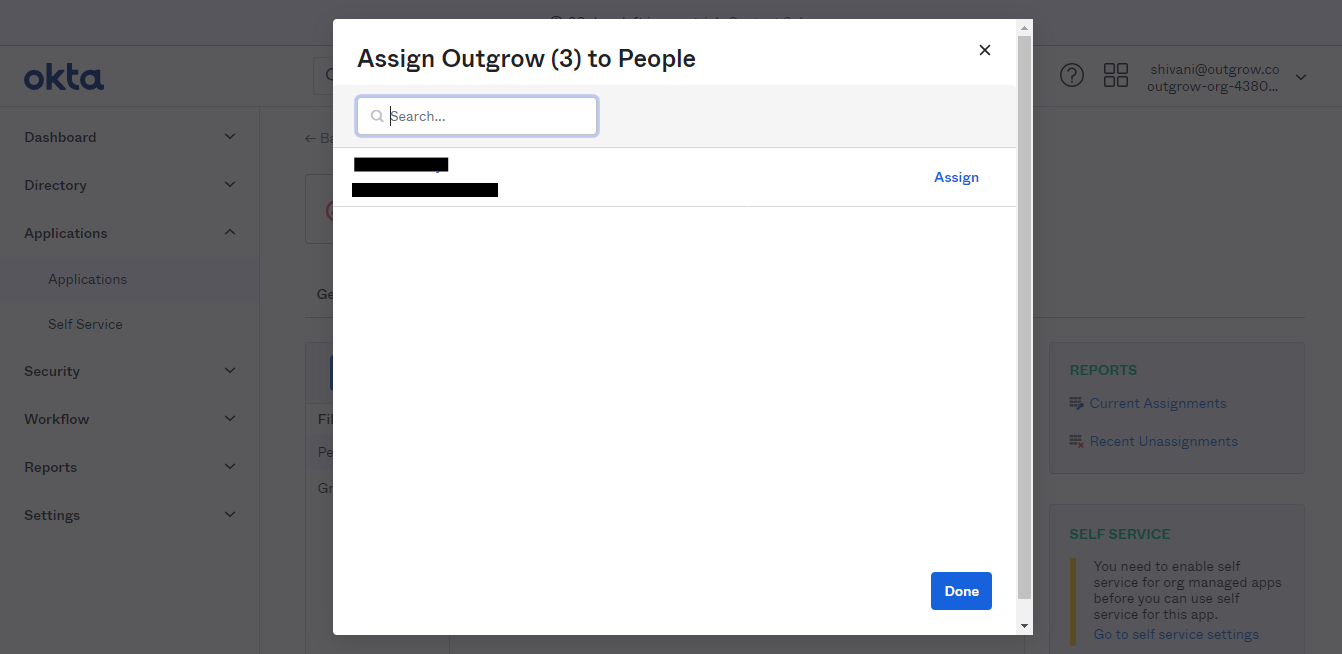
6. Once you specify the appropriate people or groups, click Assign and toDone.
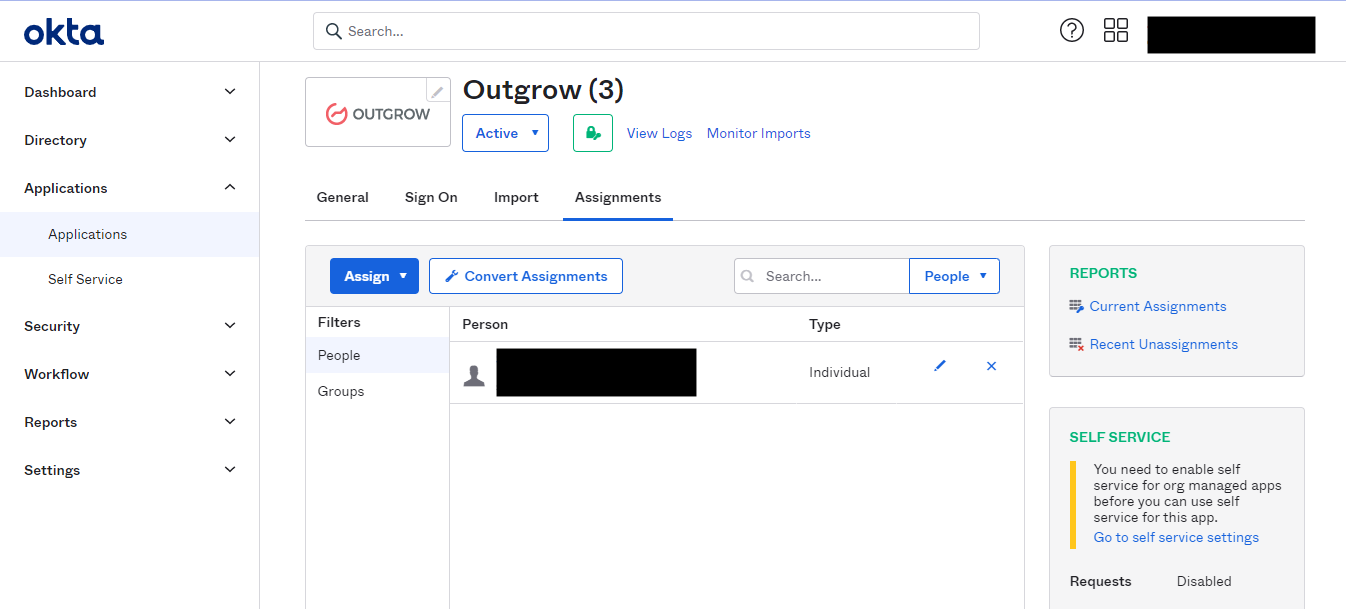
7. Once you click on Done, the Outgrow app will be added to the dashboard, and users who have access to the app will also be able to use it.
8. the Too access Outgrow app, users must log in to their Okta dashboard.
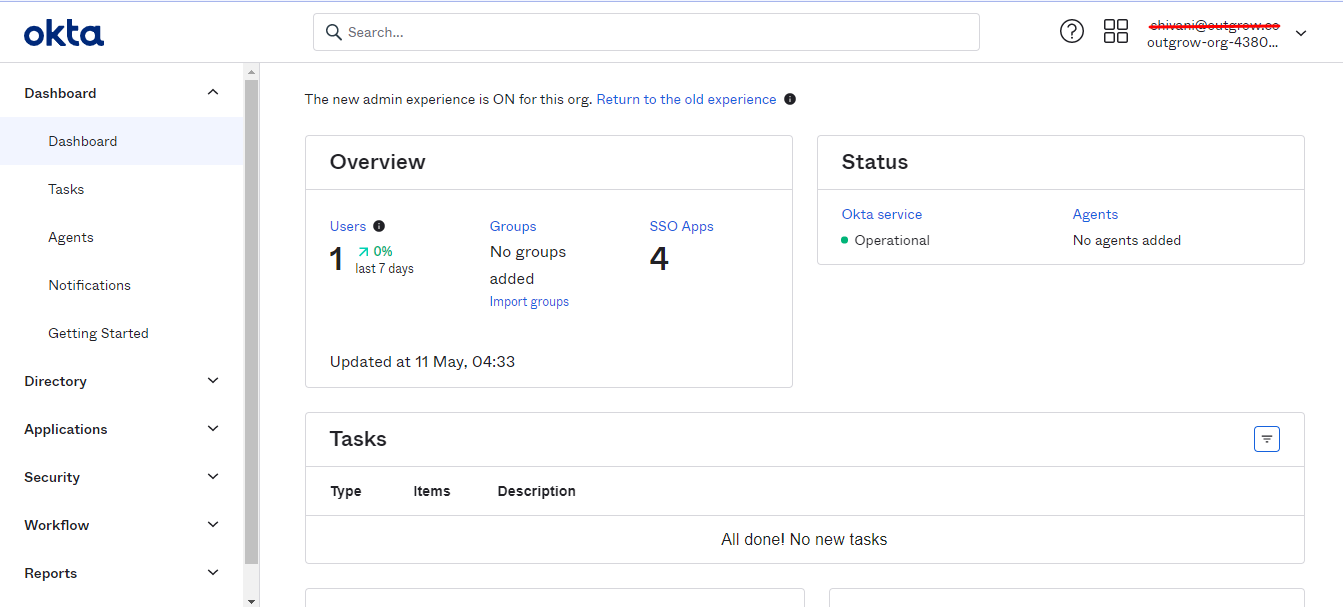
9. Once that is done, click on the Outgrow app in your dashboard.
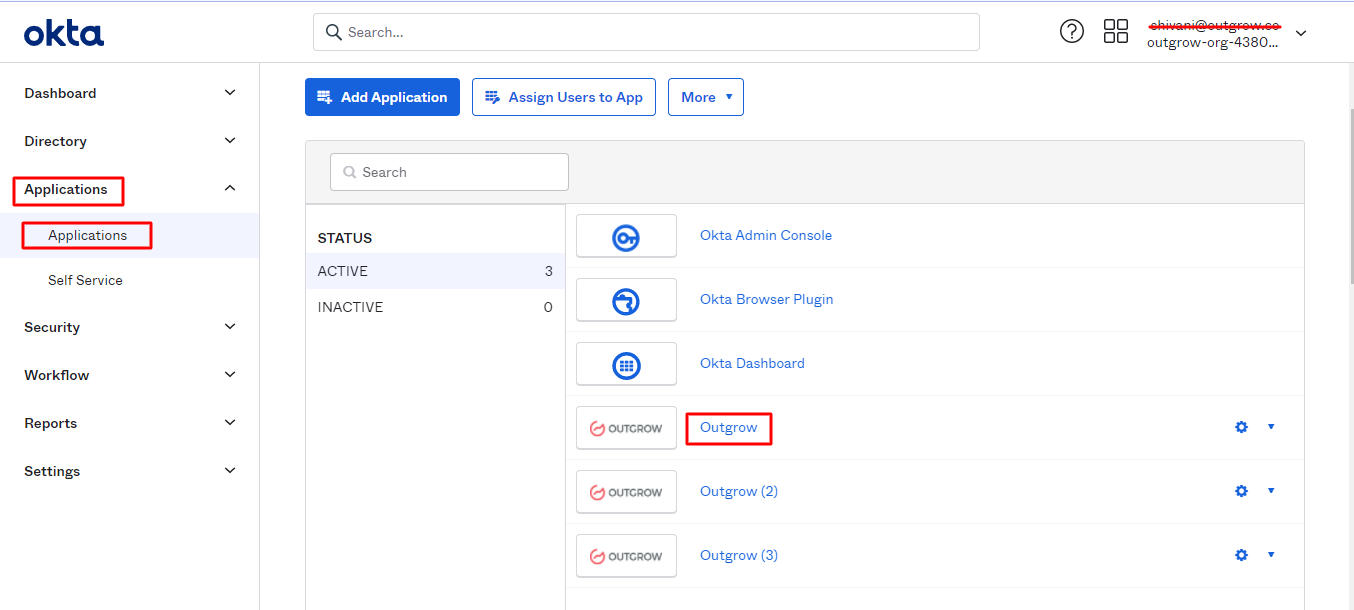
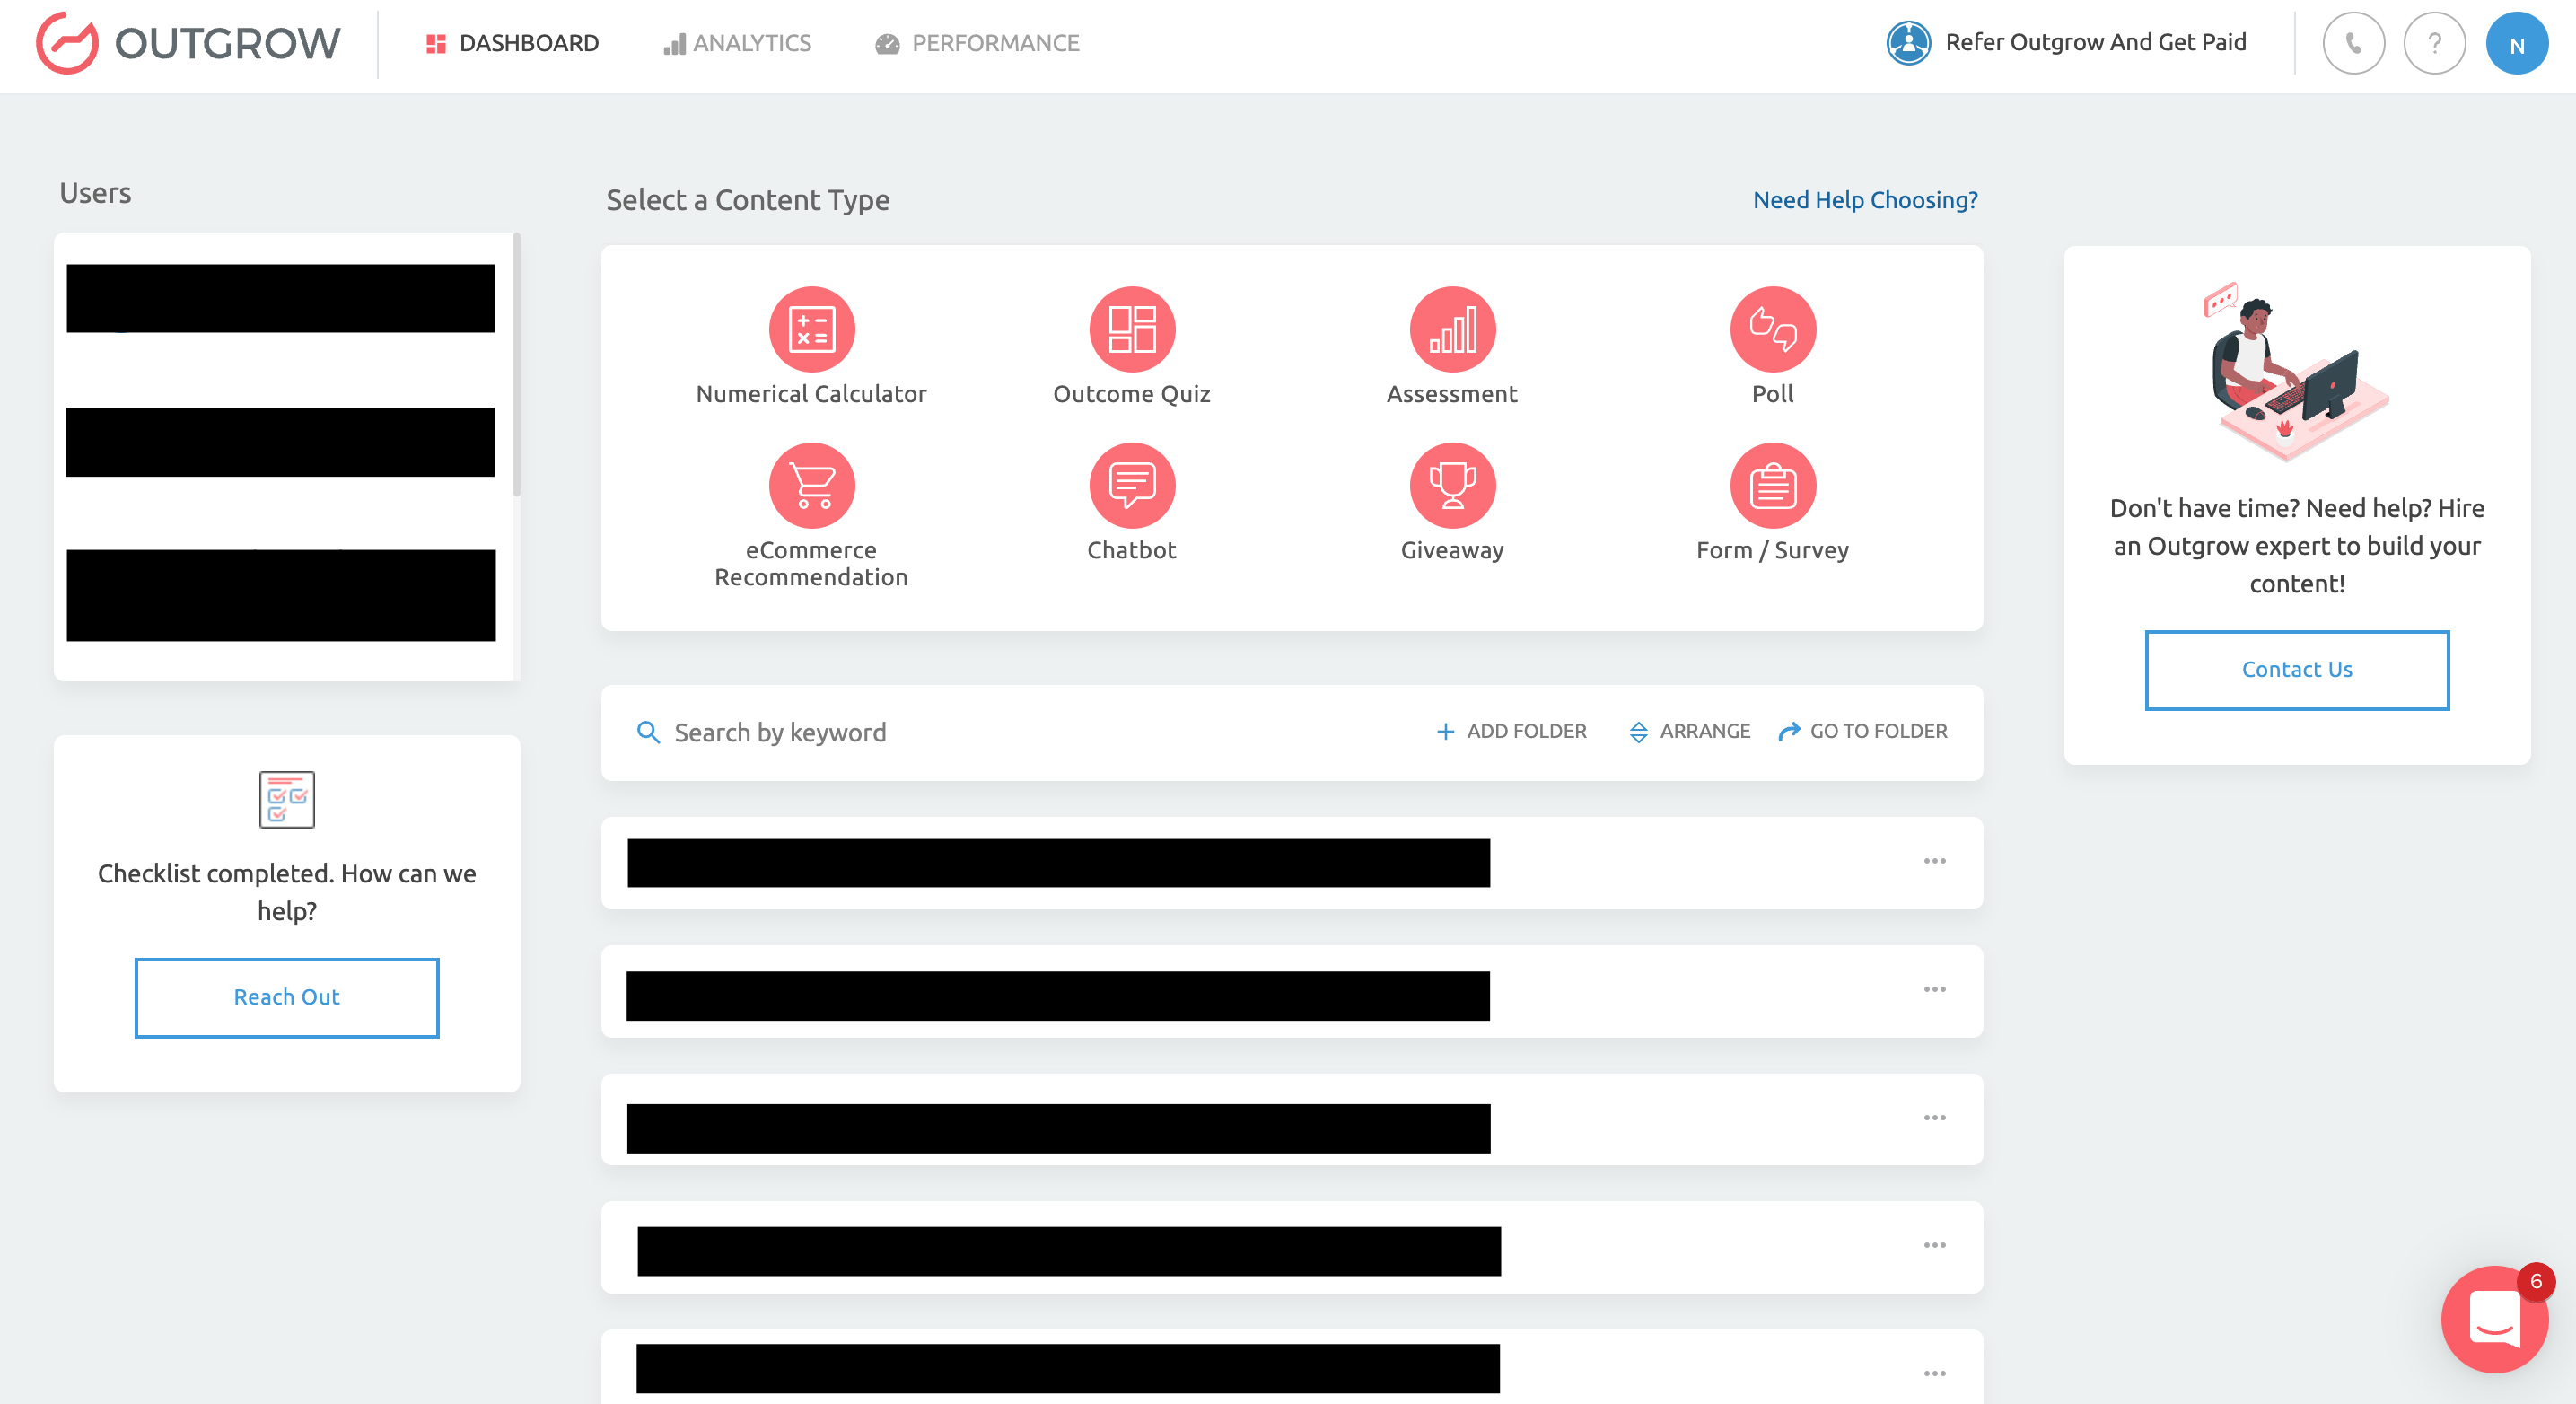
10. Once a user clicks on the Outgrow app, it will redirect the user to the Outgrow dashboard.
Configuring SSO using SAML
1. The first step is to add Outgrow as an app in Okta. To do this, you need to login to your Okta dashboard and click on Add App under The Essentials.
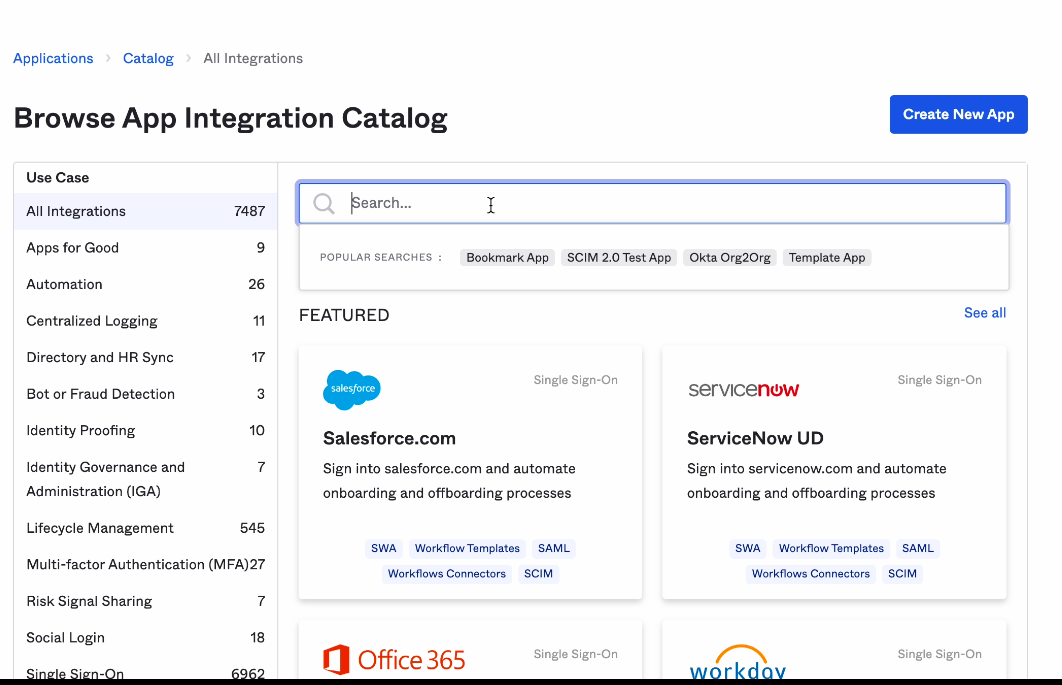
2. In the Add Application dashboard, click on Create New App.
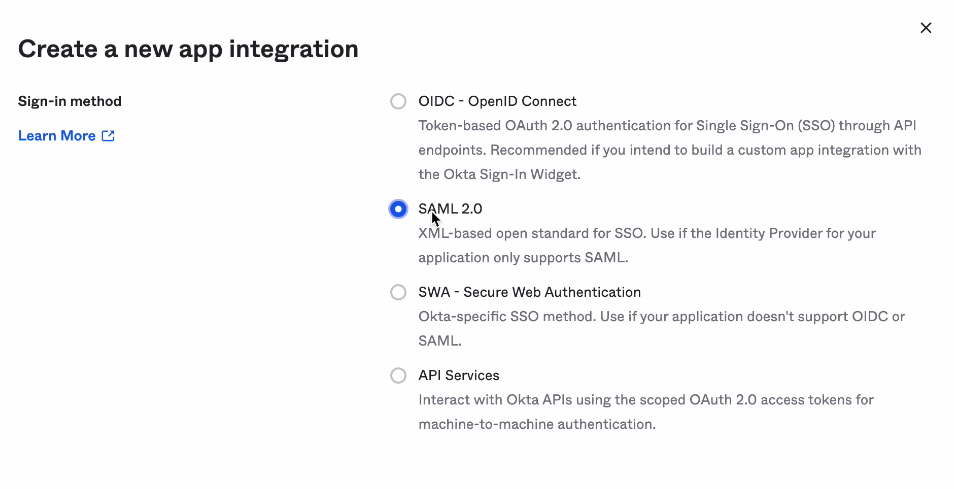
3. In the Create A New App Integration, select SAML 2.0 and click on Next.
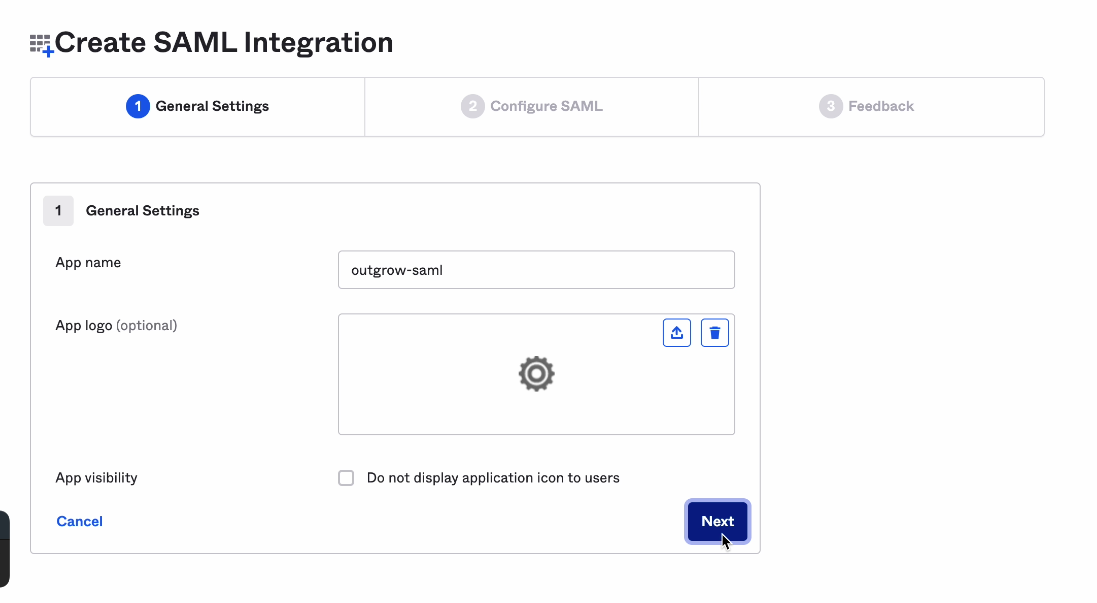
4. In the next step, specify an App Name for the new SAML Integration app. Click on Next.
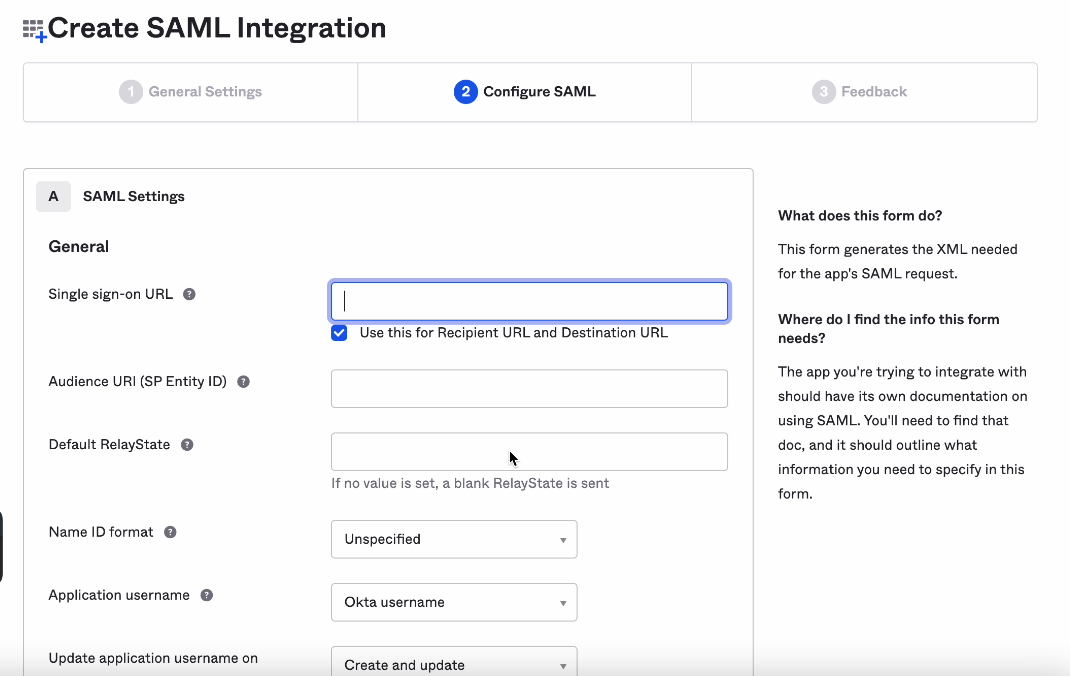
5. In the Configure SAML section, specify the Single Sign On URL in the General section. You must also set your Audience URL (SP Entity ID).
IMPORTANT NOTE
For the Single Sign On URL, the URL will be api-calc.outgrow.co/api/v1/auth/login/sso/callback/youroutgrowsubdomain.
For the Audience URL, the URL will be app.outgrow.co/saml/youroutgrowsubdomain/acs
NOTE: Replace the word youroutgrowsubdomain in the URL, with your actual Outgrow subdomain.
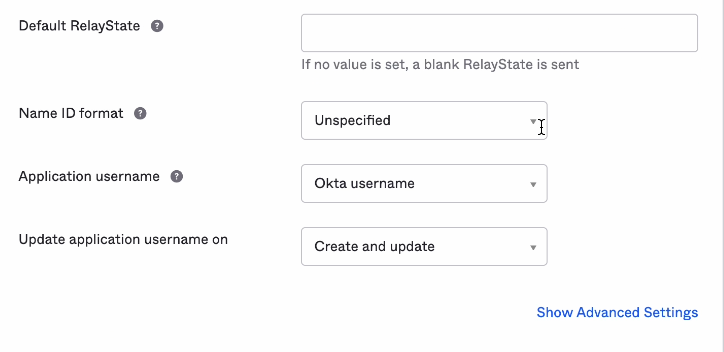
6. For Name ID Format, Application User, and Update Application Username On, select the following values and click on Next.
A. Name ID Format: Unspecified
B. Application Username: Okta Username
C. Update Application Username On: Create And Update
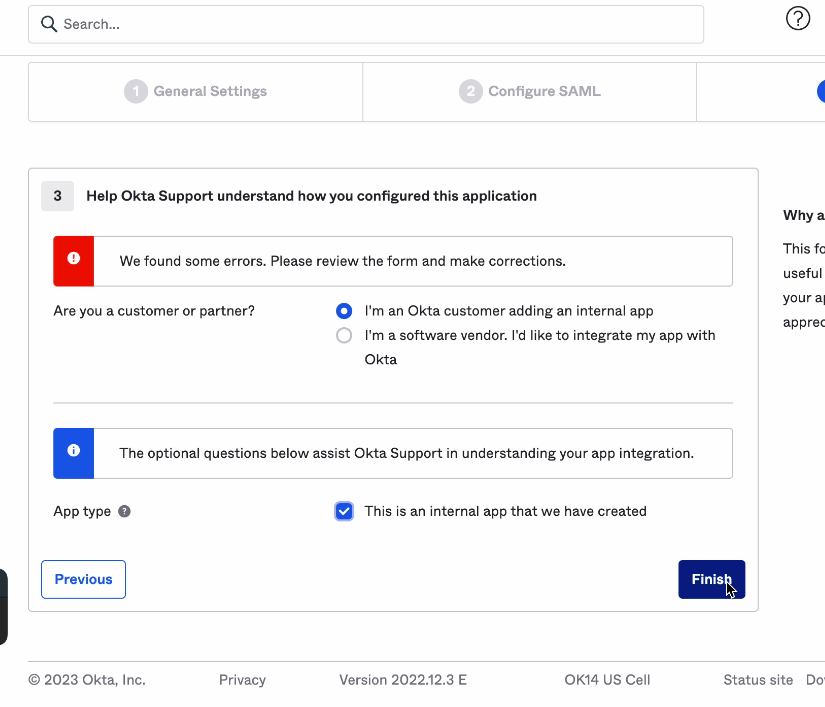
7. Now, in the Feedback section, for Are you an Okta Customer or Partner, choose the option I am an Okta customer adding a new app. For App Type, choose This is an internal app that we have created. Click on Finish to save the settings.
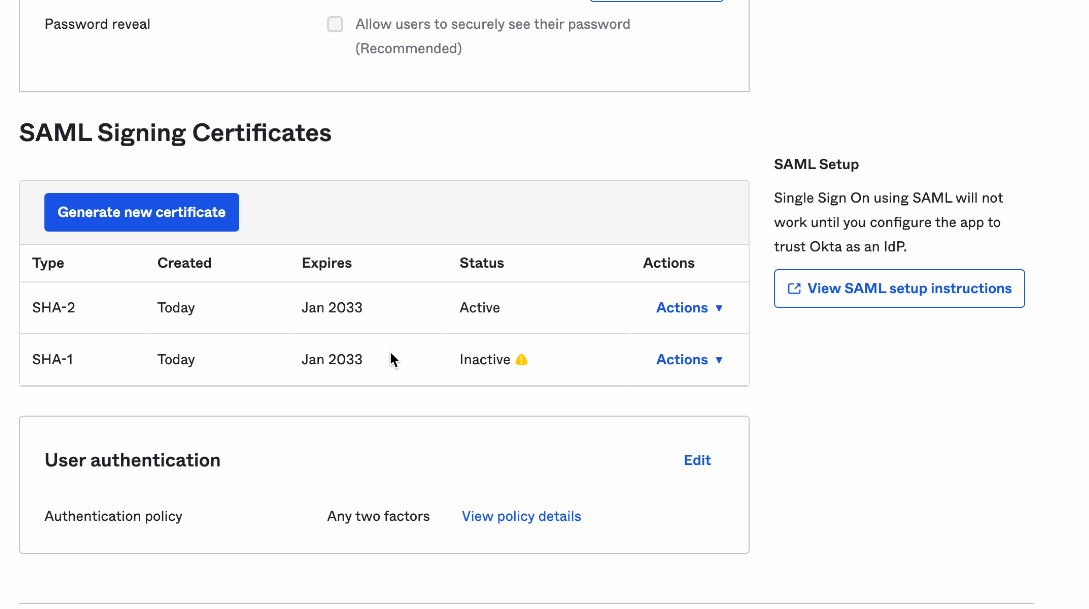
8. Now navigate back to the app dashboard and down to the SAML Signing Certificates section. Now, under SAML Setup, click on View SAML Setup Instructions.
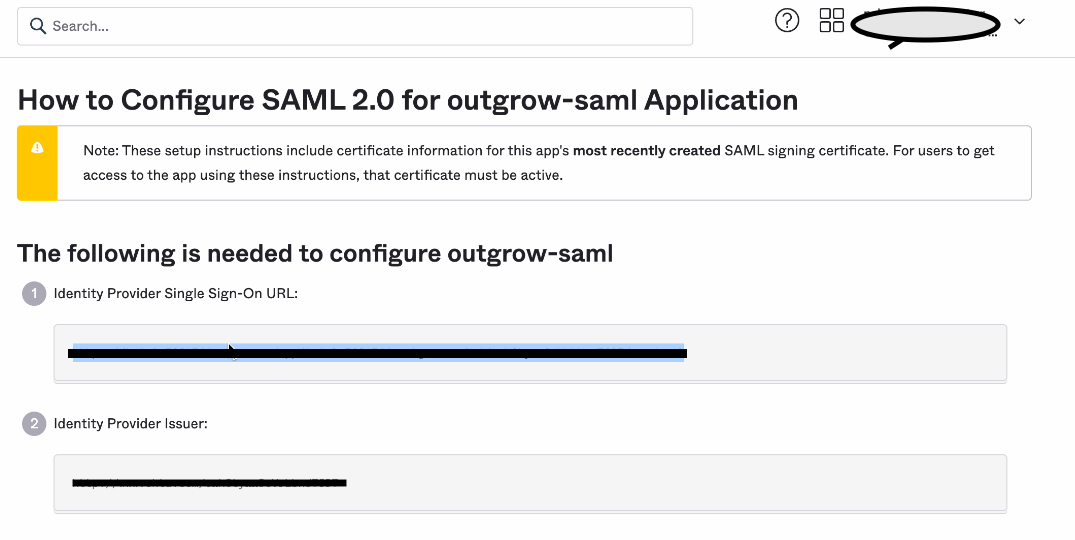
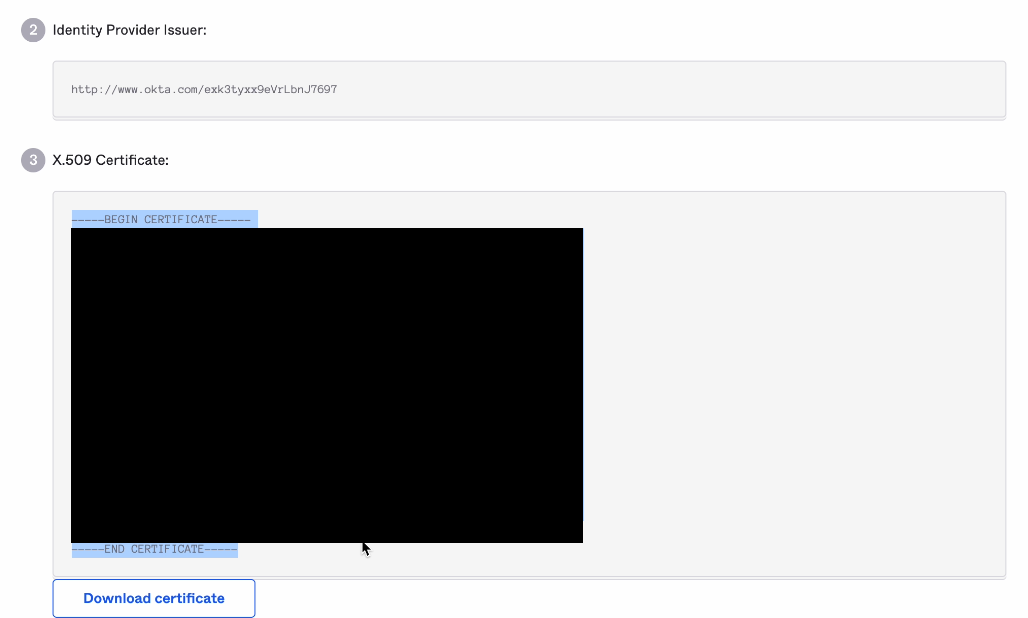
9. From the How to configure SAML 2.0 instruction section for the newly created SAML app, you need to copy the Identity Provide Single Sign On URL, which we will be adding in Outgrow.
10. From the How to configure SAML 2.0 instruction section for the newly created SAML app, you must copy the X.609 Certificate, which we will be adding in Outgrow.
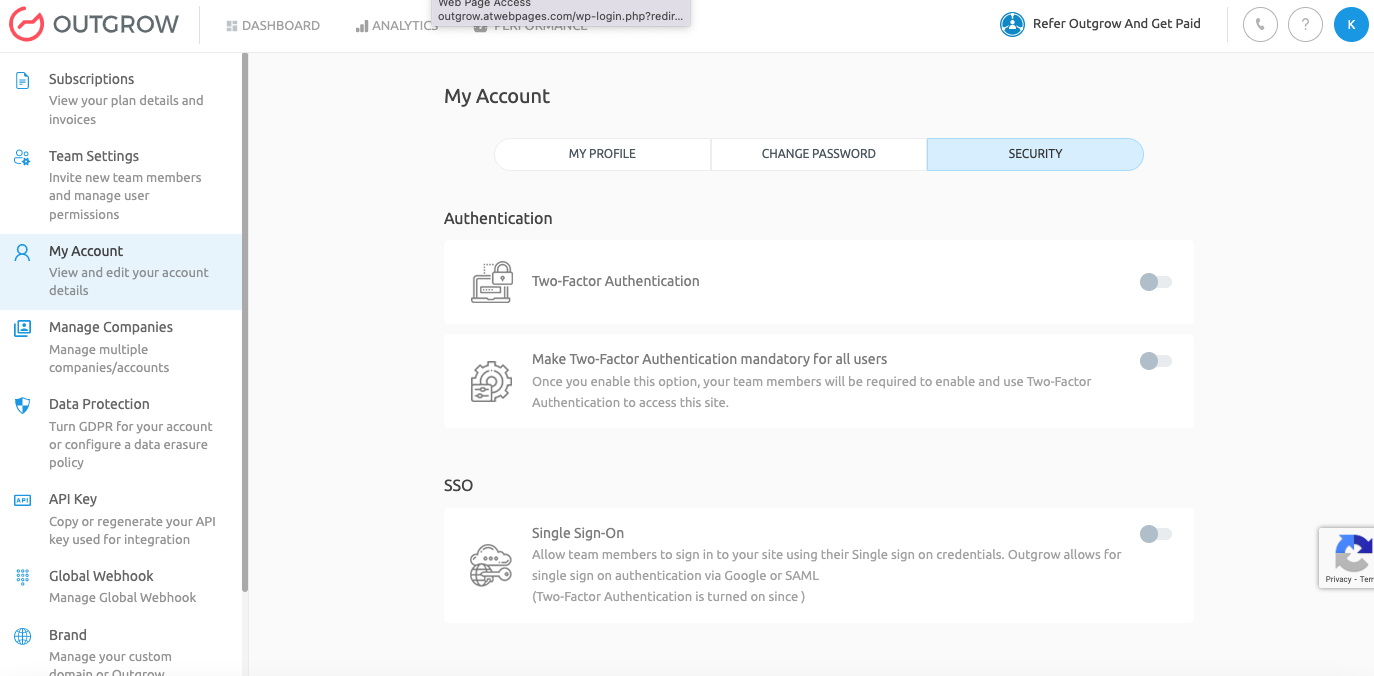
11. Login to your Outgrow account, and click on your name at the top to navigate to Billings & Settings. Under Billings & Settings, navigate to My Account and click the Security tab. Turn the toggle on for SSO.
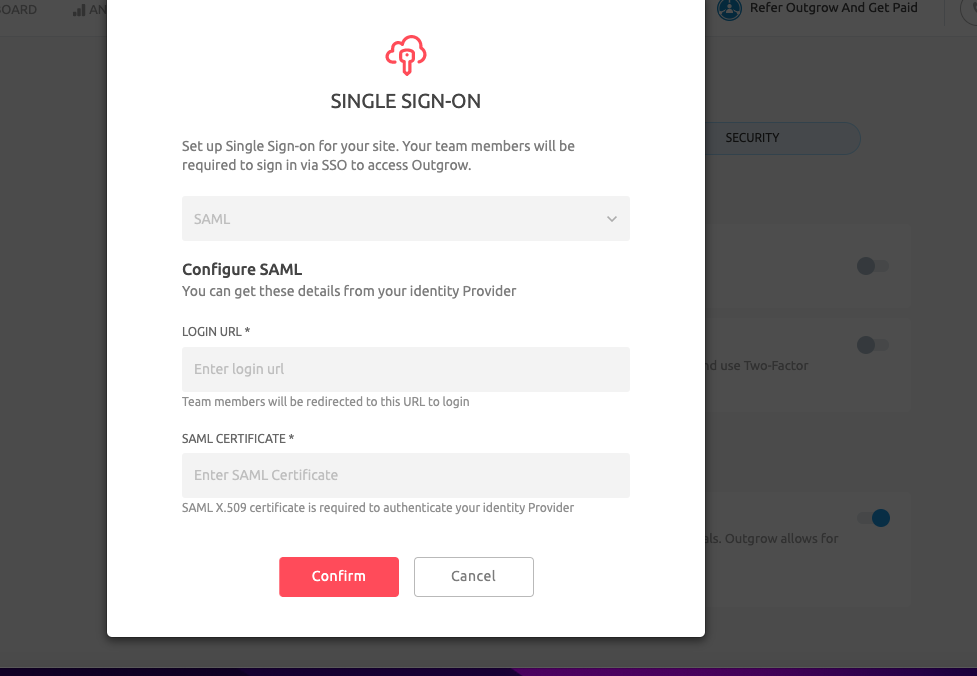
12. Add the Identity Provide Single Sign On URL that you copied from Okta to the Login URL field in Outgrow. Add the content of the X.609 field from Okta to the SAML Certificate field in Outgrow. Click on Confirm to save the settings.
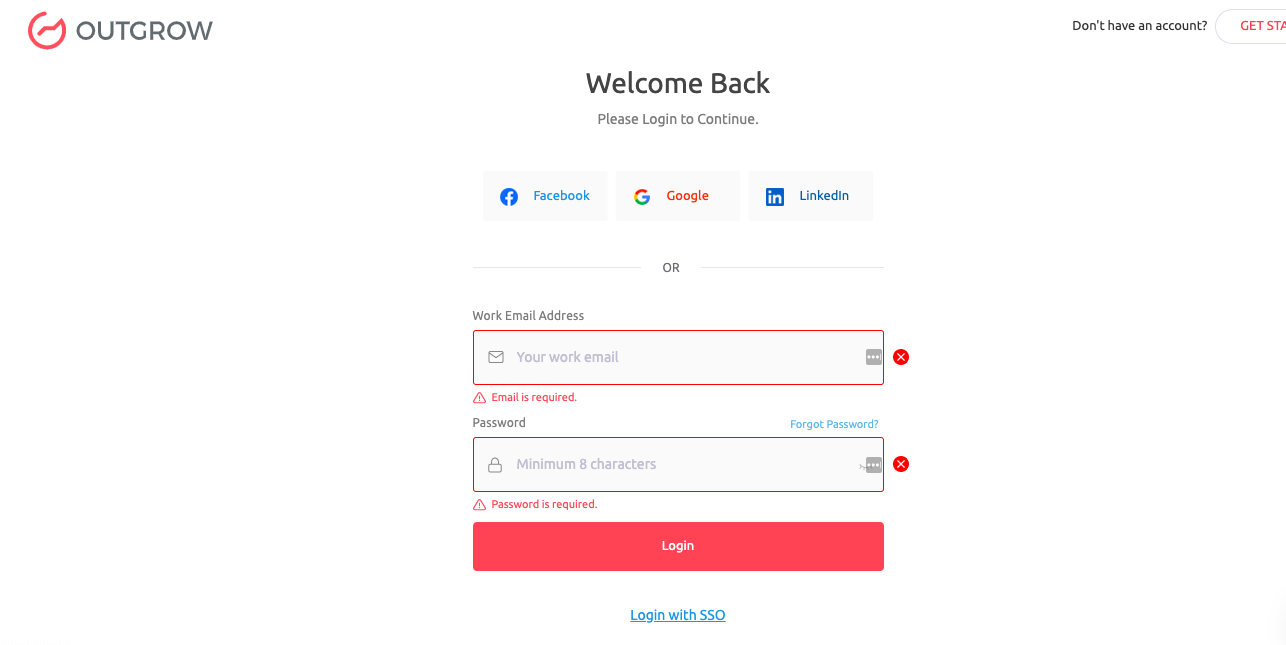
13. Now, you can log in to your Outgrow account using the Login With SSO option.
If you have any questions or concerns, please feel free to contact us at [email protected], and we will be happy to assist you further.
Updated over 1 year ago