Custom Style Sheets in Outgrow
You can add custom styling to your Outgrow interactive content using the Custom Style Sheets feature.
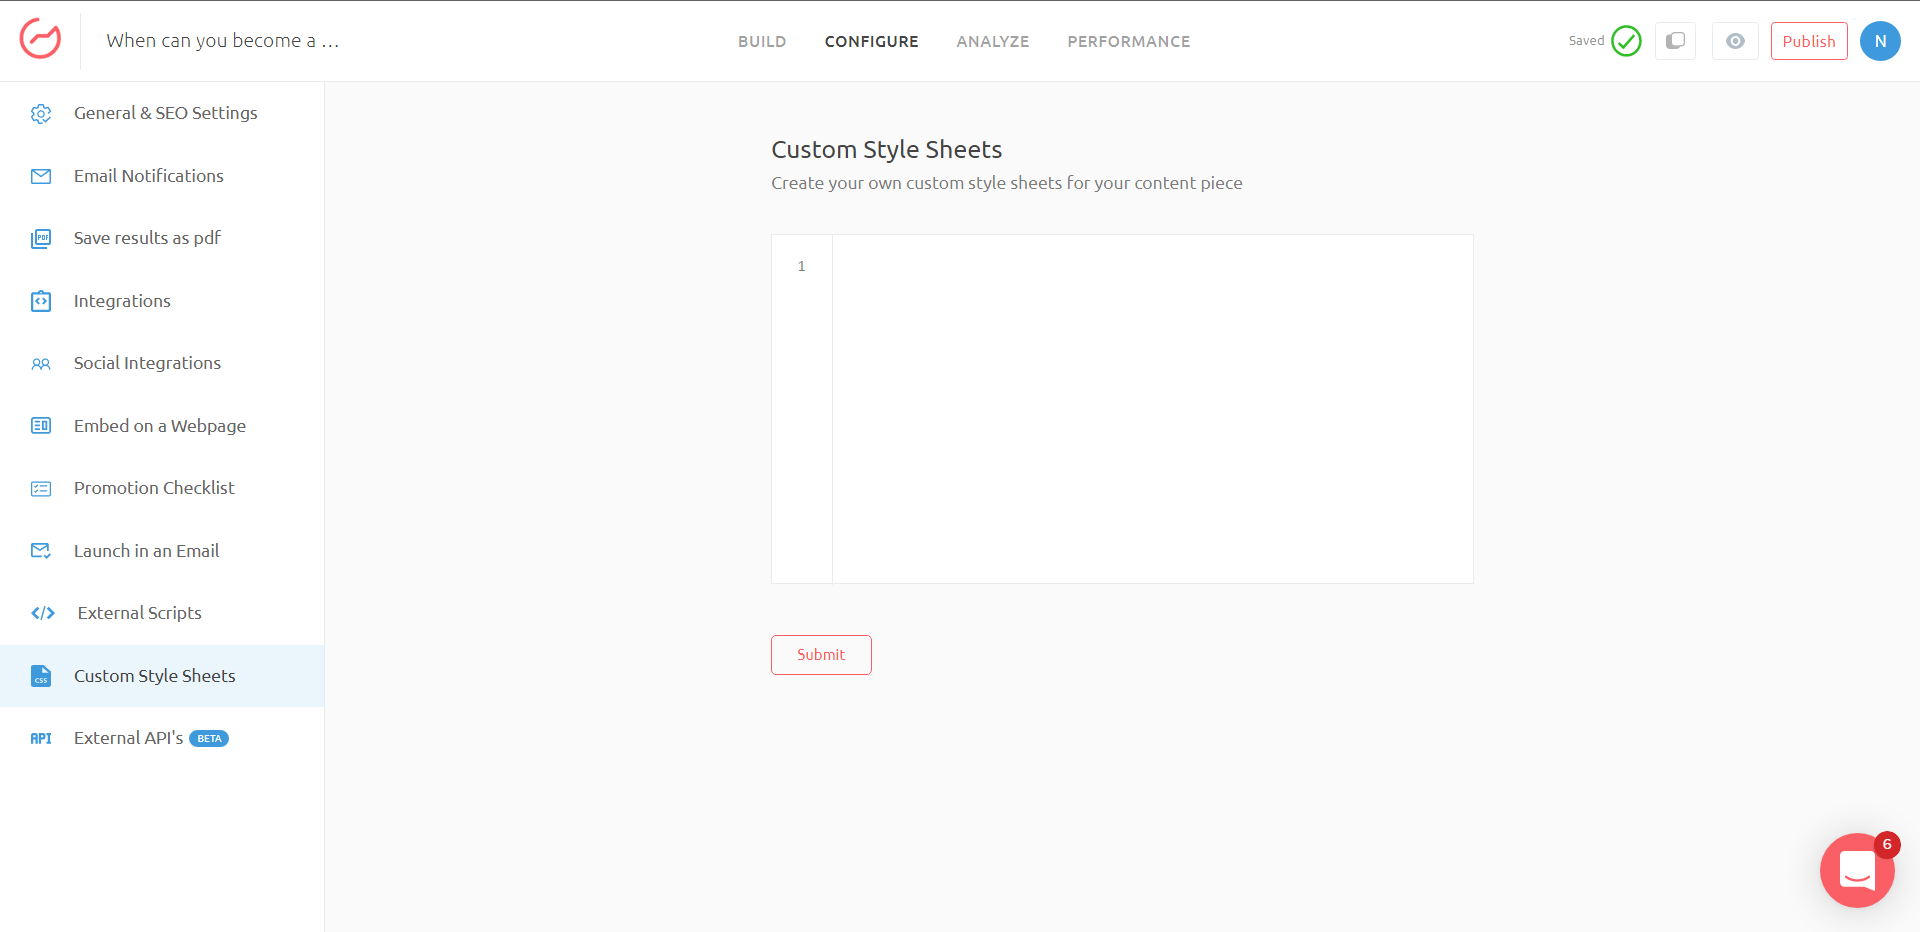
For adding CSS code in your Outgrow content you need to navigate to the Configure tab in the respective content's builder dashboard, and then you need to navigate to Custom Style Sheets sub-tab.

Start adding the CSS code to tweak the look and feel of your interactive content. Don't forget to hit submit once you are done.
Few style tweaks that can be done using CSS
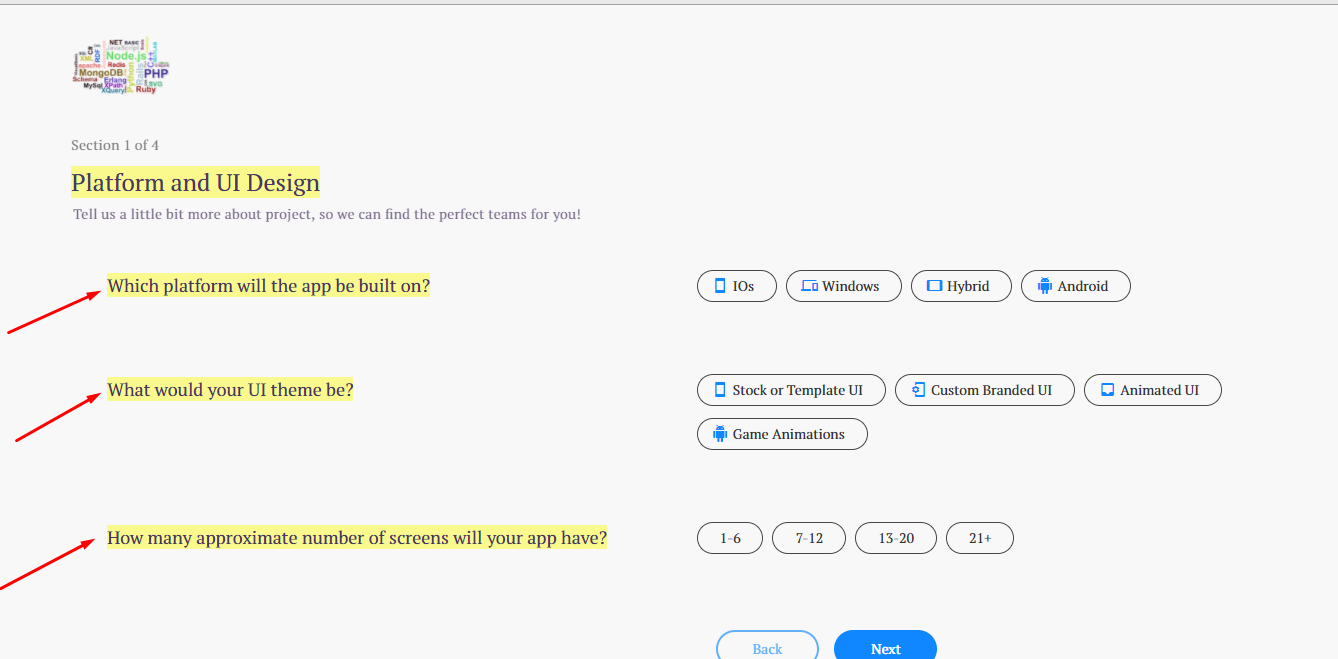
1. Add following code to remove the question numbers from Madrid template.
.question-number{display:none;}
Run your calculator to see the Stylesheet in action:

2. Change the color of the button:
.outgrow-b{ background: #000;}
3. Change the size of the button text:
.outgrow-b{ font-size:36px;}
3. Change the radius of button's border:
.outgrow-b{border-radius: 50px !important;}
4. CSS to increase the size of the button:
.outgrow-b{font-size:26px; padding: 25px 50px;}
5. Increase the opacity of Lead generation overlay on Results:
.lead-popup{ background-color: rgba(0,0,0,1); }
6. To change the color of the box for a correct (Green) or incorrect (Red) answer in a graded quiz:
Green -
.graded-msgbox.green{ background: #000 !important;}

Red -
.graded-msgbox.red {background: #18bacd !important;}
NOTE - Paste the code for the respective option under Custom Stylesheets. Also, replace the hex code with the respective color code that you want to go for.
7. To increase the Height & Width of the text box, you can enter the below-mentioned code:
.t1-question .question-components input{ width: 400px; height:100px;}
NOTE - With this only the height or width increases. For multiple lines, you should use which will allow multiple lines in a box.
8. To change the border color, enter the below-mentioned color under Custom Stylesheet section:
.page_0.t1-landing {
    border-color: #000 !important;
}
.page_0 .t1-question, .page_0.t1-question, .page_1 .t1-question, .page_1.t1-question, .t1-result{
    border-color: #000 !important;
}
9. To change the size of the Lead Gen box on the results page of Londoner template:
.leadform-outer.result-scrolling.new-lead2, .leadform-outer.result-scrolling.new-lead3{
    max-height: calc(40vh - 25px);
}
10. To change the size of the option in Stockholm template, use this code:
.pic-selector label.control { background-size: 95% !important; }
11. To increase the disclaimer font text, use this code in the CustomStyleSheet section:
// Increase as per requirement
.common-result-main .common-result-bot-icons .crb-left .t1-result-disclaimer {
    font-size: 16px !important;
}
12. To increase the size of the logo on your calculator, you can enter the respective below-mentioned code in the Custom Style section:
.logo a img.horz { max-width: 160px; }
.logo a img.vert{ max-width: 70px; }
NOTE - You can increase the logo width in pixels. Logo with Horizontal Alignment is represented by img.horz and Logo with Vertical Alignment is represented by img.vert.
13. To remove the blank space at the bottom of the Londoner or Tokyo template, you can add the below-mentioned code in the Custom Stylesheet section:
.isIframe .page_1 {min-height: 100%!important;}
.isIframe .page_1 .result-fixed1{ min-height: 100% !important;}
14. To remove the capitalization from the result text in the Chicago layout, enter this code in the Custom Stylesheet section:
.t1-result-small-section .small-top-sec p:nth-child(2) {text-transform: none !important;}
In case you would like to get the CSS code for any additional tweak that you would like to make to your Outgrow content, feel free to reach out to us at [email protected], and we will be happy to assist you further.
Updated almost 4 years ago