
How to Install Outgrow App From HubSpot Ecosystem
This guide will walk you through downloading the Outgrow app from the HubSpot Marketplace and configuring the integration between Outgrow and HubSpot. This integration allows you to seamlessly sync leads generated from your Outgrow interactive content directly into your HubSpot CRM. Before starting, ensure you have:
A. An active Outgrow account with appropriate permissions
B. A HubSpot account with integration access
C. Admin or super admin permissions in both platforms
Getting Started With The Process
A. Log in to your HubSpot account.
B. In your HubSpot dashboard, click on the "Marketplace" icon or go directly to the HubSpot App Marketplace.

C. In the Marketplace, search for the Outgrow app using the search bar and select its name from the results.

D. Once the Outgrow app page is open, click on Install App.

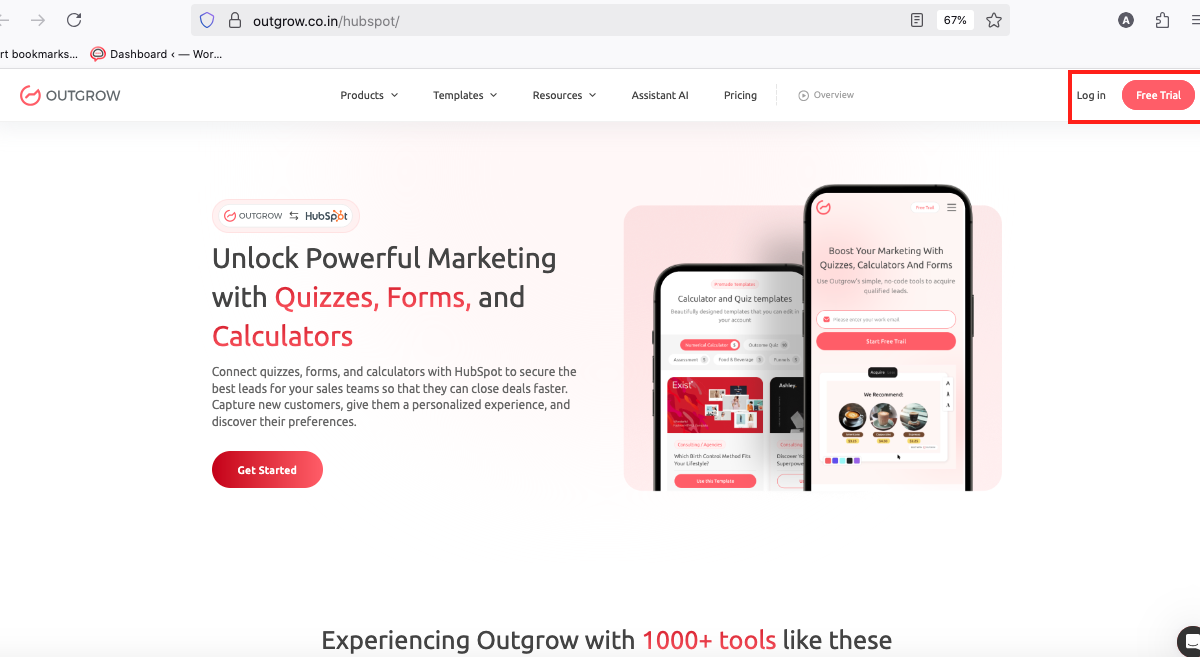
E. If you have an existing Outgrow account, click on Login; otherwise, click on Free Trial to sign up for a trial account.
F. Once you are logged into your Outgrow account, open the respective content in Build mode.
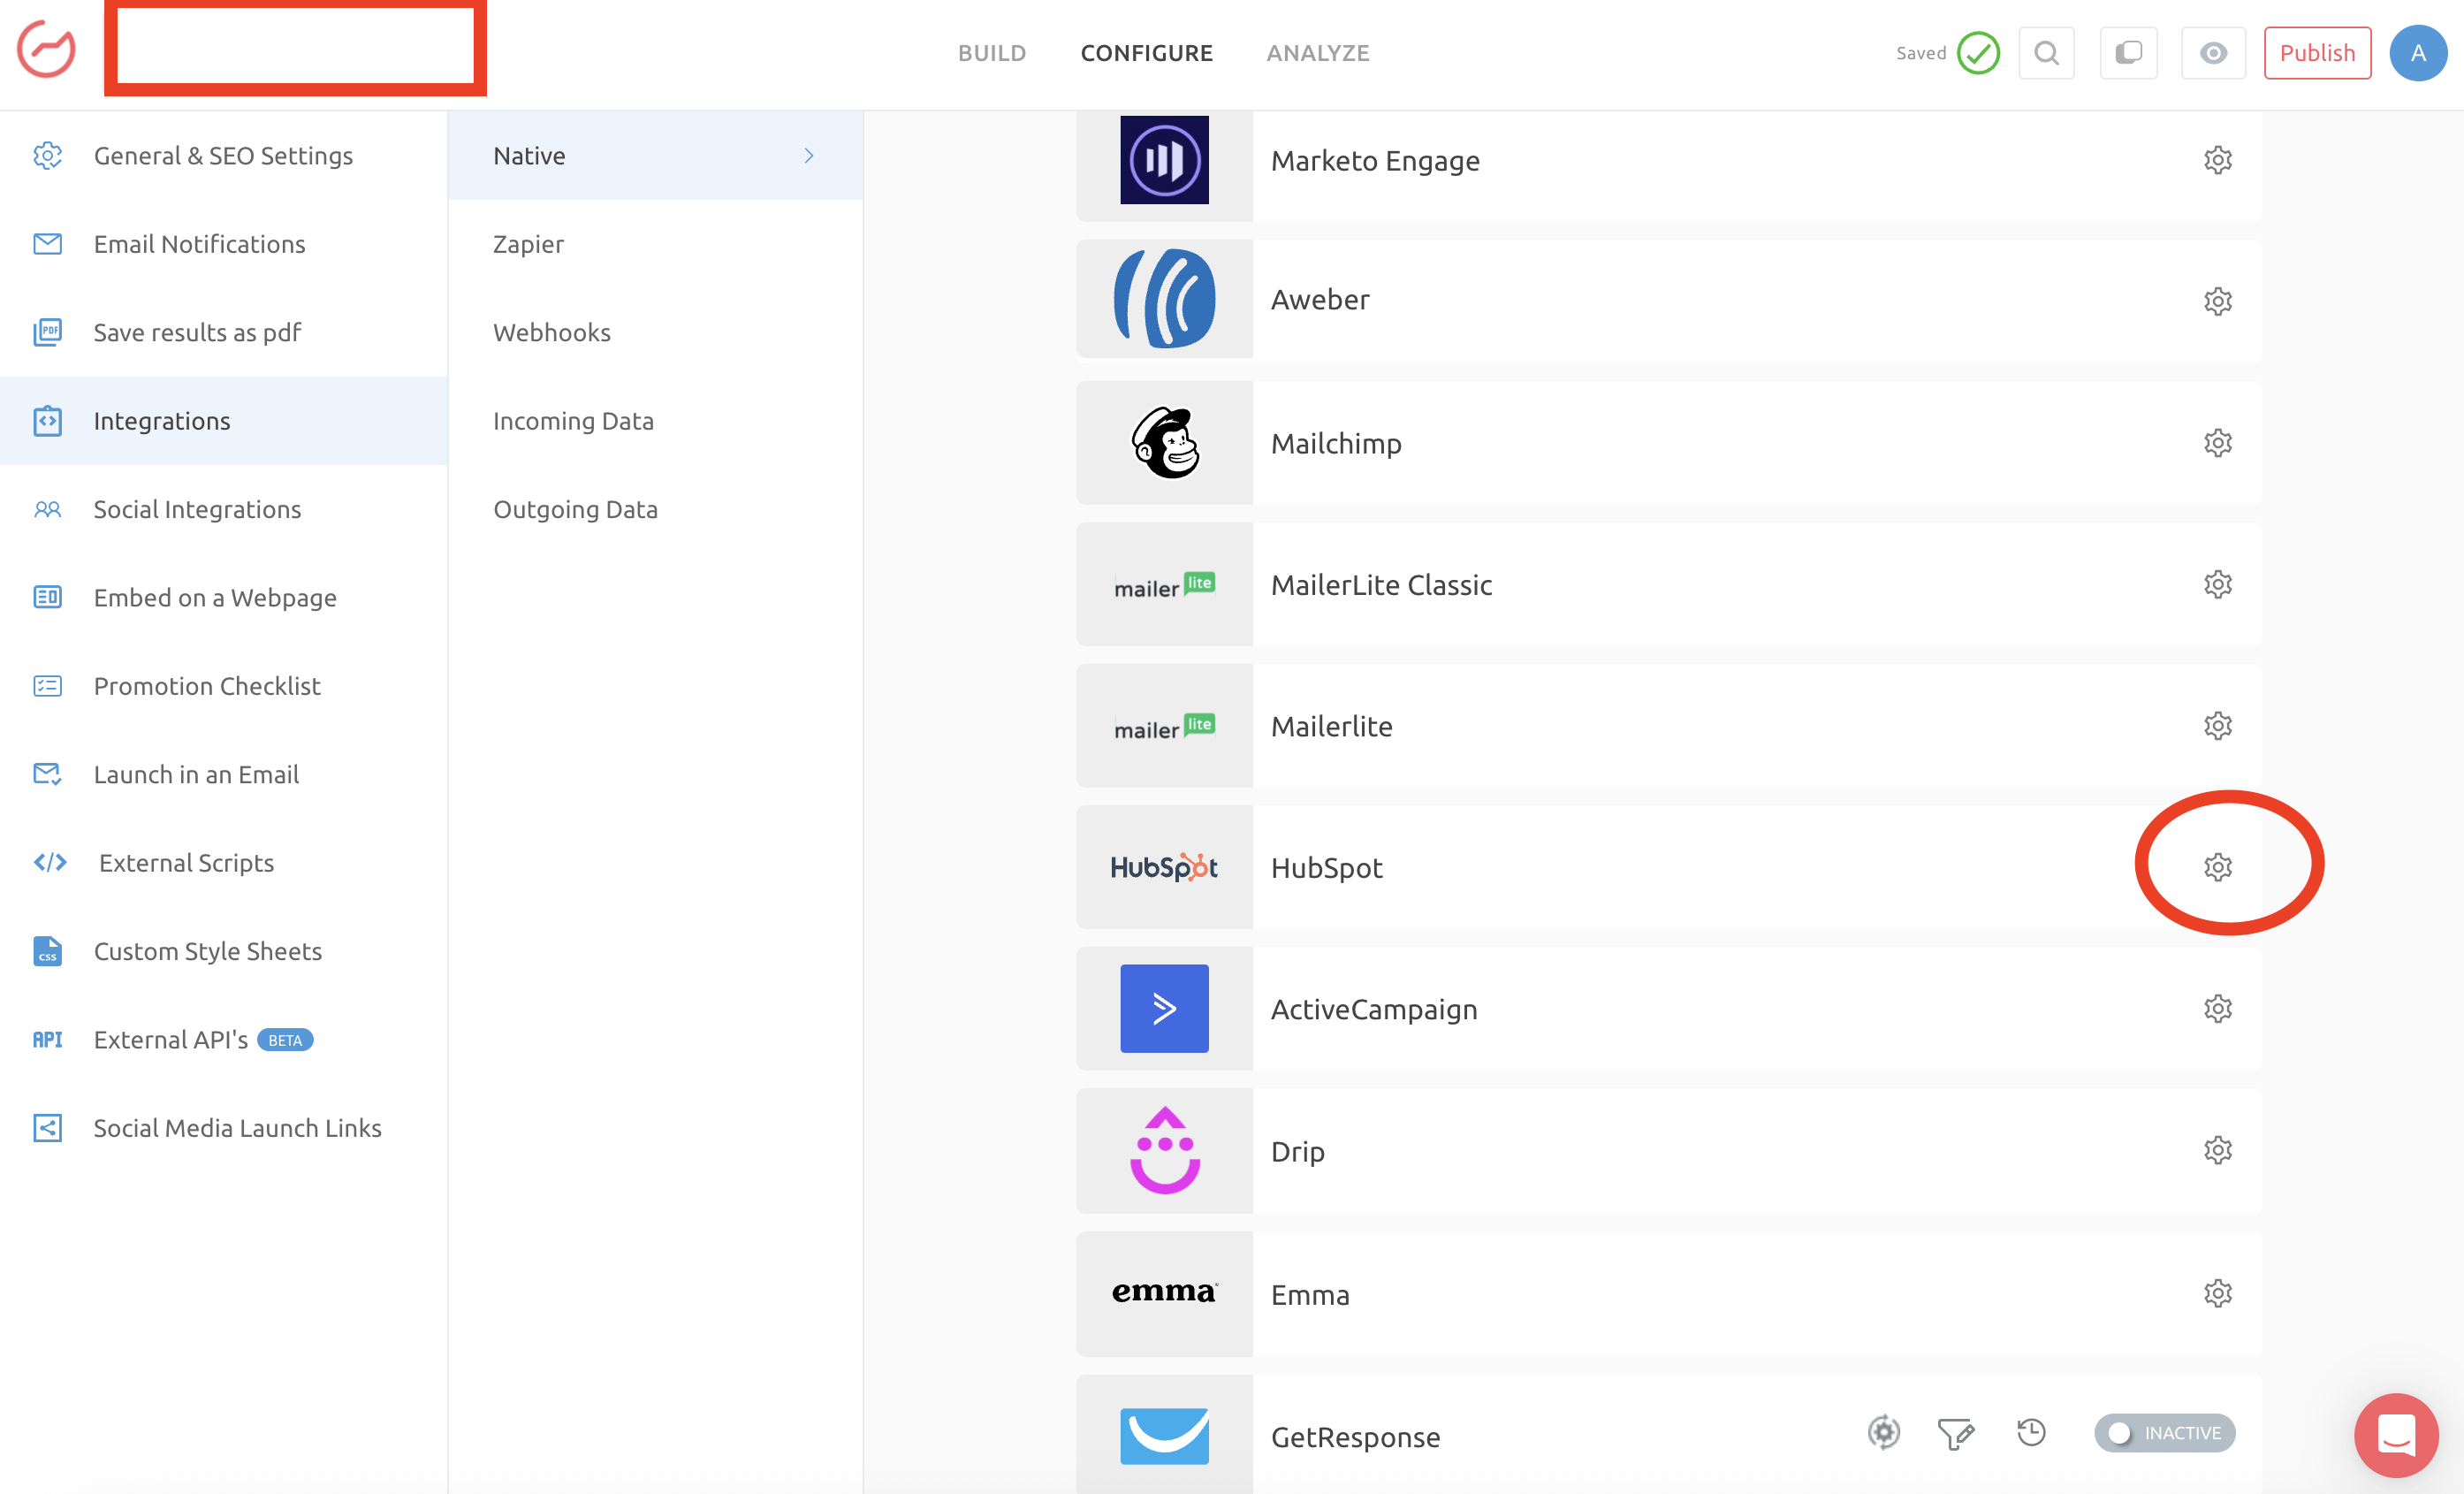
G. To start the configuration process, navigate to the Configure tab in your Outgrow builder dashboard. Click the Configure button on HubSpot Integration under the Integrations sub-tab.
H. In the integration configuration window, click on Authenticate With HubSpot.
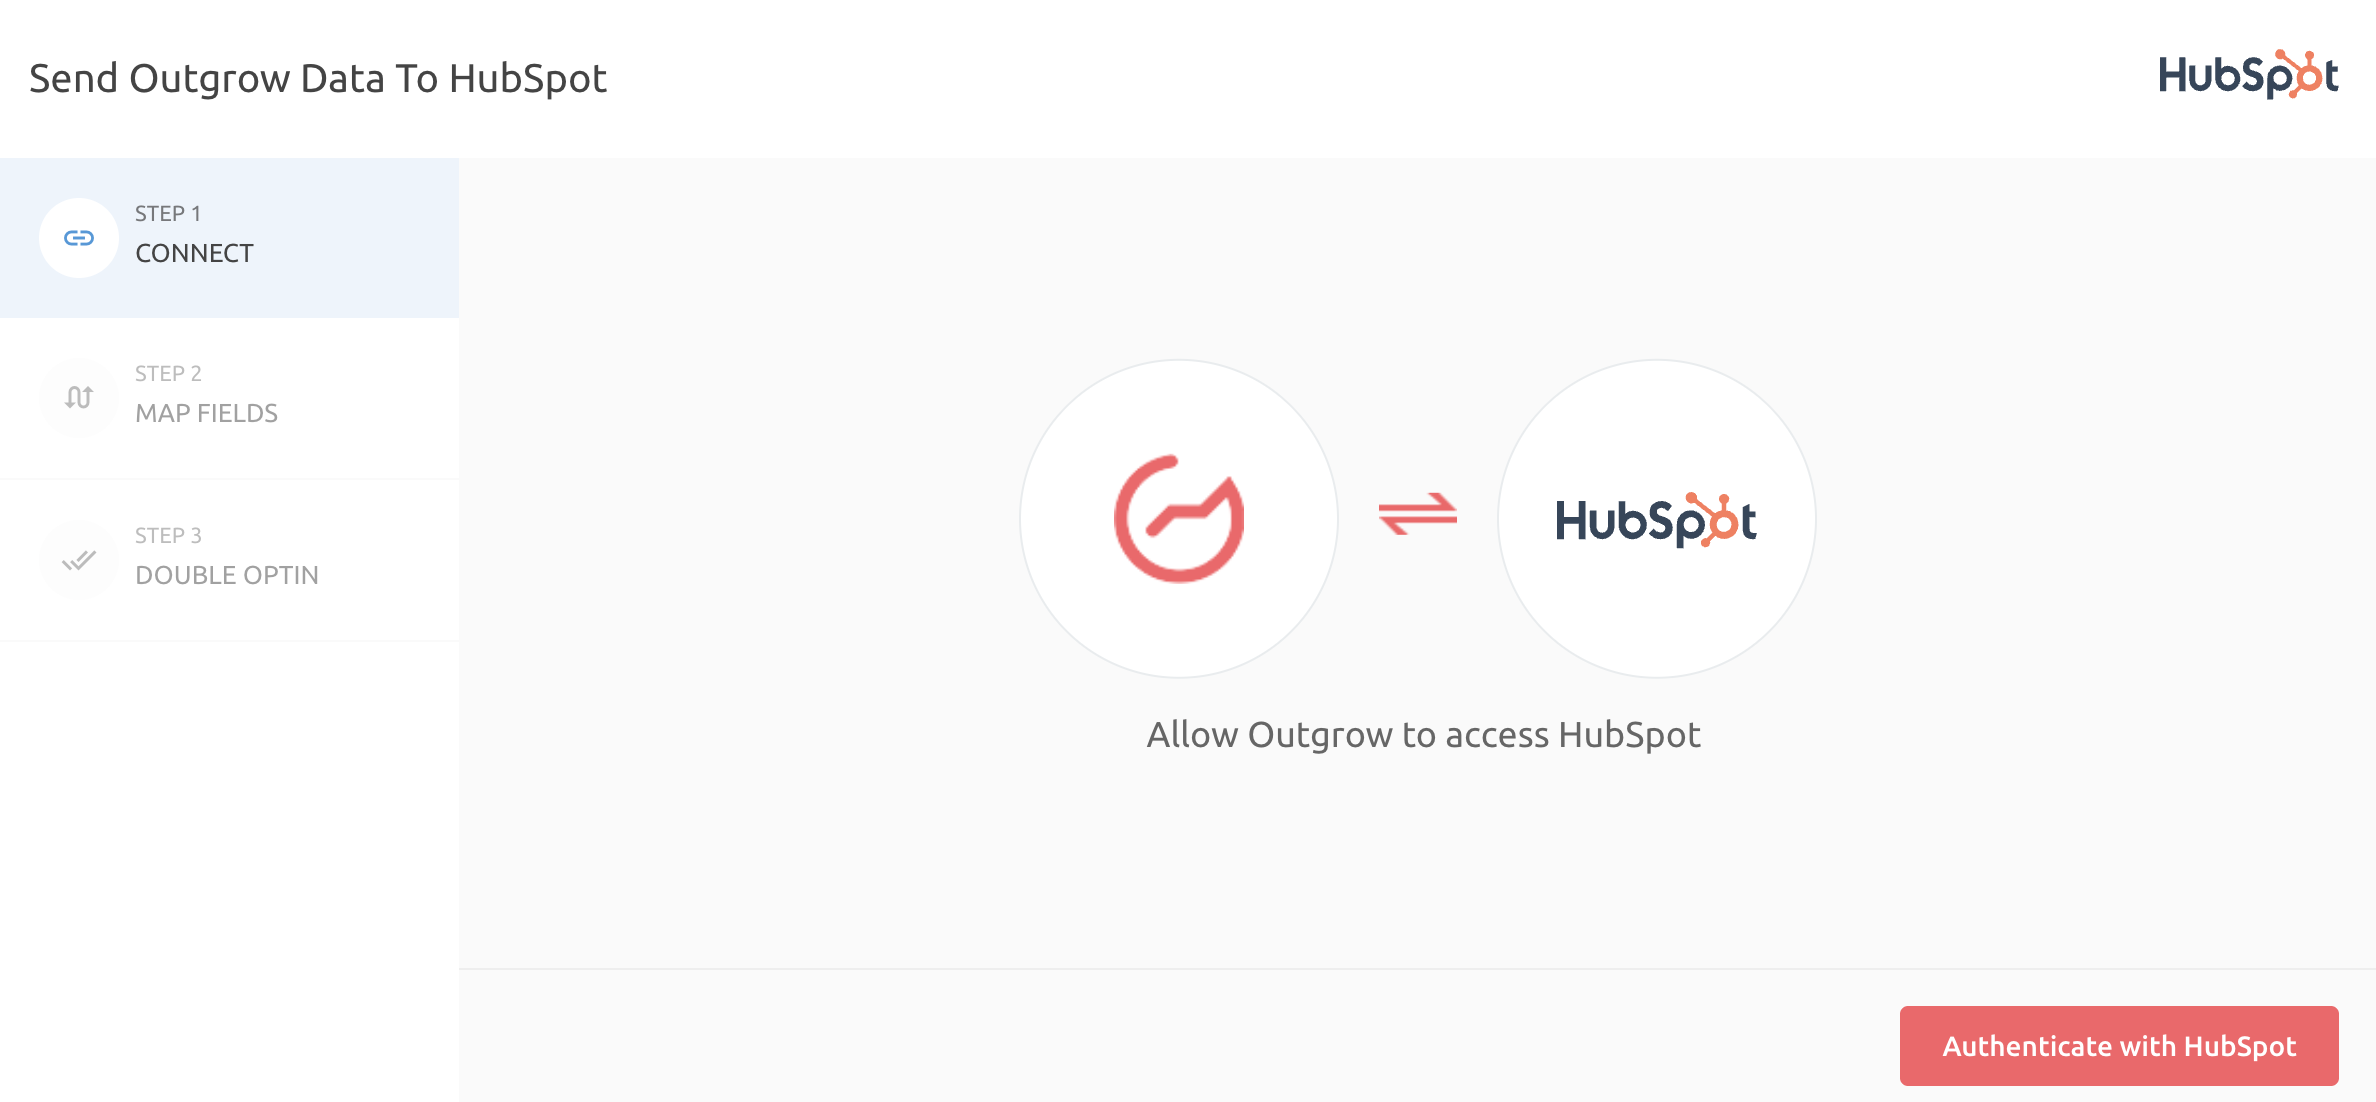
I. You can either create a new HubSpot account or log in to an existing HubSpot account.
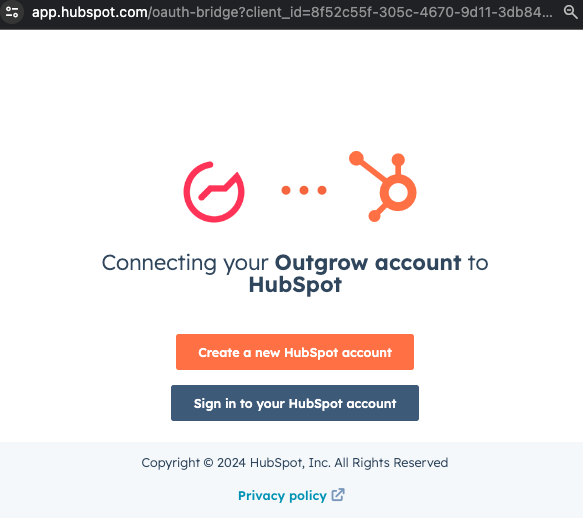
Note - Please ensure that pop ups are enabled in your web browser to see the HubSpot account login page.
J. Enter your HubSpot Username and Password to connect your HubSpot and Outgrow account.
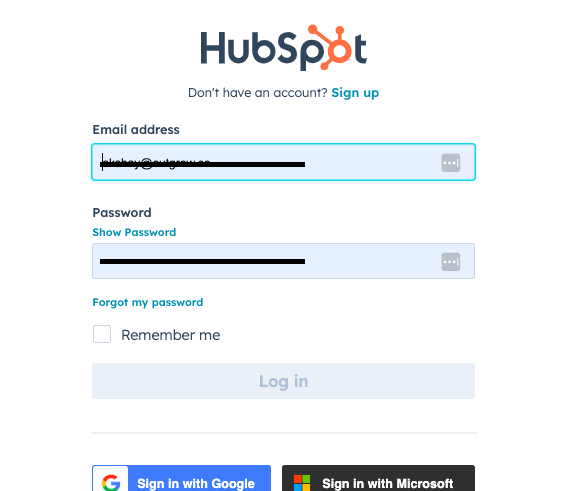
K. Choose the appropriate HubSpot account that you would like to use.

L. Give the Outgrow app access to the required permissions, and then click on Connect App.

M. Once your account is authenticated and you have selected an account for passing on leads, you can choose to Proceed With Contacts or Forms, or you can choose to Proceed With Segment to move to the field mapping section.
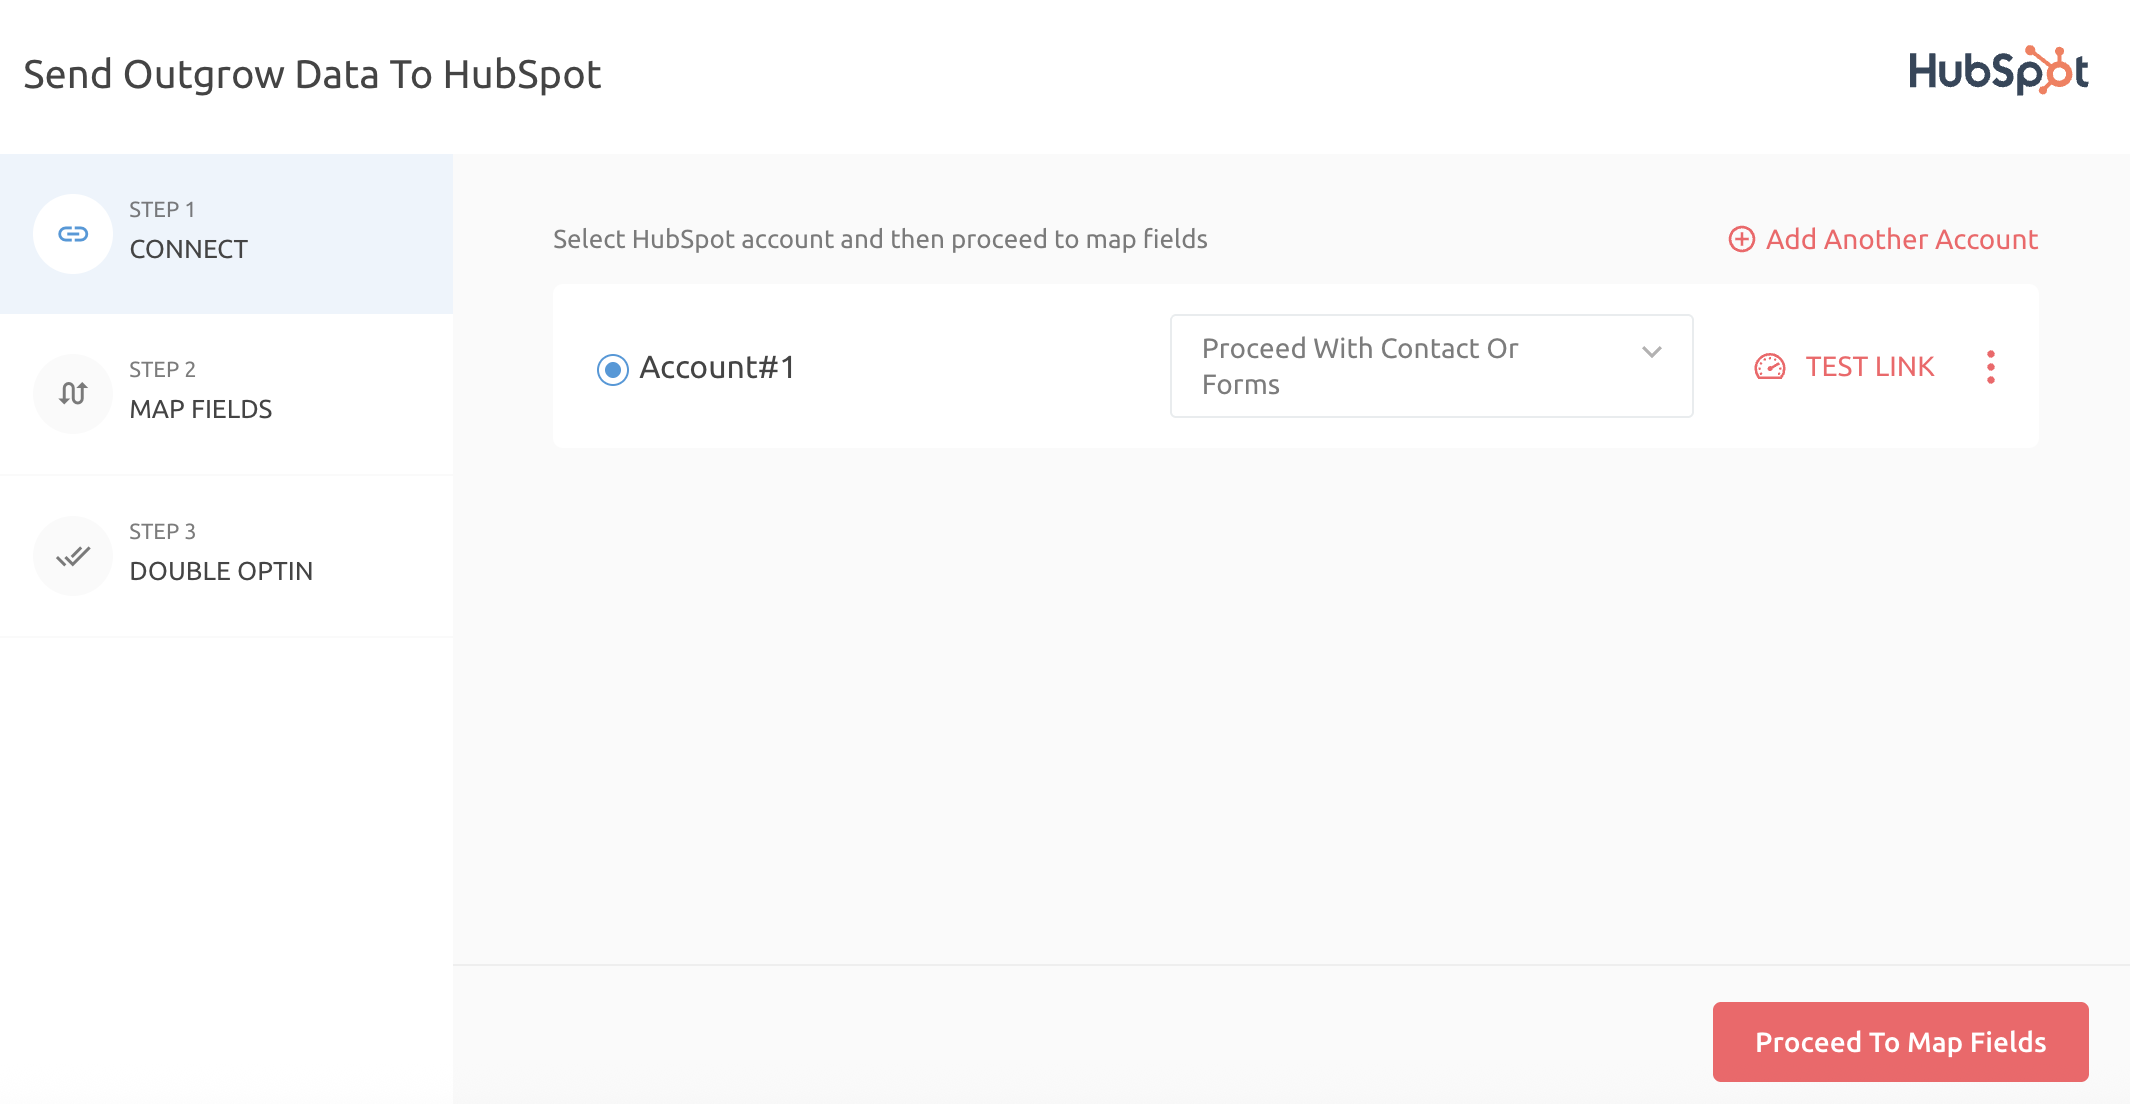
N. Map the required Outgrow fields with HubSpot fields.
IMPORTANT NOTE
Clients with Freelancer and Essential plan subscription:
For Essentials or a Freelancer plan only lead generation fields from Outgrow will be mapped to the respective fields on HubSpot. All you need to do is to map fields and test the connection between Outgrow and HubSpot. On clicking Test Connection a test record will be pushed to HubSpot's contacts.
Clients with Business and Enterprise plan subscriptions:
Business and Enterprise plans allow you to choose multiple fields from both the apps, allowing you to send over data more than just the lead gen form details from Outgrow to HubSpot. Set up integration by mapping HubSpot's fields with fields from your Outgrow calculator or quiz.
O. Once the field mapping is done, click on Finish to save the integration configuration.
P. After mapping the fields, we will send a test lead to HubSpot with sample values. If the connection and mapping are successful, you will see the test lead in your HubSpot contacts.
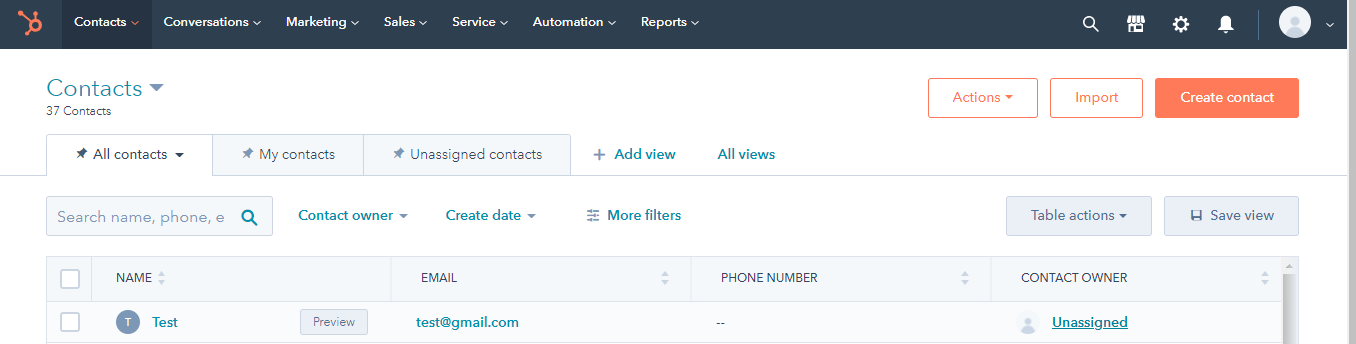
Q. If your connection is successful, you will see Active Status on the HubSpot integration, which indicates that new leads on your Outgrow content will be sent to HubSpot.
Disabling Or Deleting HubSpot Integration In Outgrow
To disable or delete the HubSpot integration in your Outgrow account, follow these clear steps:
A. Disabling the Integration:
- Open the desired content in Build mode and go to the Integration section under the Configure tab.
- Click the Active button next to the HubSpot integration to change its status to Inactive. After setting it to inactive, don’t forget to hit Publish to fully disable the integration.
B. Deleting the Integration:
- Open the desired content in Build mode and navigate to the Integration section under the Configure tab.
- Find the HubSpot integration and click the Reconfigure icon to access the settings page, then select Back to Step 1.
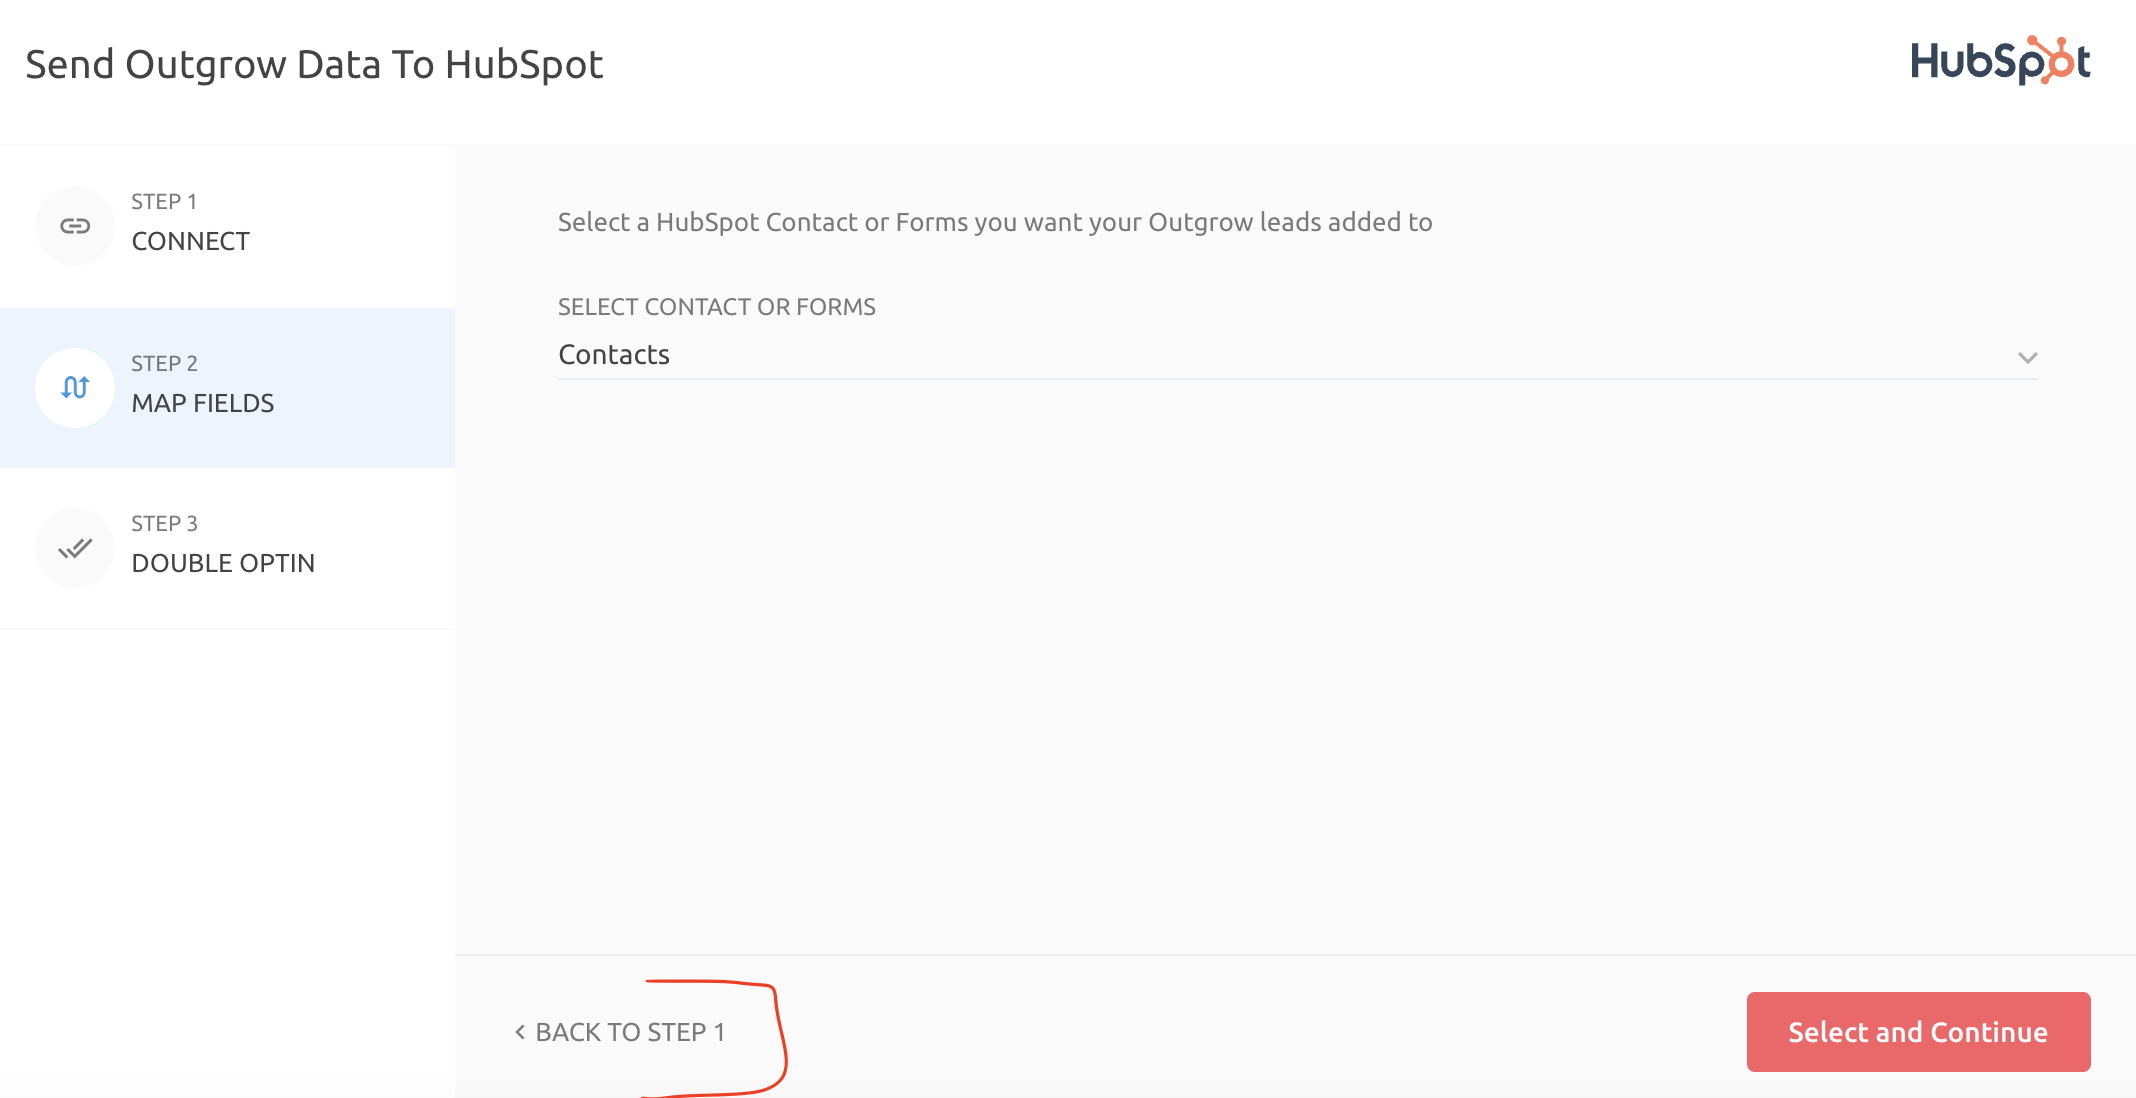
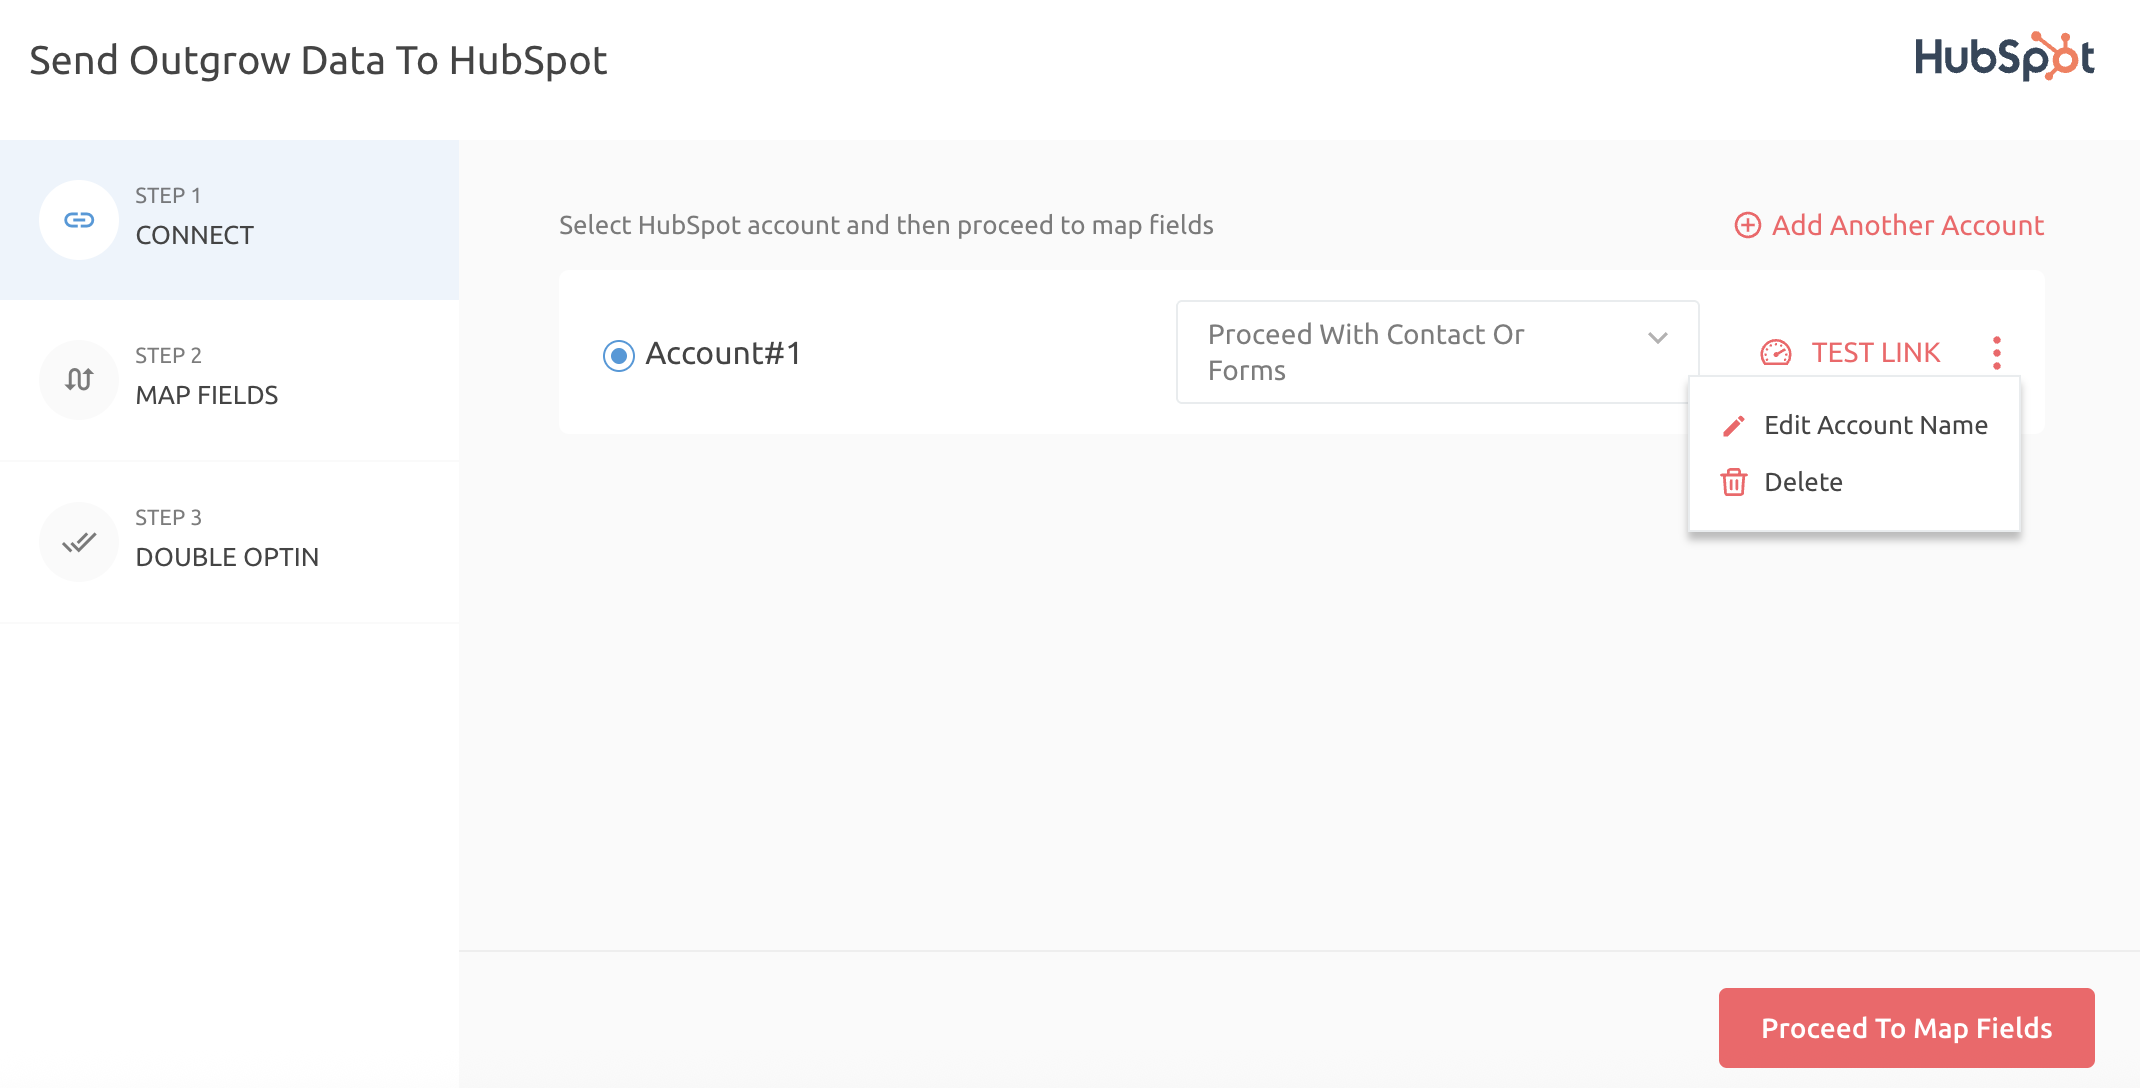
- Click the Carat icon (three vertical dots) in the account name tile, then choose Delete to remove the Outgrow - HubSpot configuration.
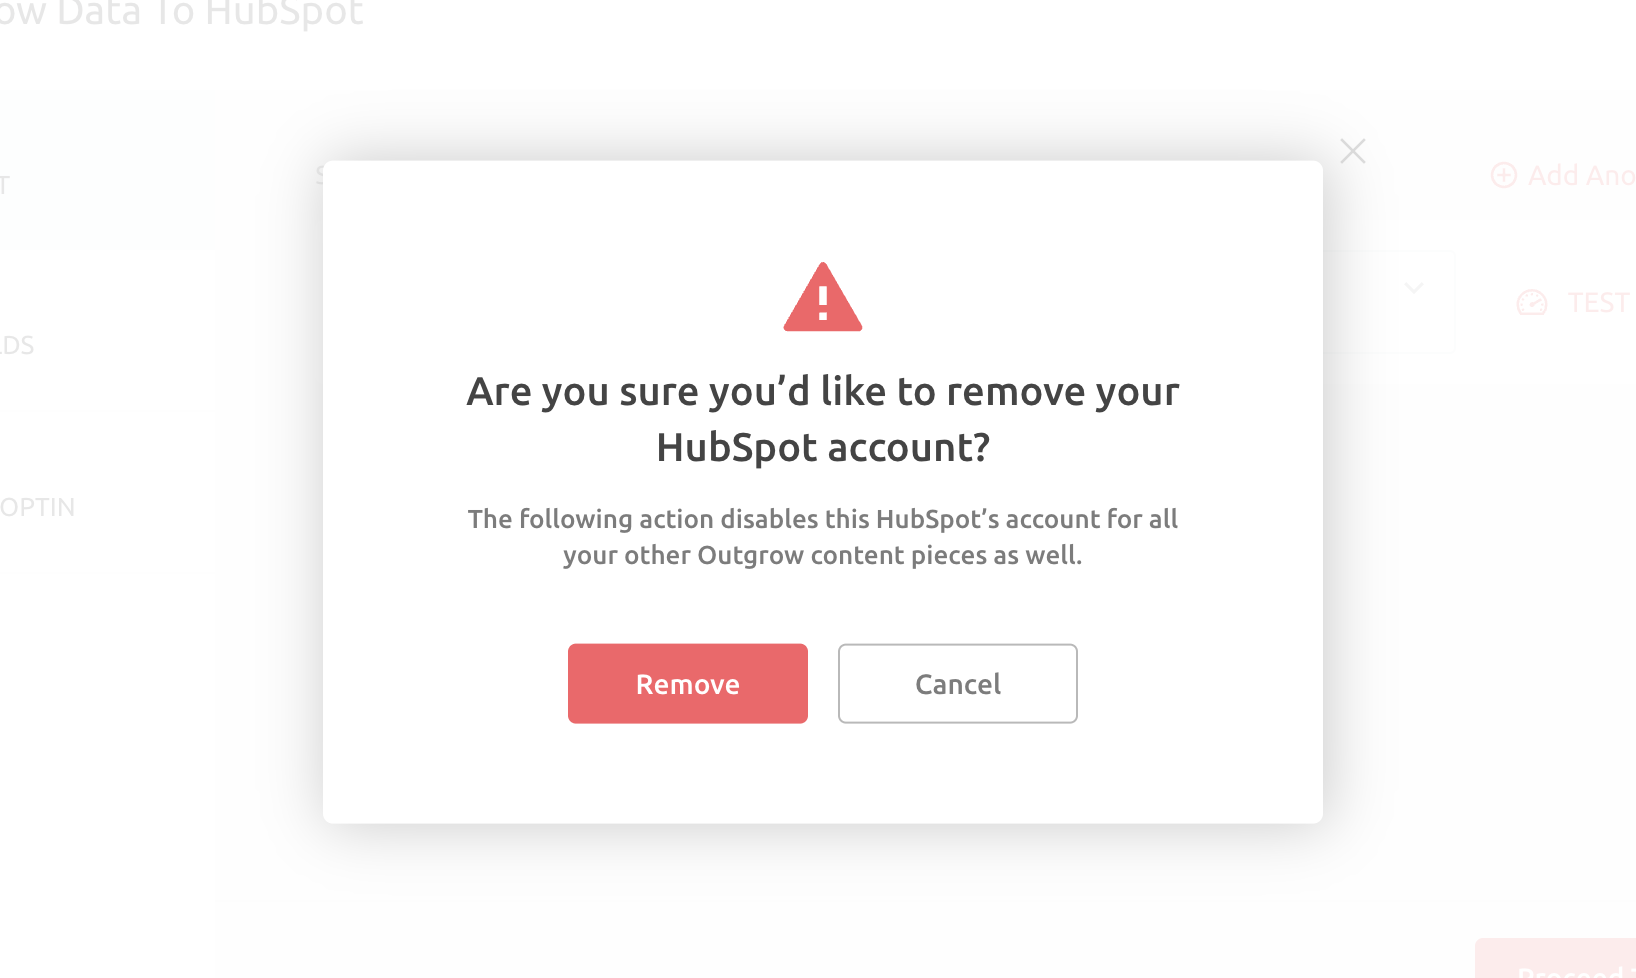
- Confirm the deletion by clicking the Remove button. This action will permanently delete the integration from all Outgrow content pieces in your account.
- By following these steps, you can effectively manage the HubSpot integration in your Outgrow account.
IMPORTANT NOTE
- Disabling the HubSpot integration in a specific Outgrow piece only affects that piece; the integration remains active in all other content where it is set up.
- In contrast, deleting the HubSpot integration removes it simultaneously from all of your Outgrow content pieces.
Uninstalling Outgrow App From Your HubSpot Marketplace
- Log in to your HubSpot Marketplace account, and go to Connected Apps.

- From the Connected Apps section, click on the Outgrow app, and then click on Manage to manage the app connection.

- Under Actions, click on Uninstall Outgrow to remove the app connection between the HubSpot app and Outgrow.

- To confirm that you want to uninstall the Outgrow app, type Uninstall to continue.

- Lastly, select the reason why you want to uninstall the Outgrow app from your HubSpot marketplace.

IMPORTANT NOTE
- Uninstalling the Outgrow app from the HubSpot marketplace does not erase any existing data collected through your Outgrow interactive content that has already been synced with your HubSpot account.
- However, once the integration is removed, it will no longer update existing data or add new data collected from Outgrow interactive content.
Actions Available After Configuring The Integration
Once the integration is configured and is active, you can navigate to the HubSpot block to see more actions that can be performed on the HubSpot integration after it has been set up.
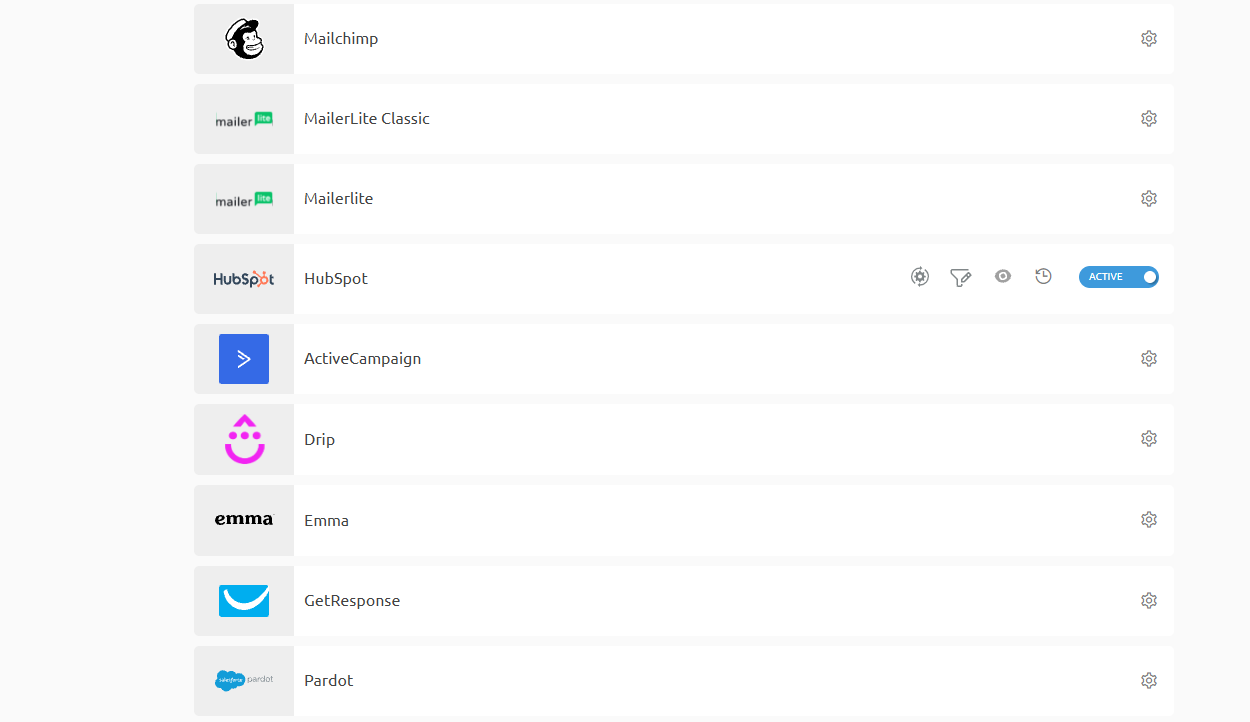
1. Reconfigure: If your HubSpot credentials change or you want to link a different HubSpot account, reconfigure your Outgrow integration to keep receiving leads. If leads collected on Outgrow aren’t appearing in HubSpot, try reconfiguring first. If the issue persists, contact us at [email protected].
2. View Mapping: If you need to go over which fields you have mapped to configure your Outgrow - HubSpot integration, you can click on View Mapping. You can then toggle between tabs to view the mapping across all fields.
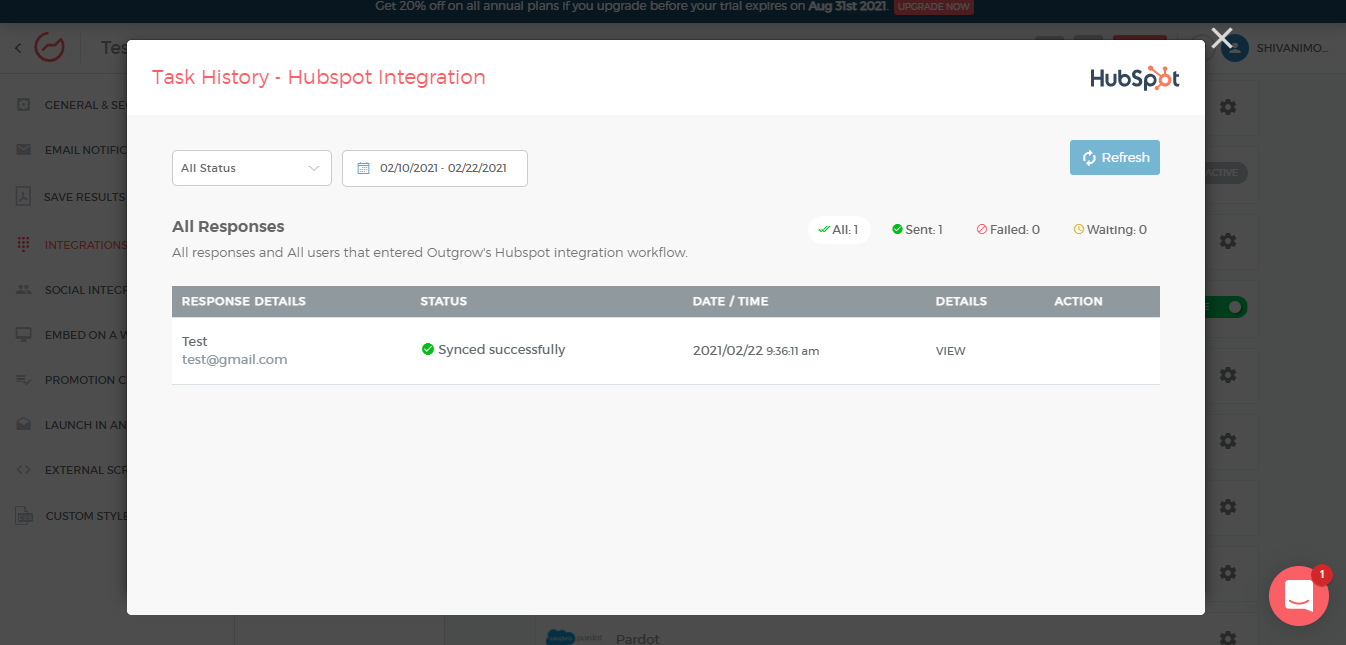
3. Task History: This contains the list of all the leads sent to HubSpot. The leads that are in the queue to be synced will have the status Waiting, and those that have failed to sync for some reason will be shown as Failed.
4. Deactivate: If you don't want to send leads from a calculator or quiz to HubSpot, you can simply deactivate it.
Important Note
If, due to an error in the connection, the leads from a calculator or quiz were not sent to your HubSpot account, you can still sync them after reconfiguring. When you sync them, all the leads that were not sent earlier will be automatically sent to your HubSpot account. If, even after syncing, you are unable to see your leads on your HubSpot account, then try reconfiguring once again and then sync.
For every Outgrow calculator or quiz you create you will have to activate or deactivate the integration from config section on the builder, in order to start or stop sending leads collected on Outgrow to HubSpot.
Some common issues faced by users while setting up Outgrow-HubSpot Integration
Over the years, we have found that clients face some common issues while setting up the Outgrow-HubSpot integration. Therefore, we have compiled a list of these issues below to make the process easier for you.
Numerical Field Mismatch: This issue occurs when you create a numerical field in your HubSpot account and try to map it with a question that is alphanumeric or a string. To avoid this, ensure that both field types are the same.
Dropdown Field Mismatch: When mapping dropdown fields, ensure the options are consistent in both Outgrow and HubSpot. If there is a mismatch, it will throw back an error.
Error with the Test Value Column: The test values are set based on the field types of the questions. However, you should check the test values while mapping to confirm if they match the field types in your HubSpot account.
Access Limitation to Advanced Integration: This problem arises when you only have access to standard integration. In such cases, you can only pass lead details, such as name and email, to your HubSpot account. If you want to map more fields like questions, responses, etc., you will have to upgrade to a higher-level plan or get Advanced Integration for an additional cost.
Mapping the Email Field is Required: Almost every CRM tool requires you to map the email field. Without the email, you cannot identify lead data. Therefore, mapping the email field is necessary to set up an integration with HubSpot.
For more information, reach out to us at [email protected]
Updated 13 days ago