
Integrating Outgrow With Microsoft Dynamics 365
Microsoft Dynamics 365 is a portfolio of enterprise resource planning and customer relationship management intelligent business applications designed to streamline operations, enhance customer interactions, and unify company data. Using this document, you will be able to learn more about how to configure integration, allowing data collected using Outgrow interactive content to flow from Outgrow to Dynamics 365.
Here's what you will need to get started:
A. An Outgrow account with an active subscription plan.
B. An active Microsoft Dynamics 365 account.
C. A live Outgrow content piece.
How to configure the integration
To configure the integration between Outgrow and Dynamics 365, here are the steps that you need to follow:
1. Log in to your Outgrow account and select the appropriate content piece.
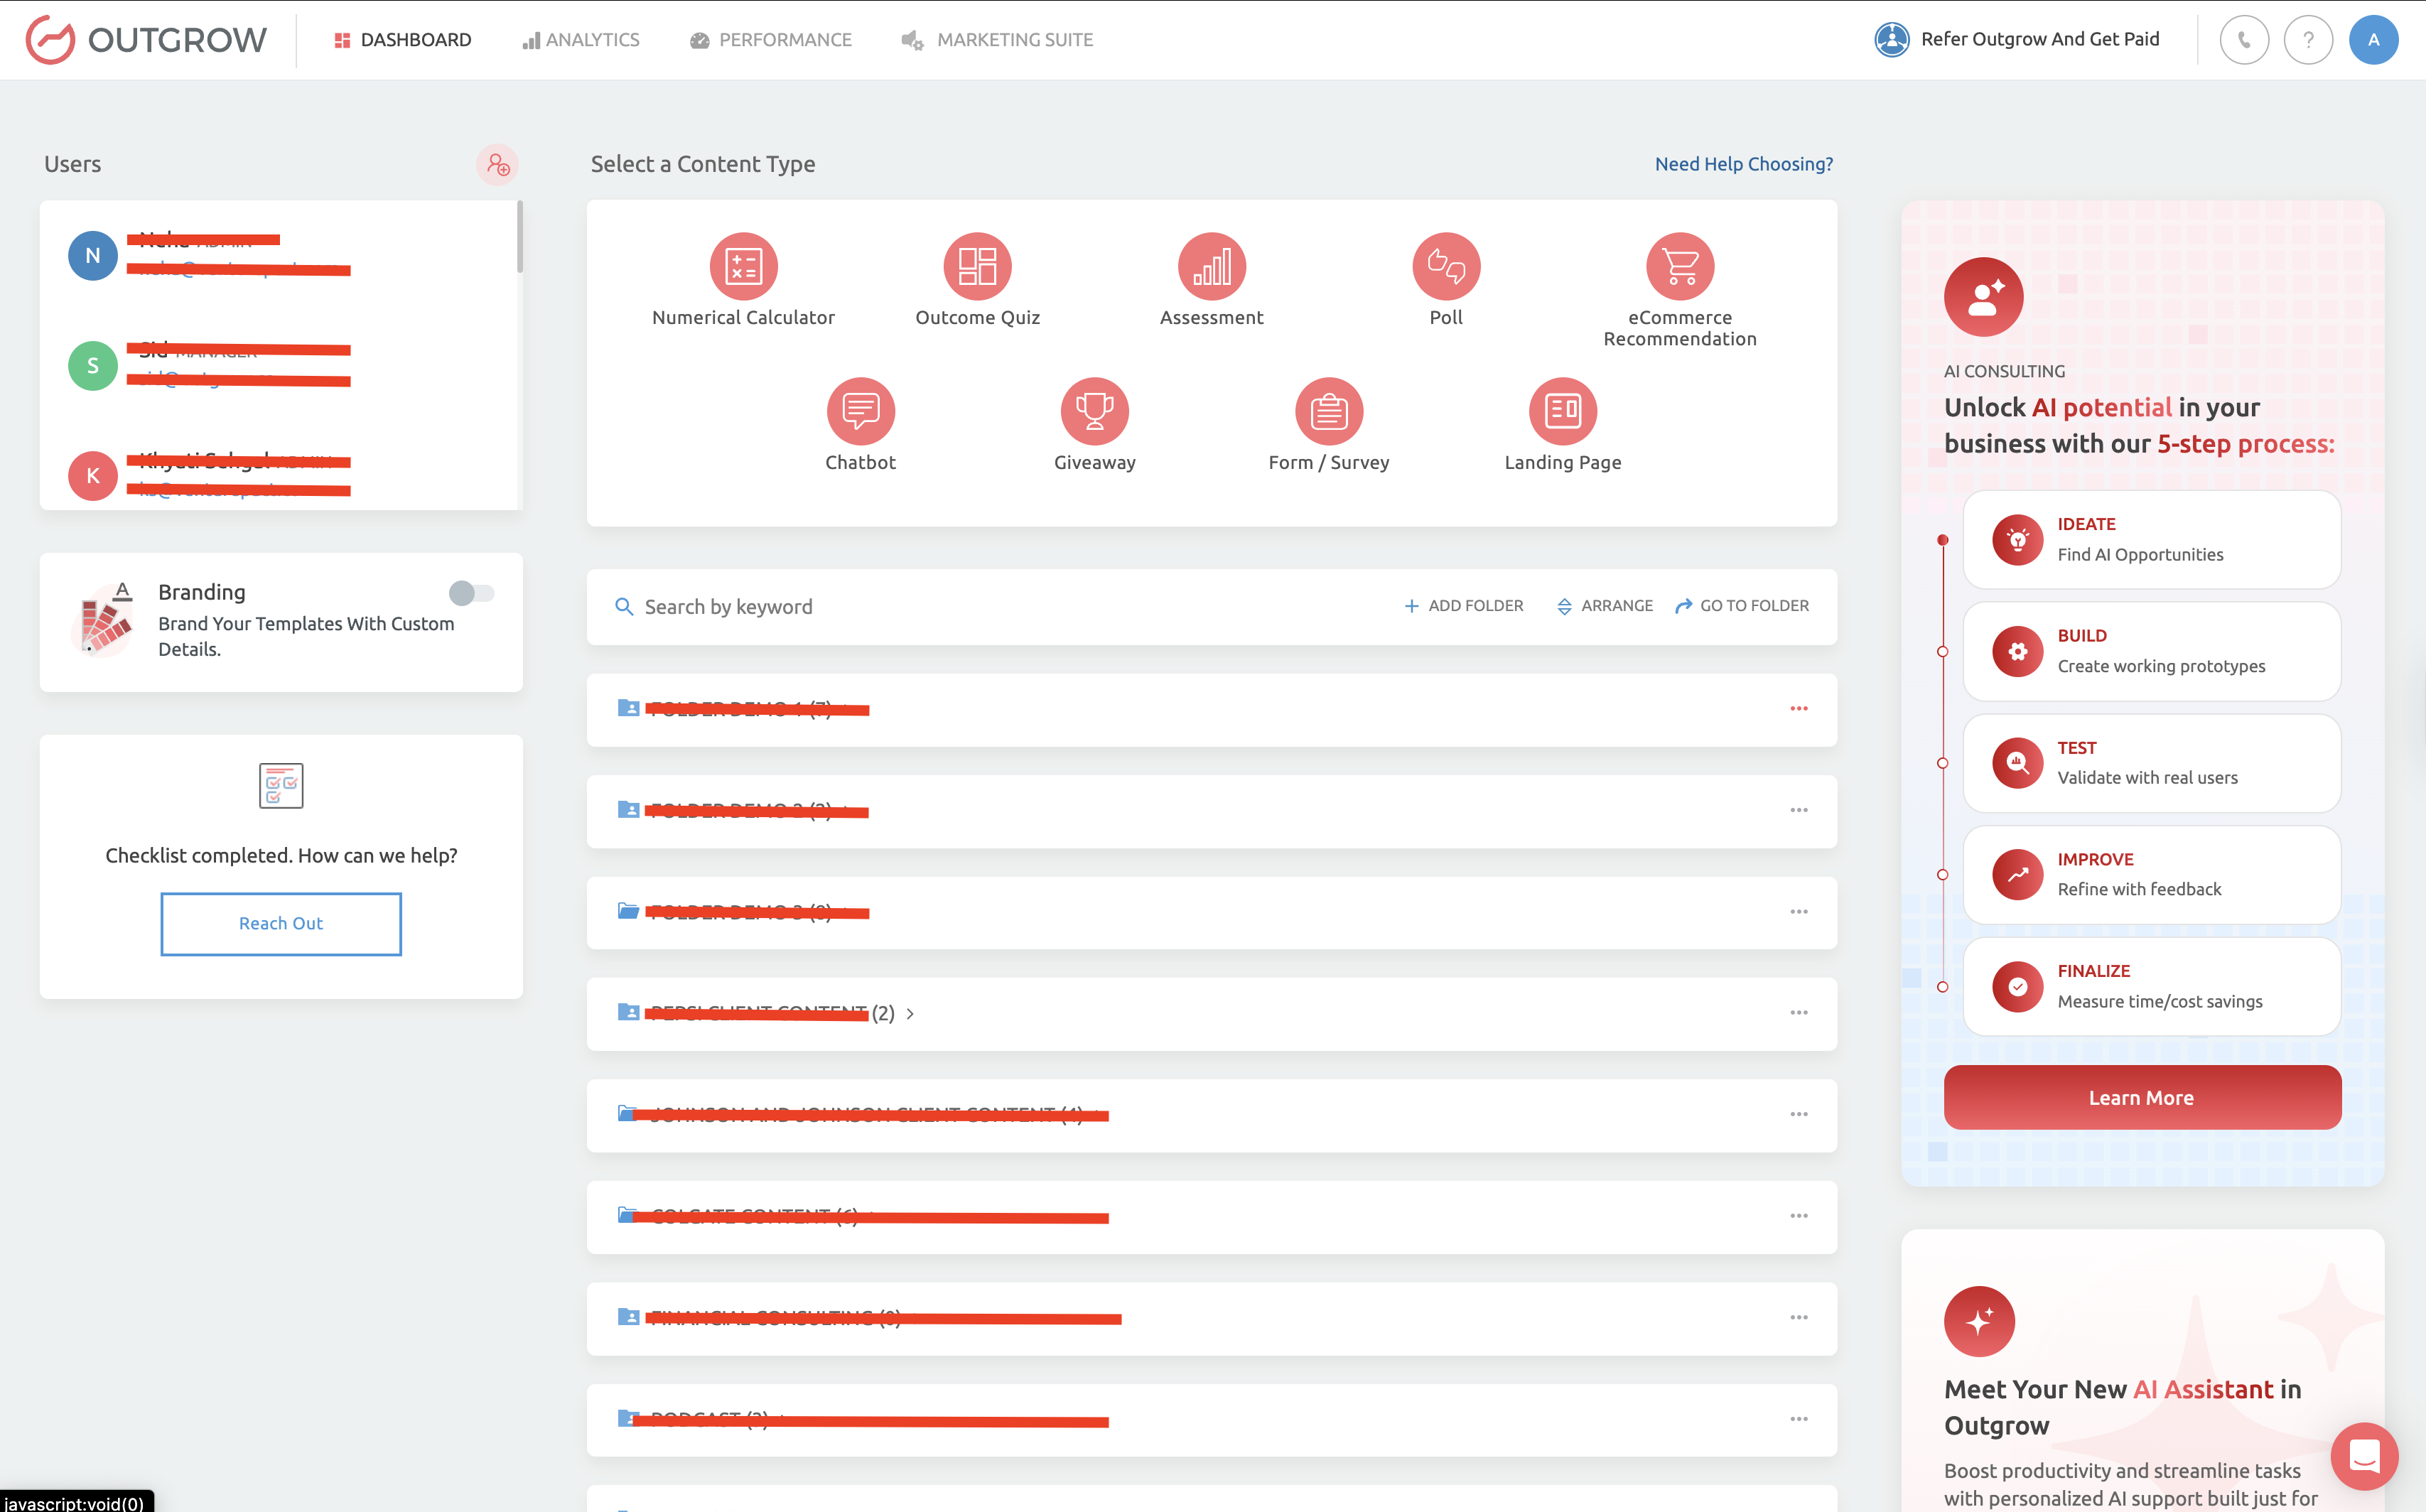
2. Open the respective content in Build mode.
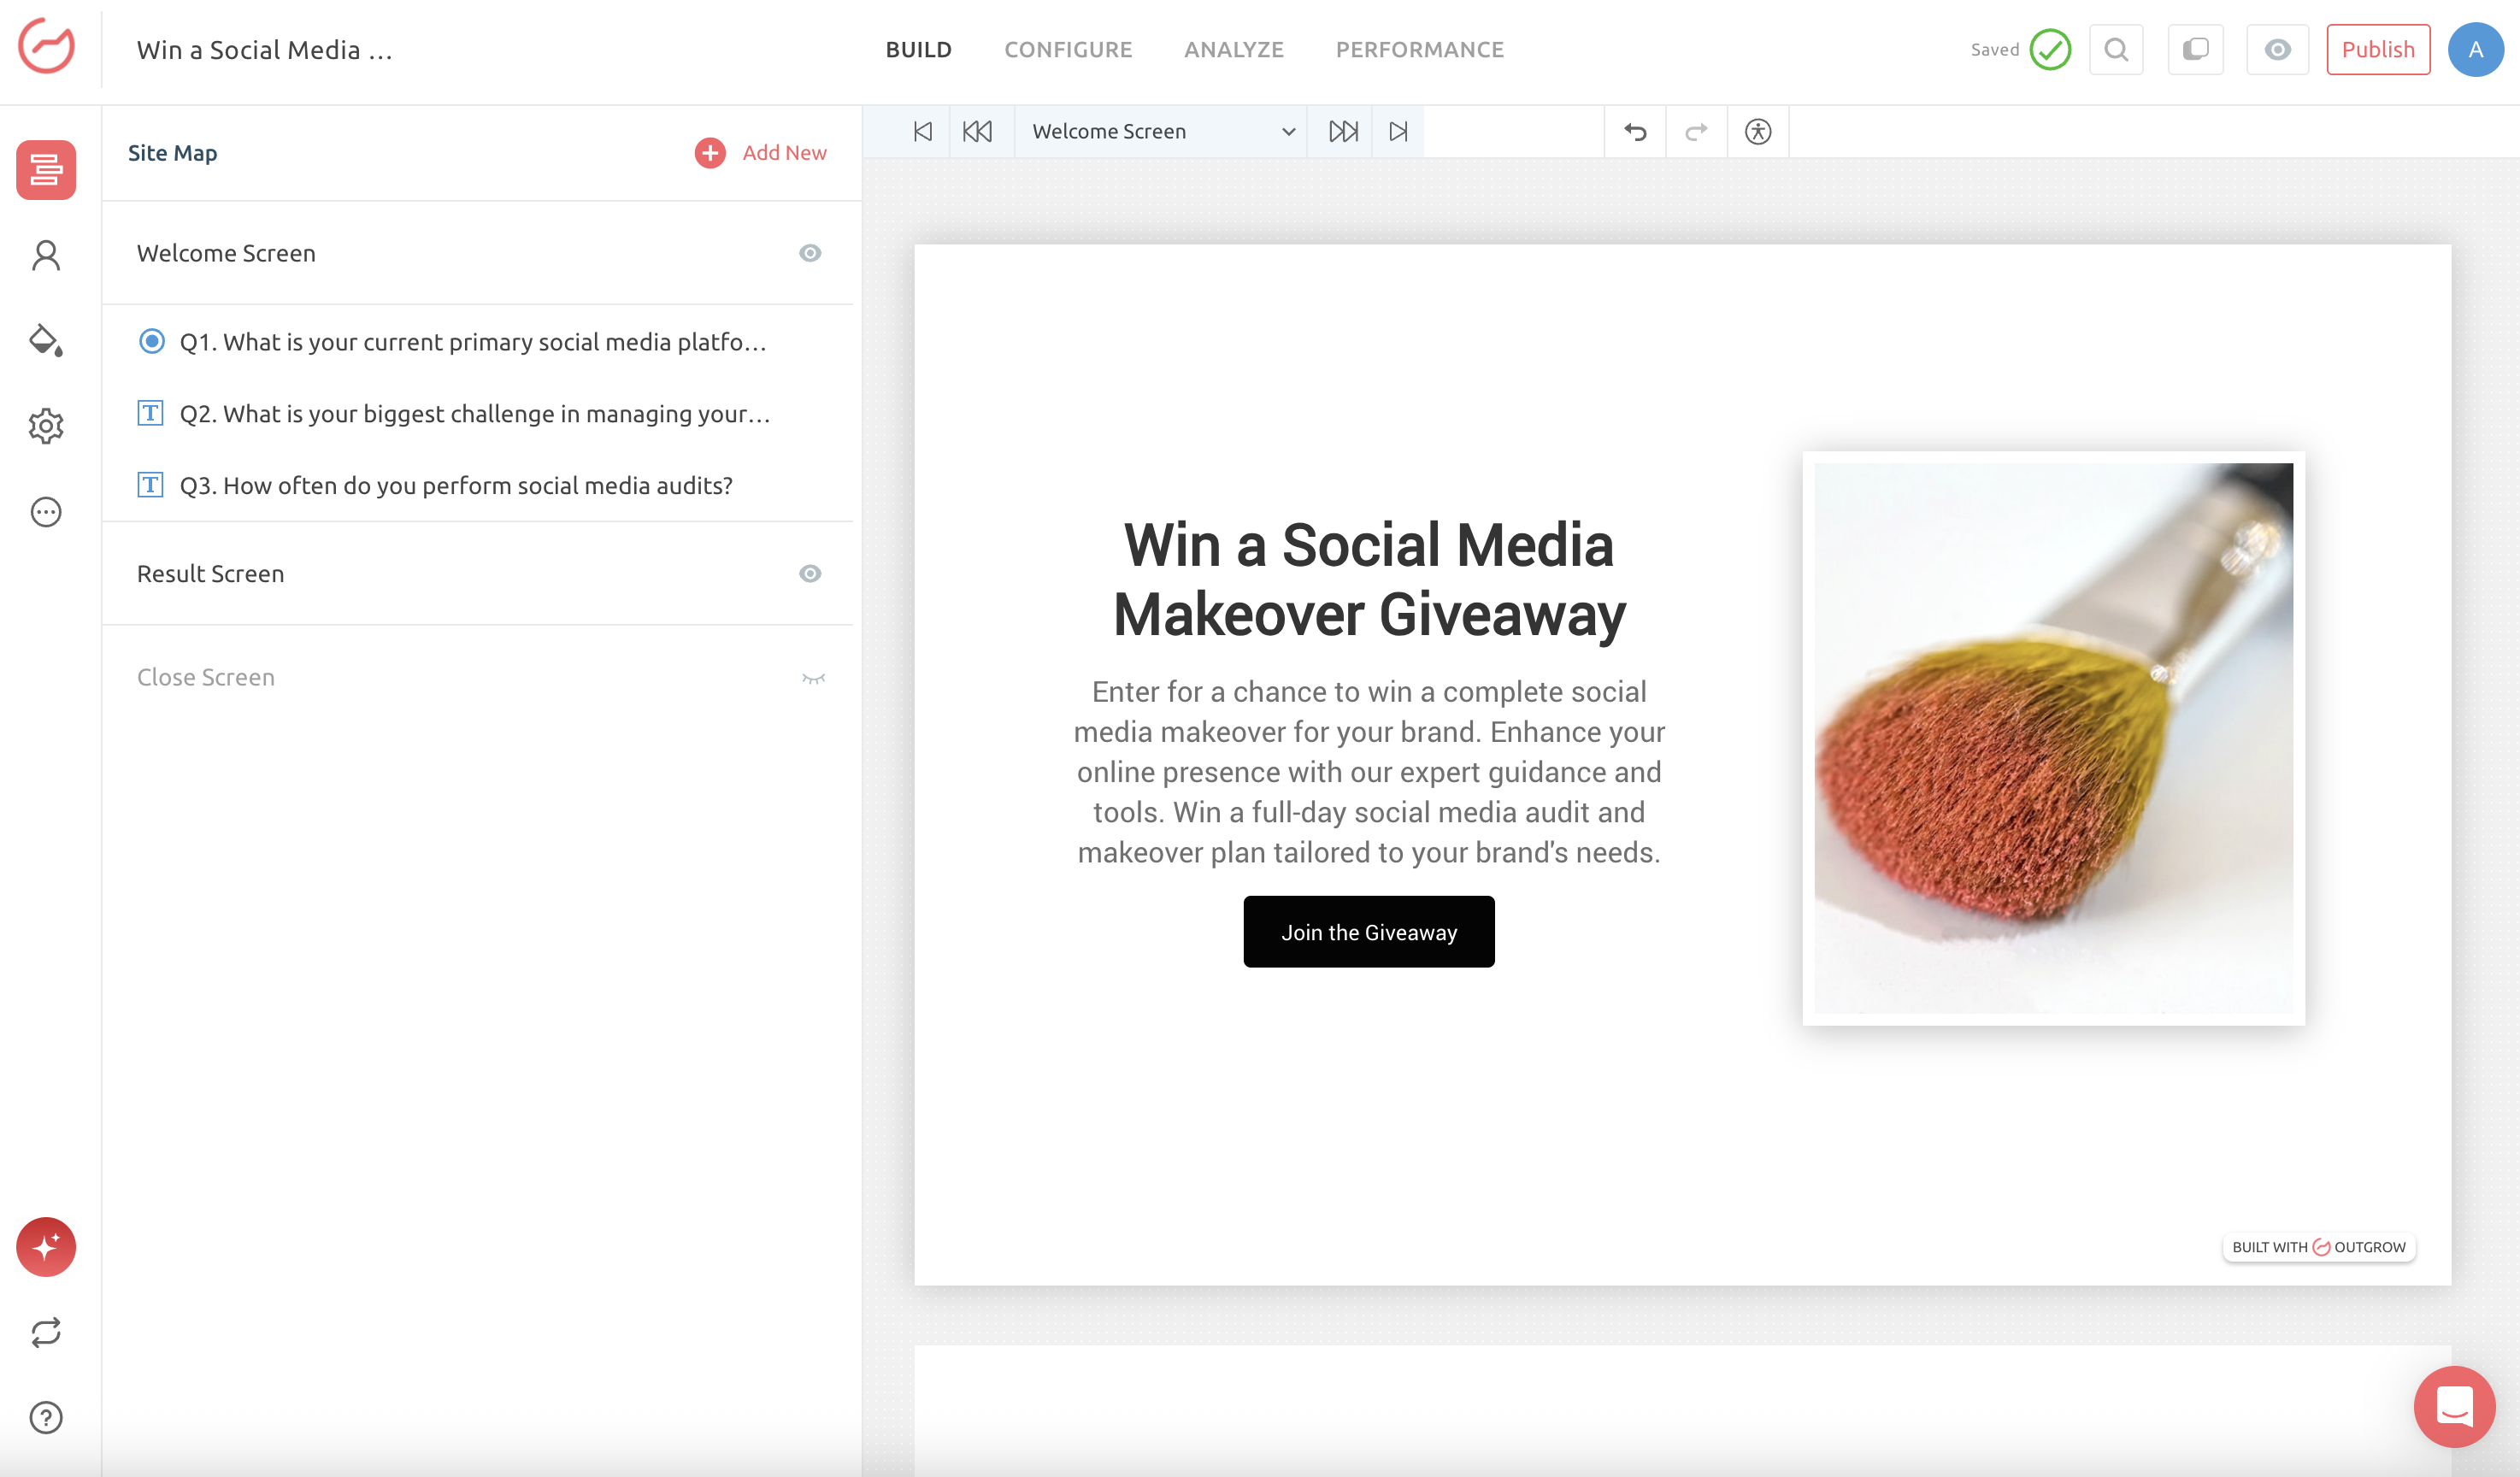
3. Click on the Configure tab and then navigate to the Integrations sub-tab. Under Integration, go to Native Integrations and scroll down to Dynamics 365 Integration.
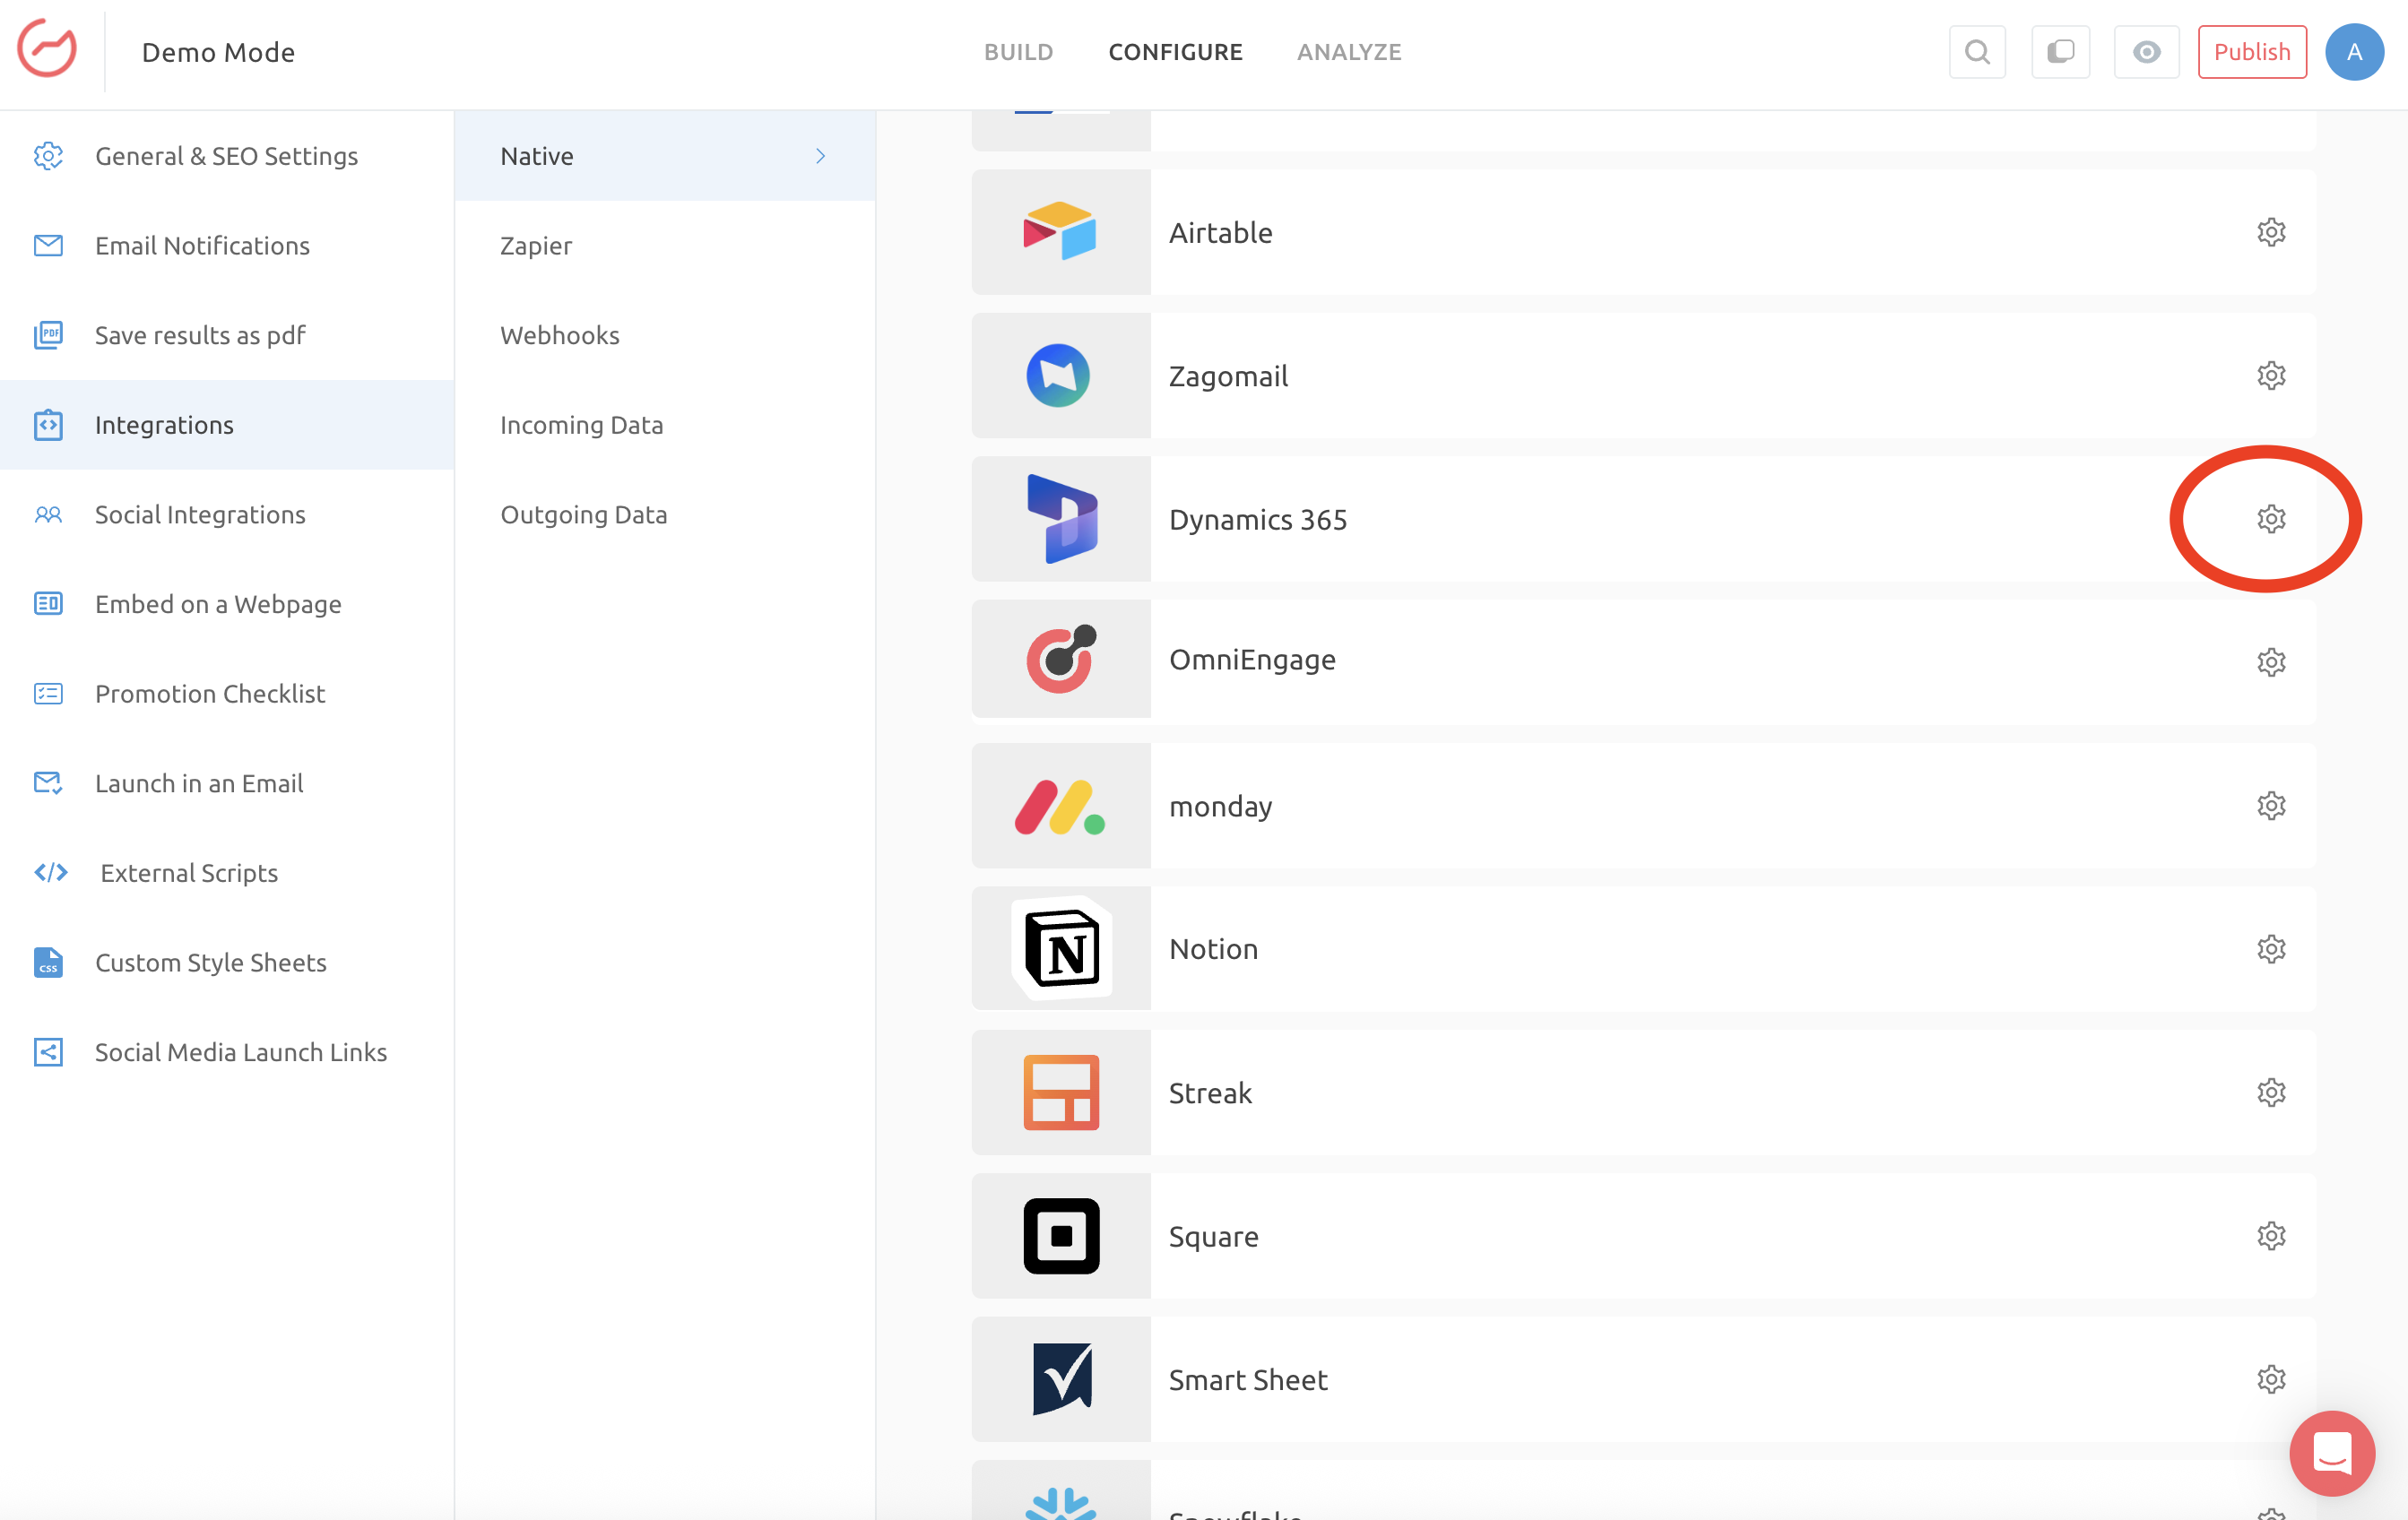
4. Click the configure icon for native integration with Dynamics 365.
5. To connect your Outgrow and Dynamics 365 account, you will be required to enter your Dynamics 365 subdomain. To access your Dynamics 365 subdomain, you can:
5.1. Log in to your Dynamics 365 account.
5.2. Check the URL in your browser address bar.
5.3. Extract the string between https:// and .crm (or .dynamics.com). For example, if the full address is https://acme-prod.crm.dynamics.com, your subdomain is acme-prod.
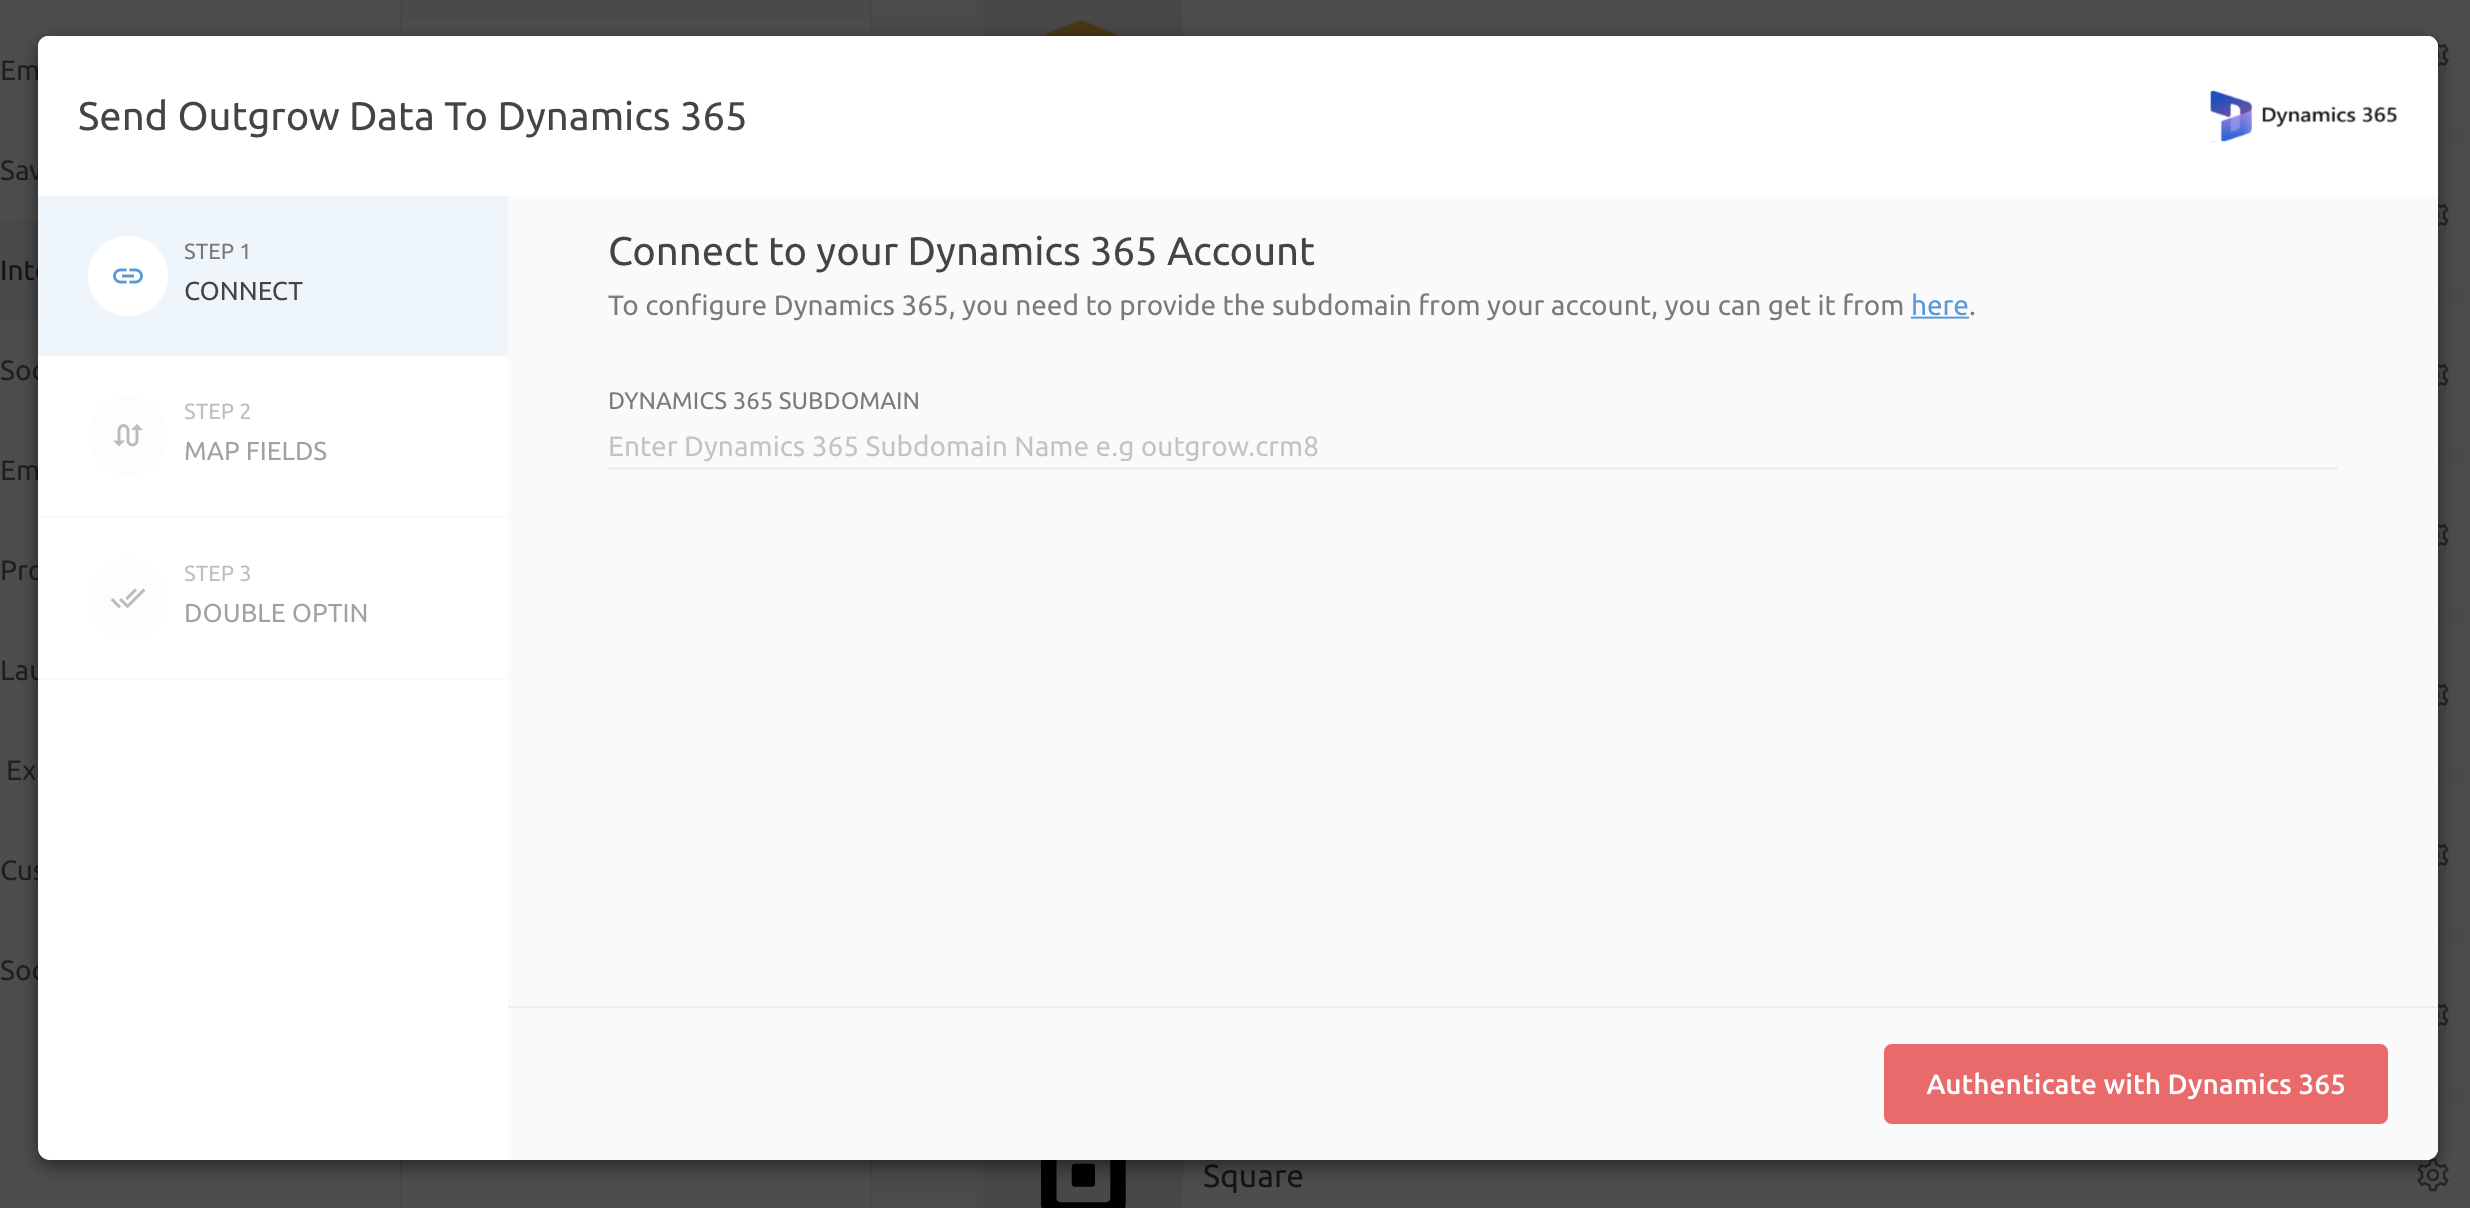
6. Once you enter your Dynamics 365 subdomain, click on Authenticate with Dynamics 365.
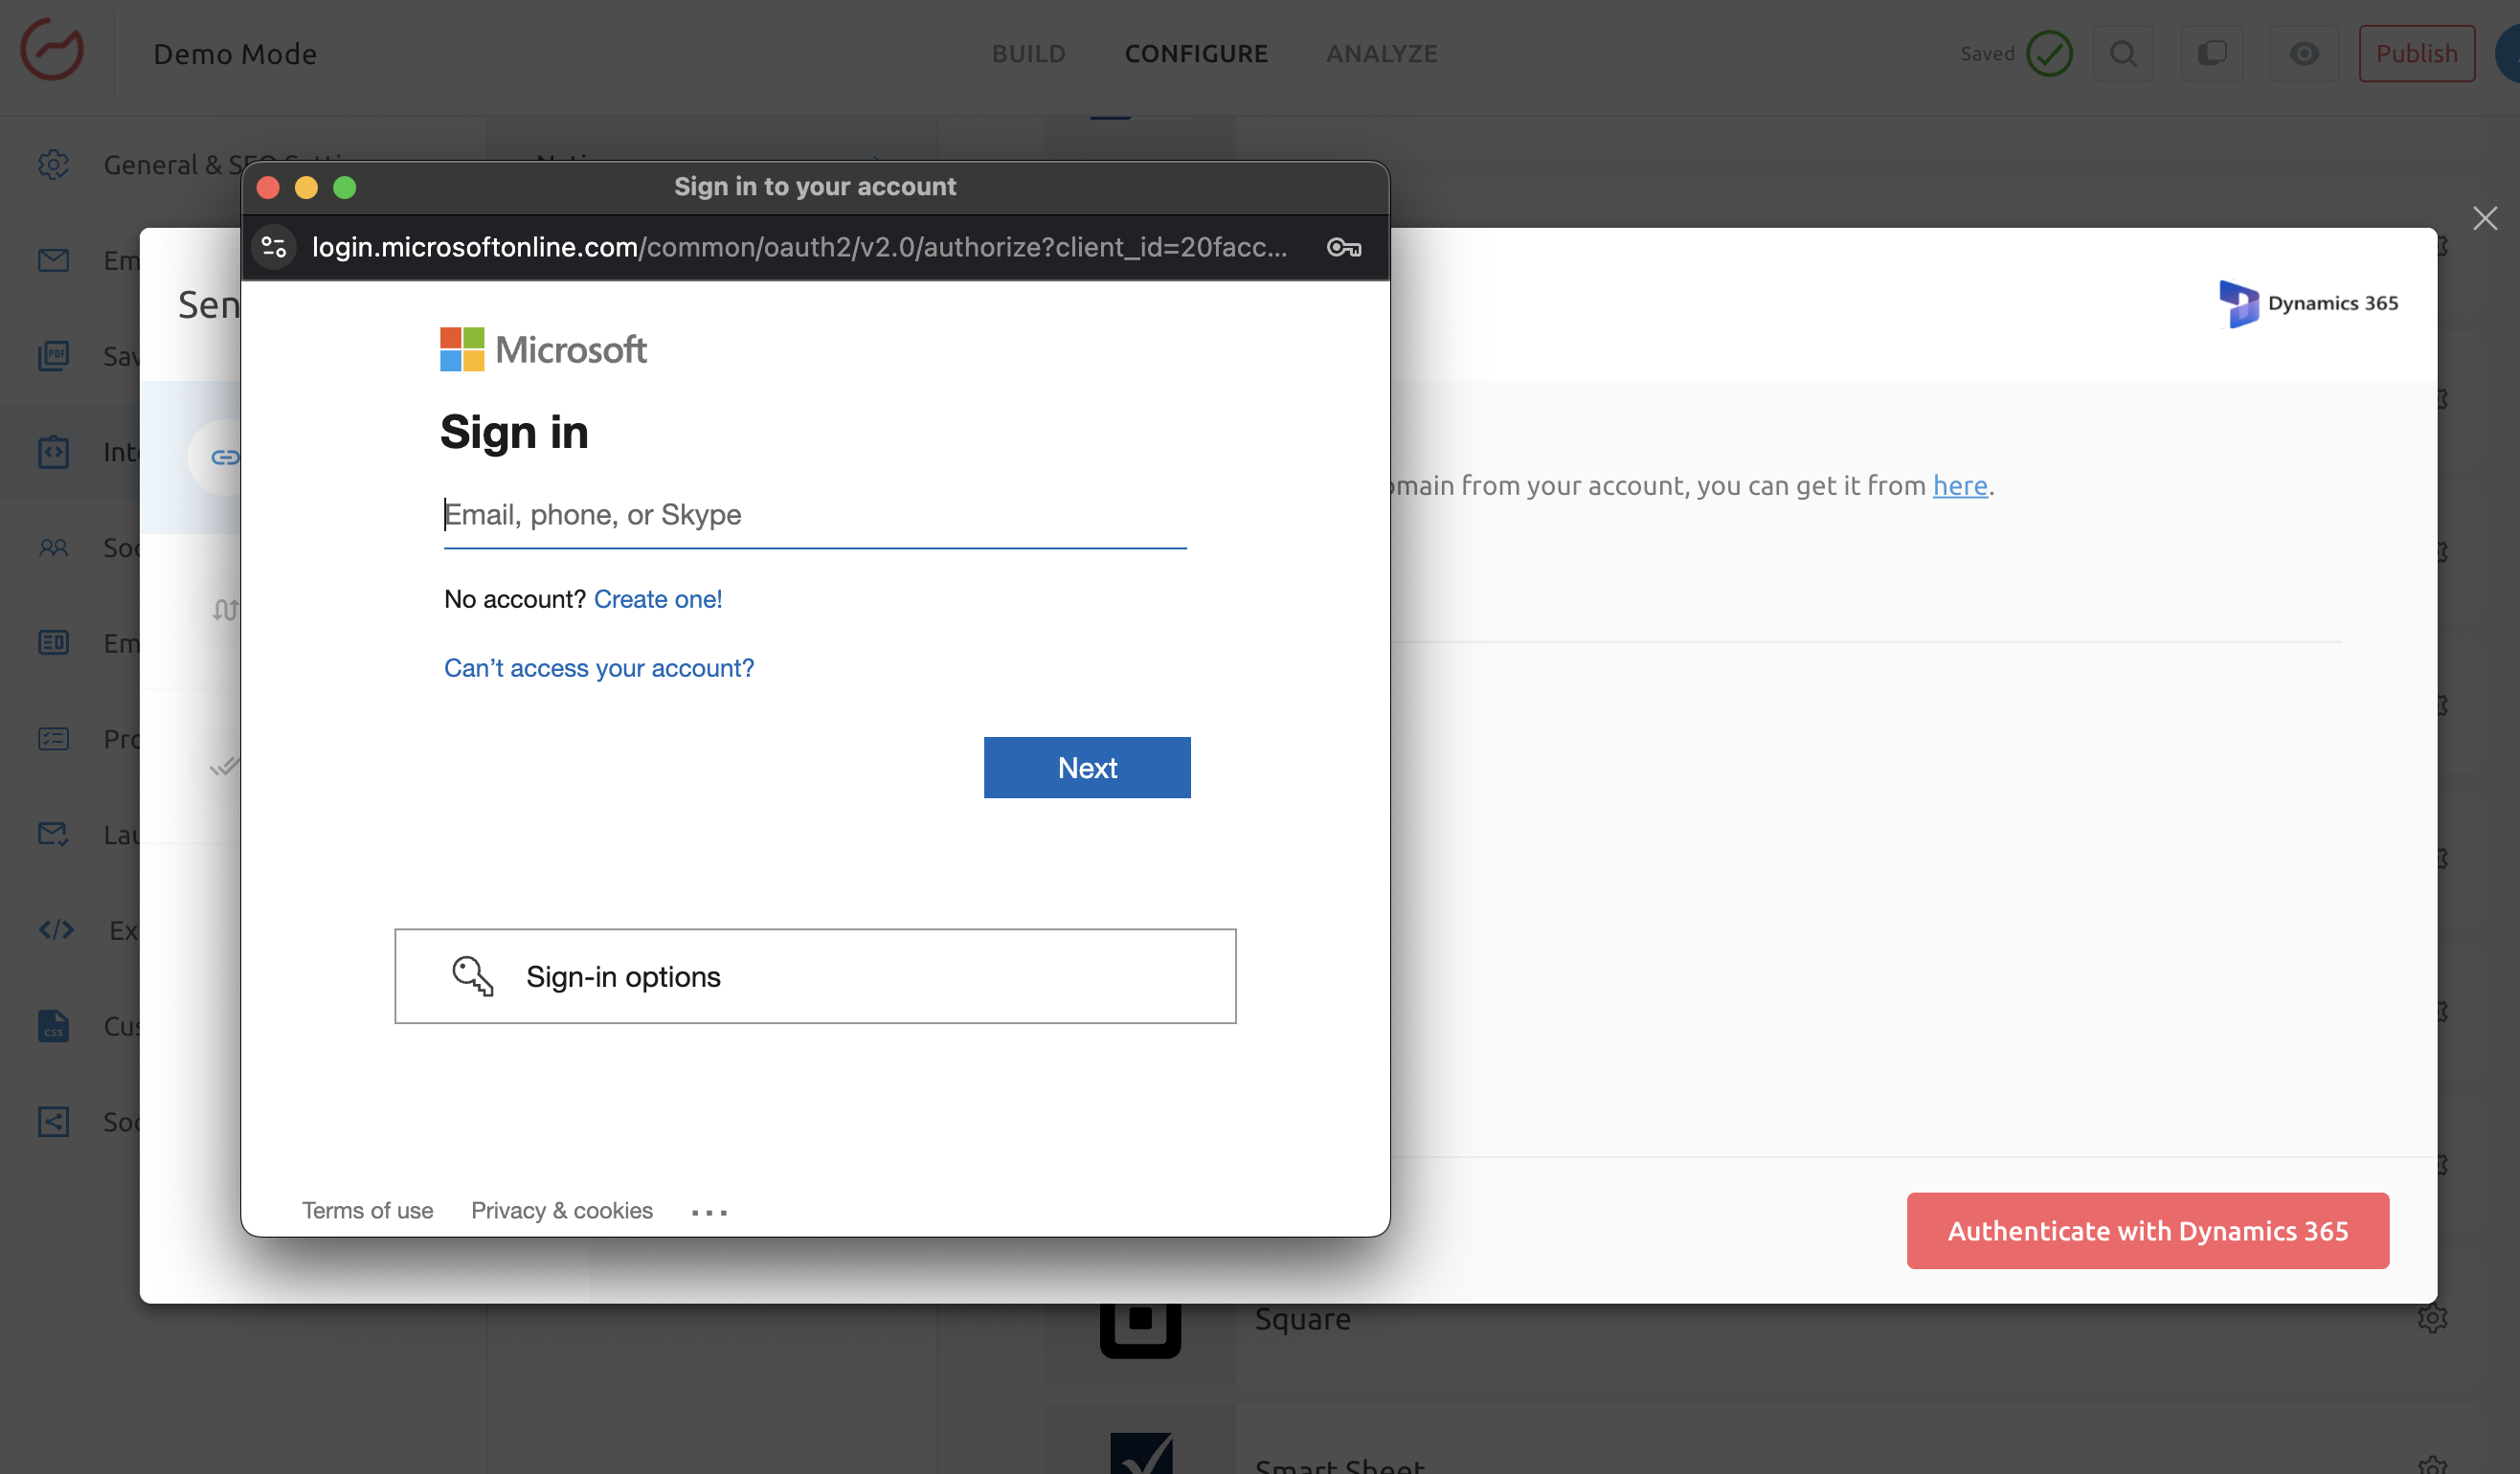
7. Now you will be prompted to enter your Microsoft account credentials to authenticate the integration.
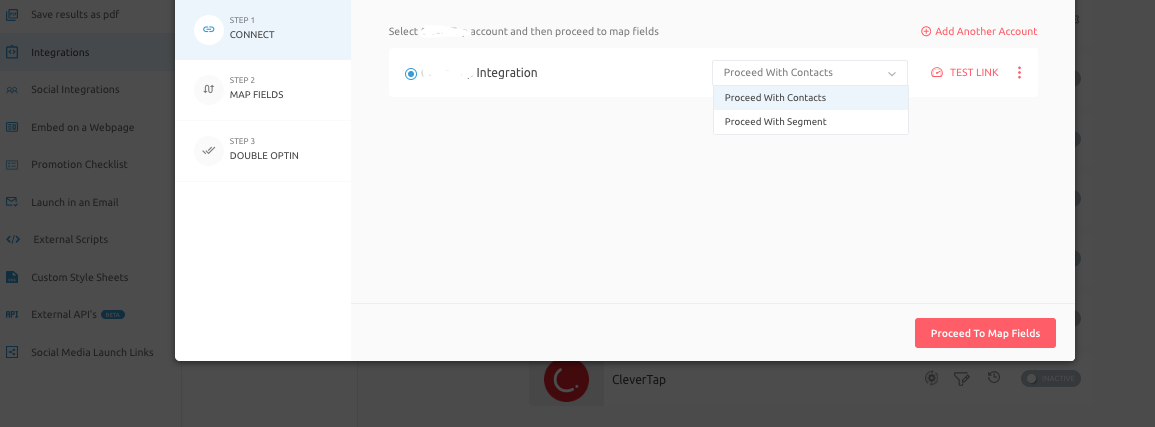
8. Once the integration is authenticated, choose whether you want to proceed with Contacts or Segment.
9. Map the corresponding Outgrow fields to the Dynamics 365 fields to facilitate data transfer.
10. Click on Test Connection to authenticate the field mappings.
11. You can configure Double Opt-In functionality if required, otherwise, click Finish to save the configuration and activate the integration.
12. Once the integration is successfully configured, under Native Integration, you will see the active toggle enabled for Dynamics 365 integration.
Additional integrations-related actions
After configuring and activating the integration, here are a few additional actions you can perform. These options are:
A. Reconfigure: If your Dynamics 365 credentials have changed or you want to connect Outgrow to a different Dynamics 365 account, you must reconfigure your integration to continue receiving Outgrow leads in your Dynamics 365 account.
B. View Mapping: If you need to review the fields you have mapped to configure your Outgrow and Dynamics 365 integration, click View Mapping.
C. Task History: This section lists all the leads sent to Dynamics 365. If leads fail to sync, they will be shown as "Failed." If this happens, you can sync the leads to your Dynamics account after reconfiguring. If the leads are waiting to be synced, they will have the status "Waiting."
D. Filter: If you want to set up a quick filter using First Name, Last Name, and Email Address to see whether the lead was sent via Dynamics, you can use this feature.
Important Note
For every Outgrow content piece you create, you will have to activate or deactivate the integration from the Configuration section in the builder, in order to start or stop sending leads collected in Outgrow to Dynamics 365 integration.
If you have any questions or concerns, please feel free to reach out to us at [email protected], and we will be happy to assist you further.
Updated 2 months ago